
In this article
The guidebook says Class 3. Your brain hears “easy.” Then you’re standing at the Notch, looking down a 300-foot drop on the far side, and the gap between those two things is suddenly very real. The moves on the Mountaineer’s Route are easy. The consequences are not, and that mismatch is exactly what catches gym-strong climbers and trail hikers off guard. This is the honest version: every stage from the North Fork to the summit, the two decisions nobody helps you make, and a clear answer to which Whitney you’re actually signing up for.
Which Whitney Are You Actually Climbing?
Here’s where most of the confusion starts. People book a “Whitney” permit with no idea that there are three completely different ways up the mountain, and they ask for completely different things from you. This guide covers the Mount Whitney Mountaineers Route, the Class 3 line, so let’s place it next to the other two before you commit.
The Mt Whitney Trail is the famous one: a roughly 22-mile Class 1 walk-up that gains the summit on switchbacks and a maintained path. Long, brutal on the legs, but no technical skill required. The Mountaineer’s Route is the direct alternative, around 9 to 11 miles out-and-back, rated Class 3, and it demands an ice axe and crampons for most of the season. Then there’s the East Face, which is a different animal entirely: a roped 5.6 technical climb that lives in a separate skill bracket. If a rope and 5.6 face climbing is what you’re after, read our breakdown of the East Face, a roped 5.6 technical climb instead, because this guide isn’t it.
Same summit for all three: 14,505 feet, the highest point in the lower 48 and the high point of the Sierra Nevada. Three different commitments to get there.
The thing that surprises people about the Mountaineer’s Route is the math. It packs roughly the same elevation gain as the 22-mile trail into less than half the distance. That makes it steep, not long. You train and pack for vertical, not mileage, and it earns its place among the most demanding of the famous mountain peaks in the lower 48. Pick the wrong one for your skill set and you find out at the worst possible moment.
The Class 3 Trap Explained
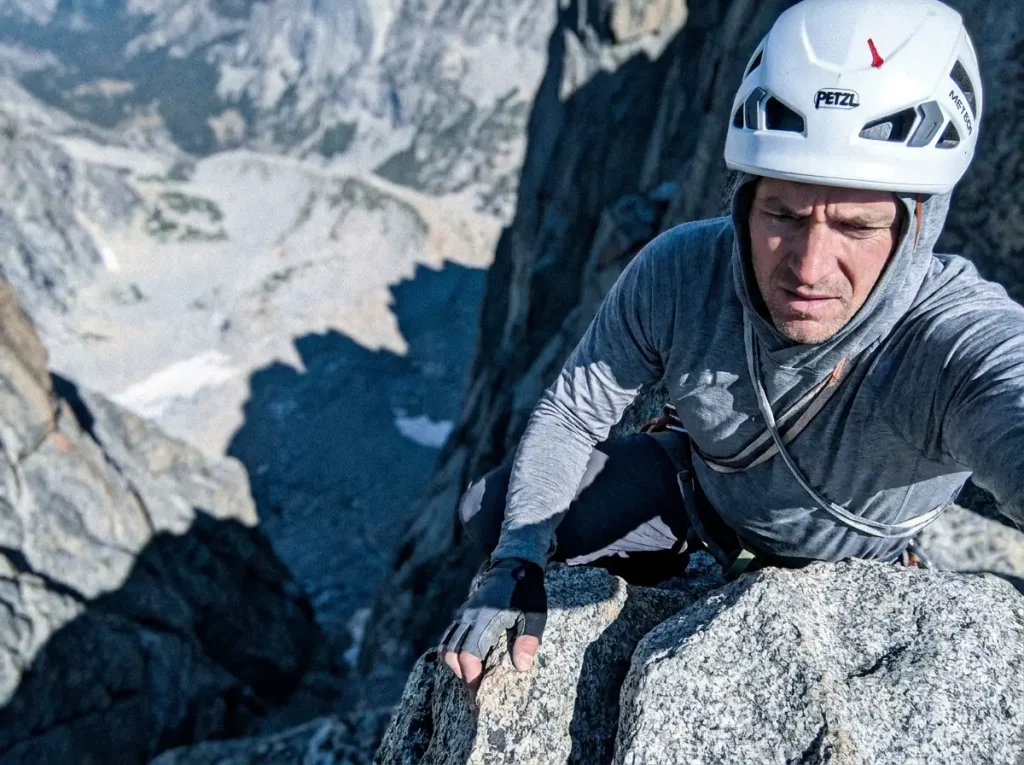
This is the part nobody frames honestly, so here it is. A climbing grade describes the hardest move on the route. It says nothing about what happens if you blow that move.
The Mountaineer’s Route is rated Class 3 because of one section: the Final 400 feet from the Notch to the summit. The other 99% of the day is a hike and a scramble that lulls you into thinking the whole thing is mellow. Then you reach the Notch, and the exposure changes everything. The scrambling itself stays easy, low-angle blocks and ledges you’d walk up without a second thought at the gym. The difference is that here it sits over a no-fall zone, with a roughly 300-foot cliff dropping off the back side.
Low technical grade plus high exposure is the exact combination that fools strong climbers. Someone who pulls V5 in the gym reads “Class 3” and relaxes, because the number says this is beneath them. The number is right about the moves and silent about the stakes. A trail hiker who has summited via the main path reads the same number and assumes it’s just a shortcut. Neither one is wrong about the climbing. Both can be caught flat-footed by the runout.
It helps to know that the first ascent went to John Muir, who soloed this line unroped on October 21, 1873. That tells you two things at once. The moves are genuinely doable, or a man in 1870s boots wouldn’t have free-soloed them. And people have treated this as a no-fall scramble for 150 years, long before anyone wrote a trip report about it. It’s the same trap that catches people on Longs Peak’s Keyhole Route: easy ground, ugly consequences.
For the numbers people: figure roughly 9 to 11 miles out-and-back, about 6,100 feet of gain crammed into the last 5 miles, and 8 to 12 hours car-to-car for a fit, acclimatized party. Fast teams do it in around 8. Most people shouldn’t try.
The Route, Stage by Stage
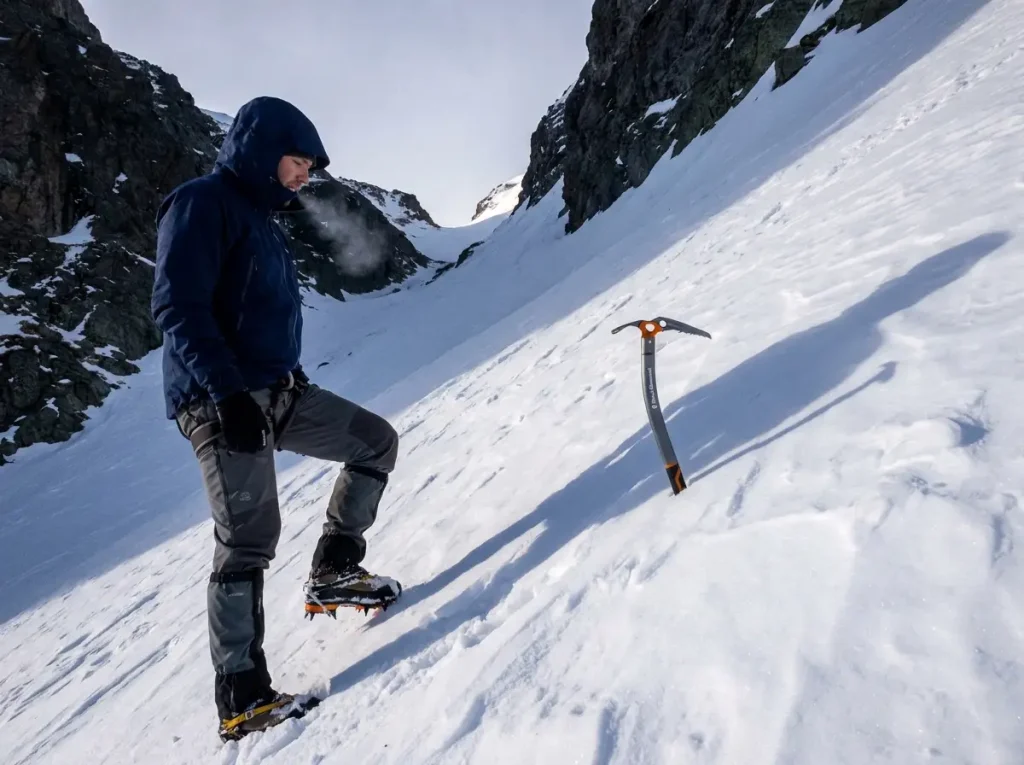
Let me walk you through the day the way a partner who’s done it would brief you the night before, feature by feature, with the gotchas called out in order.
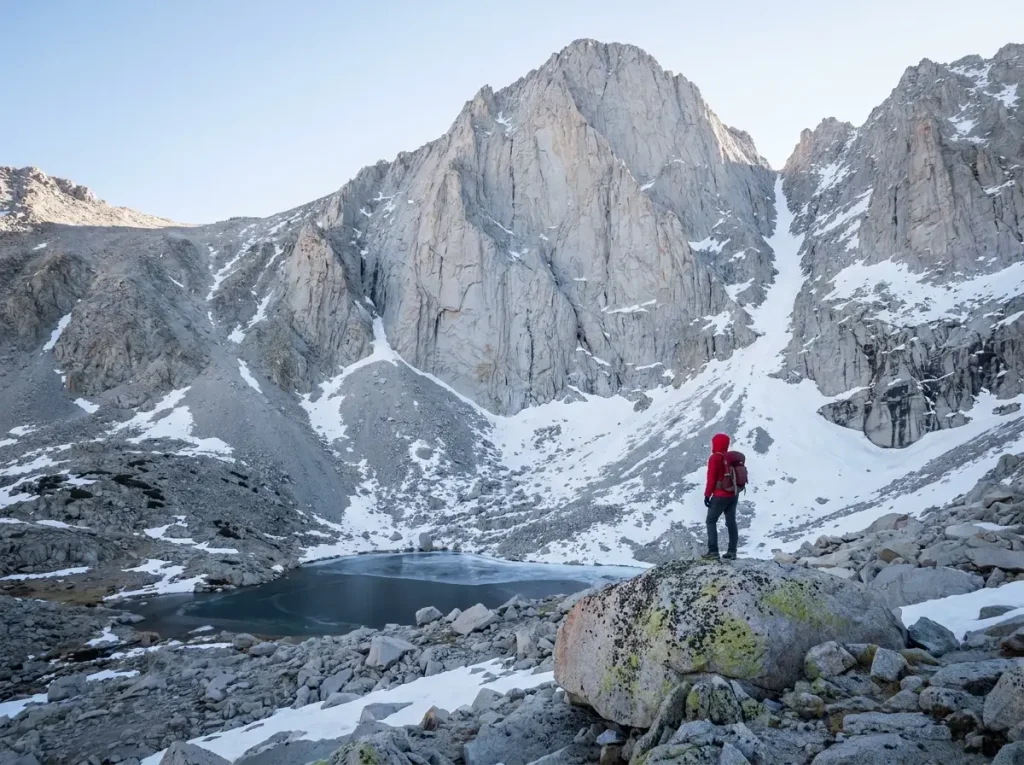
You start at Whitney Portal and follow the North Fork of Lone Pine Creek, which is a different drainage than the main trail. Early on you hit the Ebersbacher Ledges, the route-finding crux that gets its own section below because it deserves one. Above the Ledges the valley opens to Lower Boy Scout Lake and Upper Boy Scout Lake, then climbs over granite slabs to Iceberg Lake at 12,621 feet. Iceberg stays frozen most of the year, and the basin around it is genuinely alpine even in July: winter footing, winter water, winter camp conditions. This is not a Sierra meadow.
From Iceberg you climb the chute, also called the East Couloir, up to the Notch. This is the heart of the route and where the ice axe earns its weight. The chute runs about a mile with 1,490 feet of gain, averaging 39 degrees. That’s a sidewalk tilted to the point where a slip accelerates fast and doesn’t stop on its own. From the Notch, the Final 400 delivers you to the summit plateau and the highest ground in the lower 48.
Don’t try to do this as a single car-to-car push straight from sea level. Camp at Boy Scout or Iceberg Lake, sleep high, and split summit day. It turns a brutal 8-to-12-hour grind into two manageable halves and lets your lungs catch up before the chute. The people who bonk at Iceberg are almost always the ones who skipped the acclimatization night.
The descent retraces the route, and that’s its own hazard. The broad upper basin funnels tired people into the wrong gully on the way down, and the Ledges are as easy to miss descending as they are climbing. Skip the temptation to glissade the snow with your crampons still on, that’s a fast way to catch a point and tumble. More on the descent next.
The Ebersbacher Ledges, Where Most Parties Turn Back
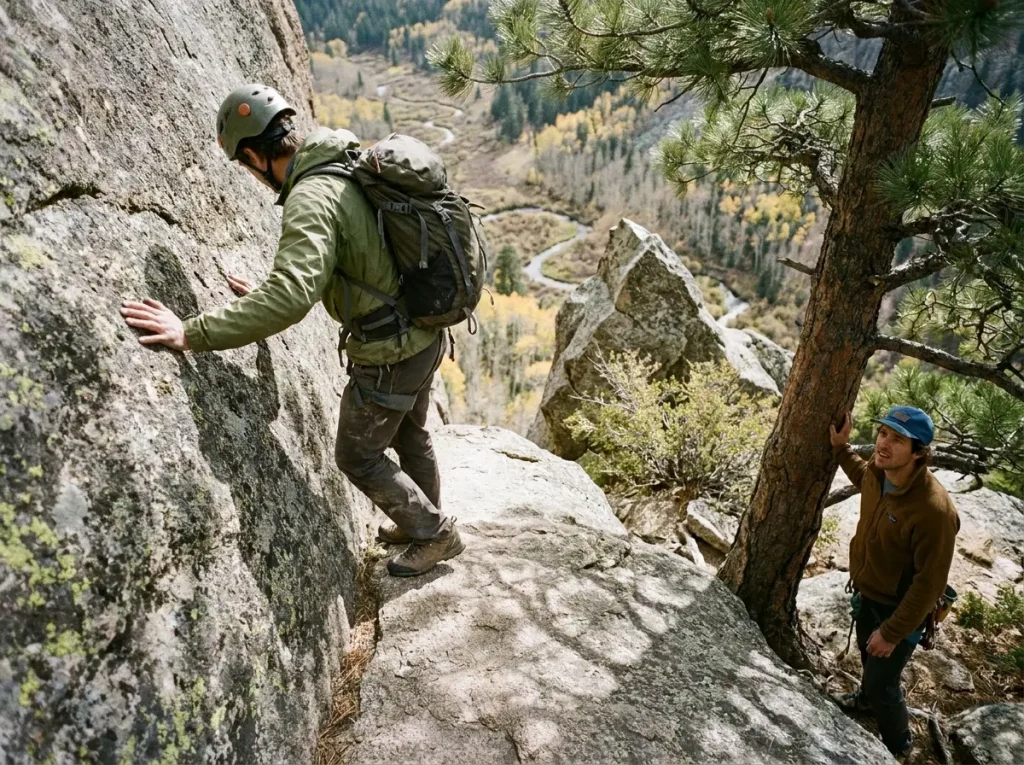
Here’s where everyone goes wrong, and it isn’t on the hard climbing. It’s down low, on the approach, at the Ebersbacher Ledges.
The problem starts with the entry. The chute that gains the Ledges is easy to miss, marked by a large Matterhorn-shaped boulder and a big pine. Miss that landmark and you keep grinding straight up the drainage into dense aspen and what trip reports lovingly call merciless willows. Parties get cliffed-out in there, stuck on terrain they can’t safely climb up or down, and a lot of them simply give up at the green wall without ever finding the real route.
Once you’re on them, the Ledges are a short but exposed traverse: a narrow shelf, in places barely wider than your boot, running above a roughly 100-foot cliff. This is not the place to improvise upward. Commit to the correct line and move deliberately. The climbing is trivial. The consequence of stepping wrong is not.
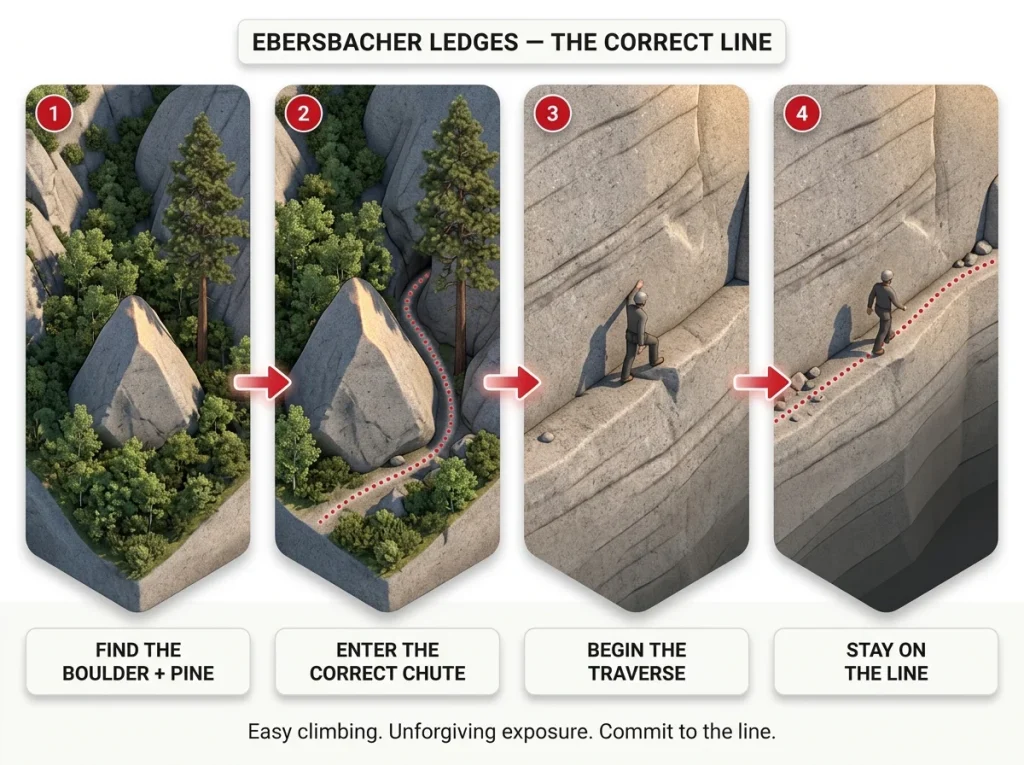
The cruel part is the descent. After a long summit day, you come back through here tired, and the Ledges are just as easy to miss going down. People who route-found perfectly on the way up still blow the line coming back and end up cliffed-out in the dark. Route-finding, not the climbing, is what turns most parties back on this route. Treat it with the same route-finding discipline alpine objectives in the North Cascades demand.
Photograph the Ledges entry on the way up, looking back the way you came. A phone shot of the Matterhorn boulder and the pine from above is worth more than any written description when you’re standing in the basin at dusk trying to find your line down. Either bring someone who knows the route, or study the Ebersbacher beta until you can picture it with your eyes closed.
Pick Your Poison, Choosing Your Season
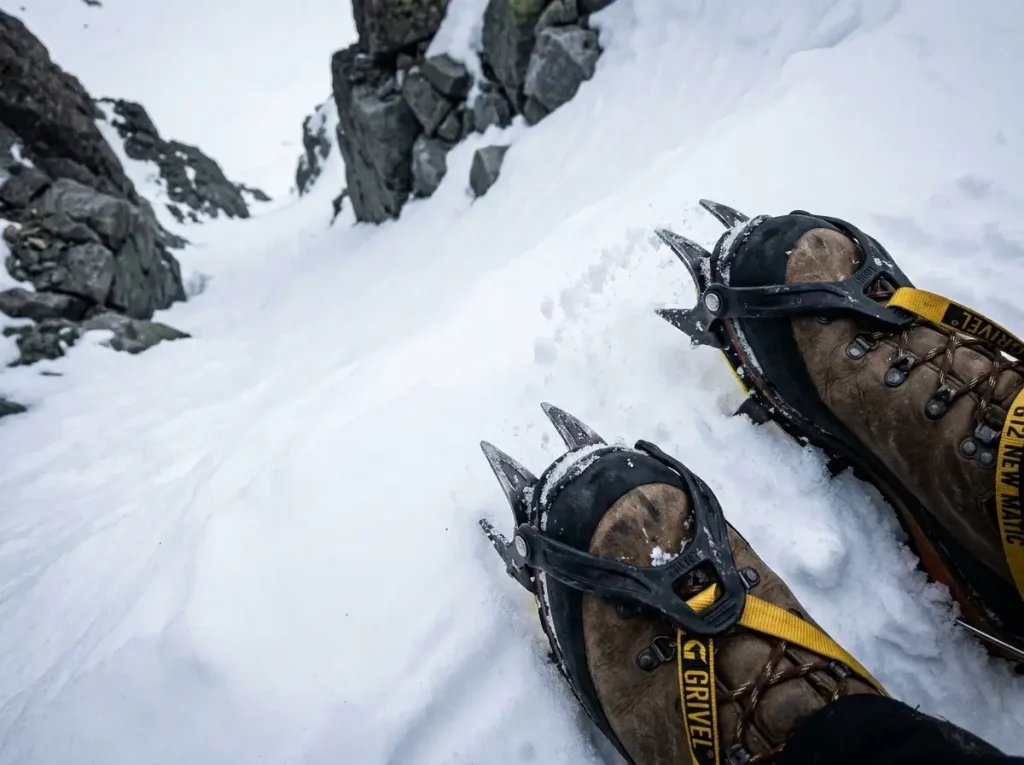
Everyone tells you “go early for snow” or “go late for dry.” Almost nobody helps you actually choose. So here’s the honest framing: there’s no easy window on this route, just different kinds of hard, and which one you pick should depend on your skills, not the calendar.
Early season, with the gully full of snow, is in many ways the better climb. You kick steps up firm snow instead of wrestling loose rock, and a snow-filled chute drops far less rockfall on you. The catch is that early season demands an ice axe, crampons, and real self-arrest skill. As the conditions crowd puts it, the more snow and ice that fills the gully, the better, but only if you can move on it.
Late summer, when the gully goes dry, removes the snow-skills requirement entirely. No axe technique needed. In exchange you get the bowling alley: a loose-scree gully where every party above you is a rockfall generator and the footing is miserable, two-steps-up-one-step-back talus. People go late expecting “easier” and find a different, dirtier kind of hard.
So the season choice is really a skills choice. Snow means you need axe competence. Dry means you need tolerance for loose, hazardous rock and a helmet you never take off. The quota season runs May 1 to November 1, and the late-July to September window is the most forgiving for the average party. This same snow-couloir-versus-dry-scree tradeoff is one you weigh on Mount Shasta, so if you’ve climbed there, you already know the decision.
If you have solid self-arrest, early season is the connoisseur’s call. A firm snow gully is faster, cleaner, and safer from rockfall than the late-summer scree. If you don’t have self-arrest dialed, late summer isn’t the easy alternative, it’s the version where you trade snow risk for rockfall and bad footing. Build the skill first, then take the better climb.
The Gear That Earns Its Weight
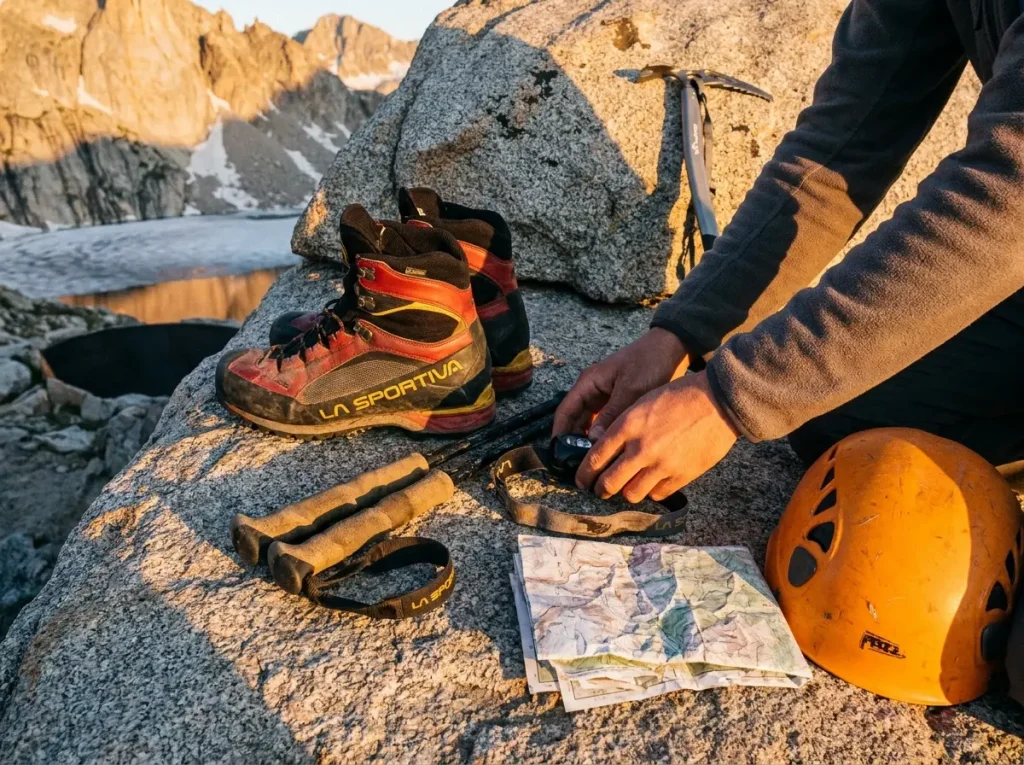
Most guides stay at category level: “bring an ice axe.” Here’s the model-specific version, with the reasoning, because the gear is genuinely different from what you’d carry on the Whitney Trail hike.
Start with the ice axe. For general mountaineering on a route like this, a classic straight-shaft axe is exactly right, and the Black Diamond Raven Ice Axe is the proven workhorse for step-kicking and self-arrest in the chute. If you want to shave weight on the long approach, the lighter Petzl Glacier Ice Axe does the same job with less swing weight. Either one earns its place early season.
For crampons, you want steel, not aluminum, for the alpine ice that fills the gully. The Grivel G12 New Matic Crampons use a semi-automatic binding that fits the range of boots most Whitney parties actually own, which matters because not everyone is on a fully rigid boot. If your boots are stiffer with a defined heel welt, the Black Diamond Sabretooth Clip Crampons are a durable all-around alternative.
Boot stiffness is the quiet decider. A flexible hiker flops around under a crampon and won’t hold a kicked step; crampon-compatible mountaineering boots do both jobs. The La Sportiva Trango Tech GTX (men’s · women’s) is stiff enough to take a crampon and kick steps yet light enough for the approach, which is the balance you want here. Round out the kit with the Black Diamond Distance Z Trekking Poles to save your legs on the climb and your knees on the loose descent, a Black Diamond Spot 400 Headlamp for the standard pre-dawn alpine start, and the National Geographic Trails Illustrated Mt. Whitney Map, a waterproof topographic map to back up your GPS for the route-finding that defeats so many parties.
One honest caution: a pair of Kahtoola MICROspikes is great for firm patches on the approach when full crampons aren’t warranted, but they are not a crampon substitute in the chute. Don’t let the lighter option talk you out of the right tool on the 39-degree snow. If you want the full system this kit slots into, see the broader alpinism gear you actually need.
Permits, Quotas, and the Whitney Zone Rules
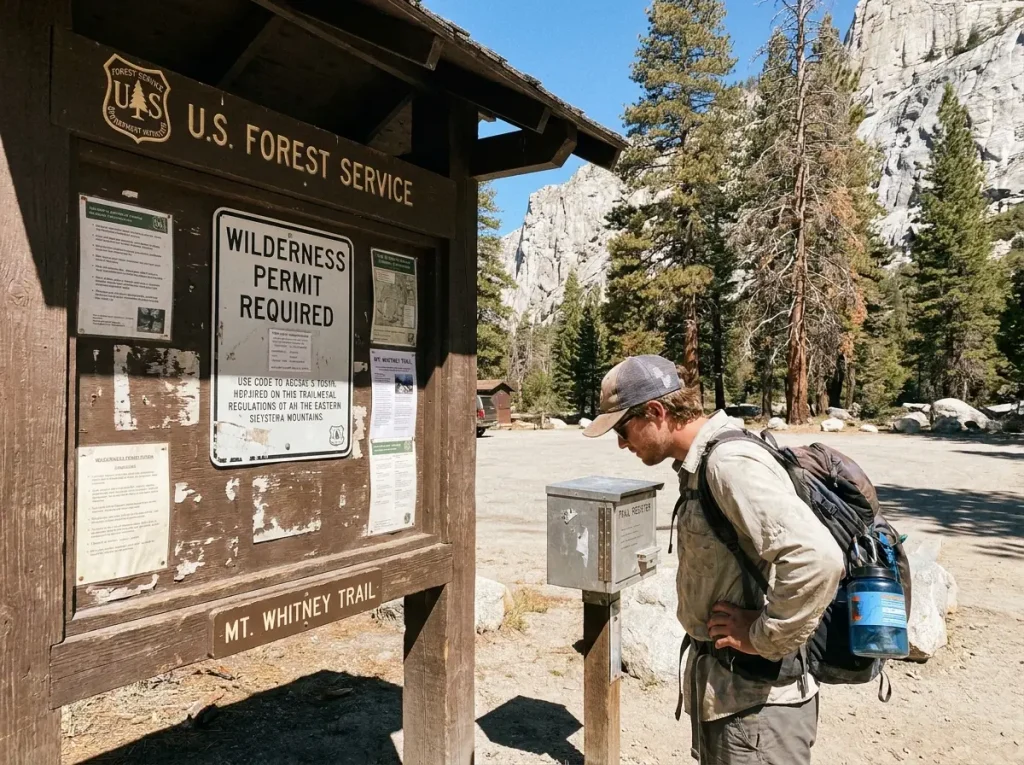
Good news first: the permit for this route is not the one the Main Trail hikers fight over in the February lottery.
You specifically select the North Fork of Lone Pine Creek entry, listed as JM34, on recreation.gov. It’s a different trailhead than the Main Trail, and that distinction is the whole game. North Fork overnight permits are not in the lottery. They’re reservable up to six months out, with 60% of the quota released at the six-month mark and the remaining 40% dropping two weeks before your date. That two-week release is your real second-chance window if you miss the early grab. You can reserve your North Fork of Lone Pine Creek (JM34) overnight permit on Recreation.gov directly.
The quota season runs May 1 to November 1. The fee is $15 per person plus a $6 transaction charge. Two requirements catch people off guard: a bear canister is mandatory for overnight trips, and a WAG bag for packing out solid waste is required throughout the Whitney Zone. There is no cathole option up here, you carry it out, and the Forest Service issues the WAG bags with your permit. The day-use versus overnight distinction also shapes how you plan summit day, so decide your style before you book. For the current rules, dates, and waste requirements, check the Inyo National Forest’s official Mount Whitney permit and regulations page.
Hazards and the Honest Skills Check
Name the mistake before the solution. That’s how real field advice works, so here’s the honest go or no-go, the kind you want to run at the planning table, not at the Notch.
Rockfall in the chute is the headline hazard, both natural and triggered by parties above you. This is why a climbing helmet isn’t optional on this route in any season. The Petzl Meteor Helmet is light enough that you’ll actually keep it on for the whole chute instead of clipping it to your pack the moment you get tired, which is the entire point of a helmet you’ll wear.
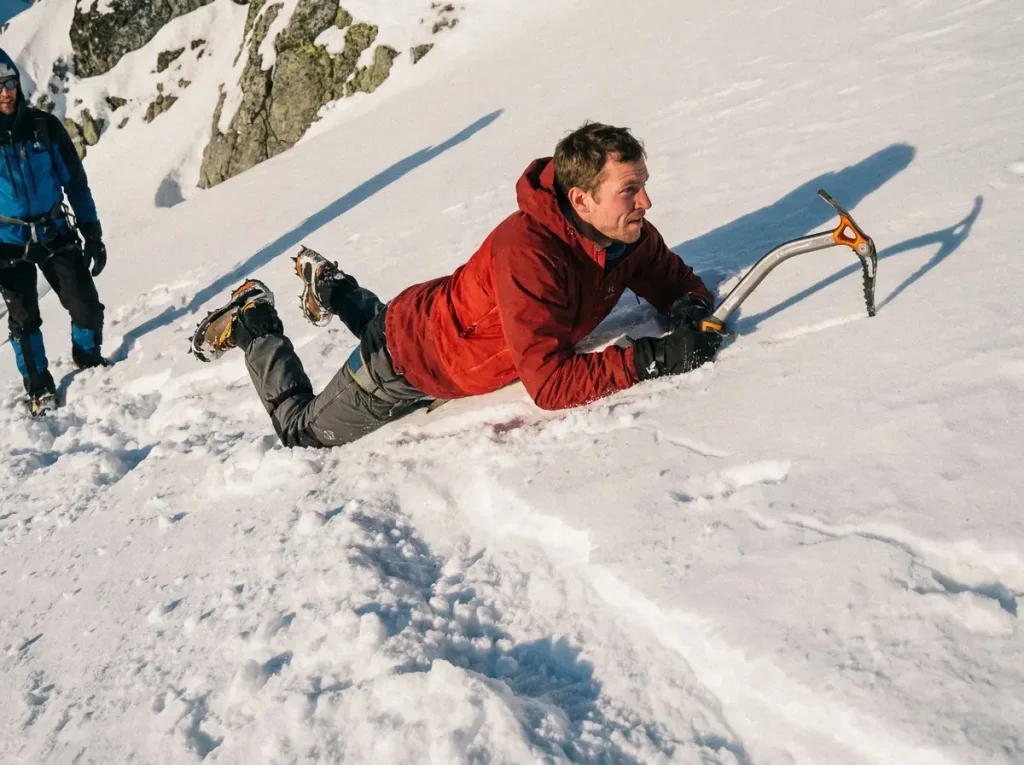
The bigger gut-check is the exposure. The chute and the Final 400 are unroped for most parties, yet a slip on them can be fatal. That makes self-arrest the early-season gate, not a nice-to-have. Be honest with yourself about three things: whether you have a dialed ice axe self-arrest you can do without thinking, whether you’re genuinely comfortable on exposed Class 3 and Class 4 down-climbing, and whether you handle altitude above 10,000 feet well. If any of those is a shaky maybe, this is the route to build toward, not to attempt this weekend. It’s the same readiness math as the Owen-Spalding on the Grand Teton, where the grade undersells the consequence, and it’s worth knowing the objective hazards every alpine climber learns to weigh before you commit.
Two more realities. There’s no cell coverage up there, so a satellite communicator like the Garmin inReach Mini 2 turns an accident from a catastrophe into a callout. And the mountain makes its own weather: altitude sickness above 10,000 feet and afternoon thunderstorms are both real, and both are beaten by the same habit, the pre-dawn alpine start that gets you up and down before the sky turns.
Practice self-arrest on a safe runout slope before the trip, not for the first time in the chute. Roll onto the pick from every position: head-up, head-down, on your back. The version that saves you is the one your hands do automatically while your brain is still catching up. If you can’t practice it, you’re not ready for the early-season gully.
Conclusion
Three things to carry off this page. The moves on the Mountaineer’s Route are easy and the consequence of a slip is not, so respect the exposure the grade hides. The season you pick is a skills decision, not a calendar one, snow rewards axe competence and dry punishes the unprepared with rockfall. And route-finding, not climbing, is what turns most parties back, mostly at the Ebersbacher Ledges.
So do the homework. Study the Ledges line until you can see it, honestly rate your self-arrest and your comfort with exposure, and pick the season that matches what you can actually do. Get those three right and the highest summit in the lower 48 goes from a gamble to a great day out.
Frequently Asked Questions
01Is the Mt Whitney Mountaineer’s Route safe for beginners?
No. The Class 3 grade describes easy moves, but the Final 400 sits over a no-fall zone where a slip can be fatal. It suits experienced scramblers with self-arrest skills, not first-time mountaineers.
02Do I need a permit, and is it the lottery one?
Yes, you need a Whitney Zone permit, but not the lottery one. You reserve the North Fork of Lone Pine Creek (JM34) entry on recreation.gov. Overnight permits are first-come reservable up to six months out, not part of the February lottery.
03What is the best time of year to climb it?
Late July through September is most forgiving for the average party. Early season offers a snow-filled gully that is faster and lower rockfall, but it requires ice axe, crampons, and self-arrest skill.
04How long does the Mountaineer’s Route take car-to-car?
Roughly 8 to 12 hours for a fit, acclimatized party, with fast teams closer to 8. Most climbers split it into a two or three day trip, camping at Boy Scout or Iceberg Lake to acclimatize.
05Do I really need an ice axe and crampons?
In any season with snow in the gully, yes, and you need the skill to use them. Only dry midsummer conditions let you skip them, and even then a helmet stays mandatory because of rockfall in the chute.
Safety Notice: Rock climbing and mountaineering are inherently high-risk
activities that can involve physical trauma or fatal incidents. The information on Rock Climbing Realms is for
educational and informational purposes only. Techniques and advice presented here are not a substitute
for professional, hands-on instruction. Conditions and risks vary by location. Always seek guidance
from a qualified instructor before attempting new techniques. By using this website, you agree that you
are solely responsible for your own safety. Any reliance you place on this information is strictly
at your own risk, and you assume all liability for your actions. Rock Climbing Realms and its authors
will not be held liable for any harm, damage, or loss sustained in connection with the use of this information.
Affiliate Disclosure: We are a participant in the Amazon Services LLC Associates Program, an
affiliate advertising program designed to provide a means for us to earn advertising fees by advertising and linking
to Amazon.com. As an Amazon Associate, we earn from qualifying purchases. We are also an official affiliate partner
of Black Diamond Equipment via the AvantLink network. If you click on a Black Diamond affiliate link and make a
purchase, we may earn a commission at no additional cost to you. We also participate in other affiliate programs.
Additional terms are found in the terms of service.