
In this article
Climbers can spend weeks arguing Abruzzi versus Cesen, but here is the part that reframes the whole debate: whichever line you pick, the mountain funnels every one of you into the same 300 vertical meters near the top. That stretch is called the Bottleneck, and it is where most of K2’s fatalities happen. The route data and the numbers below come from high-altitude journalist Alan Arnette’s season reporting and cross-referenced expedition records, not from expedition-company marketing copy. This is the honest version of K2 climbing routes, covering every named line, what the alpine grades actually mean, why the Bottleneck is the real story, and a straight answer on who should even be thinking about this.
Here is every line anyone actually climbs on K2, at a glance.
| Route | Side | Alpine Grade | Share of Climbers | Signature Hazard |
|---|---|---|---|---|
| Abruzzi Spur (SE Ridge) | Pakistan | TD+ | ~75% | Black Pyramid rockfall, then the Bottleneck |
| Cesen Route (SSE Spur) | Pakistan | TD+ to ED | ~15-20% | Steep technical rock, then the Bottleneck |
| North Ridge / Pillar | China | ED | Rare | Extreme remoteness, no rescue |
| Extreme lines (Magic Line, etc.) | Both | ED to ED+ | Single-digit ascents | Everything at once |
How Many Routes K2 Actually Has
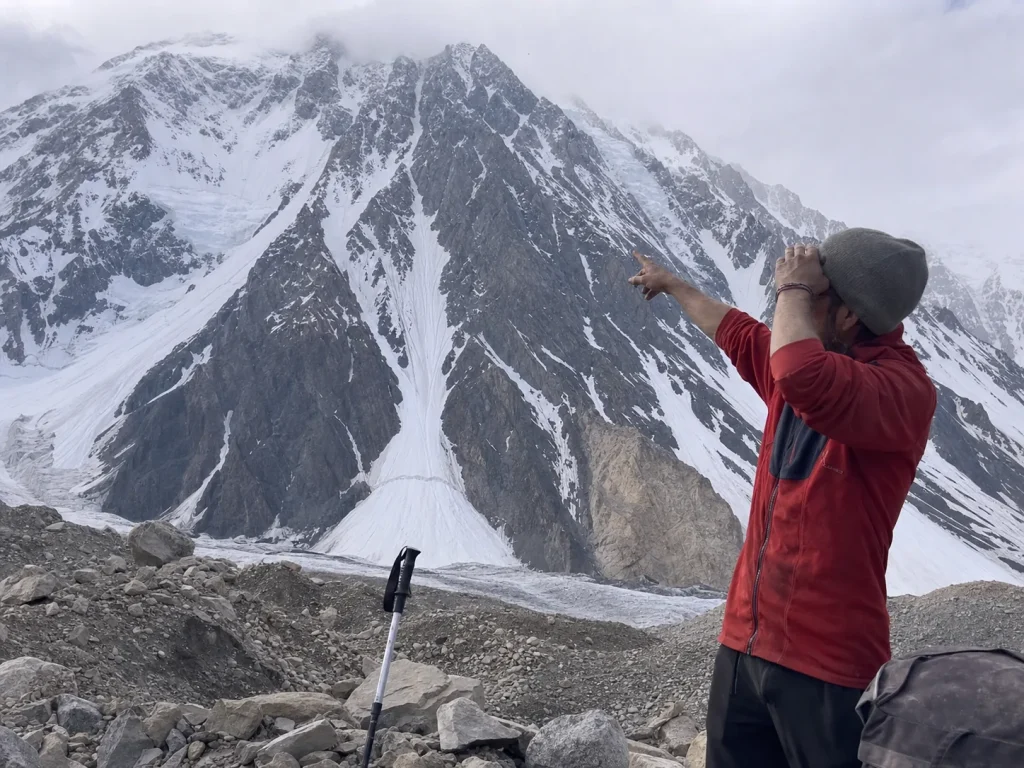
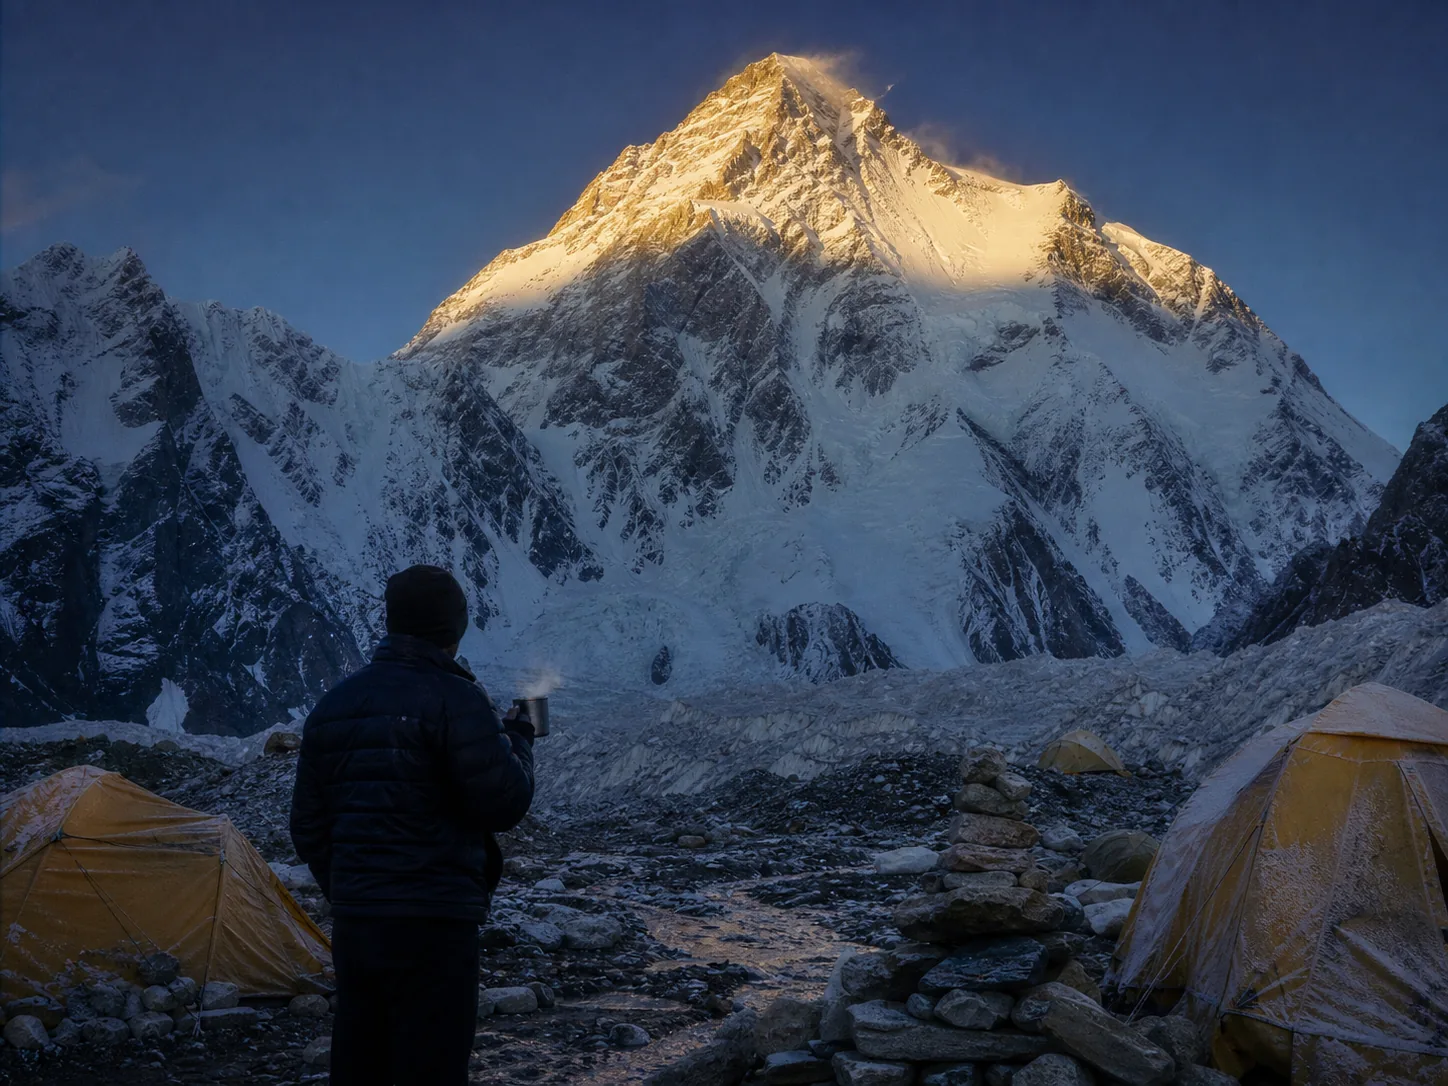
You google “K2 routes” and get a confusing list of a dozen named lines. Here is the useful version: only a handful are real options, and the rest are single-digit-ascent test pieces for the best alpinists alive. K2 sits in the Karakoram on the Pakistan-China border, and it earns its place among the most demanding of the world’s great peaks, the kind profiled across one of the most demanding rosters in the world’s mountaineering canon. It is also, by most expert accounts, widely rated the most technically difficult of the 8,000-meter peaks.
Roughly nine named routes get cited regularly, with up to a dozen documented across the mountain’s faces and ridges. But only three see any repeat traffic at all. The Abruzzi Spur carries about 75% of every attempt. The Cesen Route takes another 15 to 20%. Everything else combined is a rounding error in the summit log.
The geography splits cleanly by side. The Pakistan (south) side holds the two standard routes and all the fixed-camp infrastructure. The China (north) side is the remote alternative, reached through a different country and a far longer approach. That split matters less than you would think, though, and here is the through-line the rest of this guide pays off: picking a route on K2 mostly changes how you reach the shared crux near the summit, not whether you face it.
The Abruzzi Spur, K2’s Standard Route
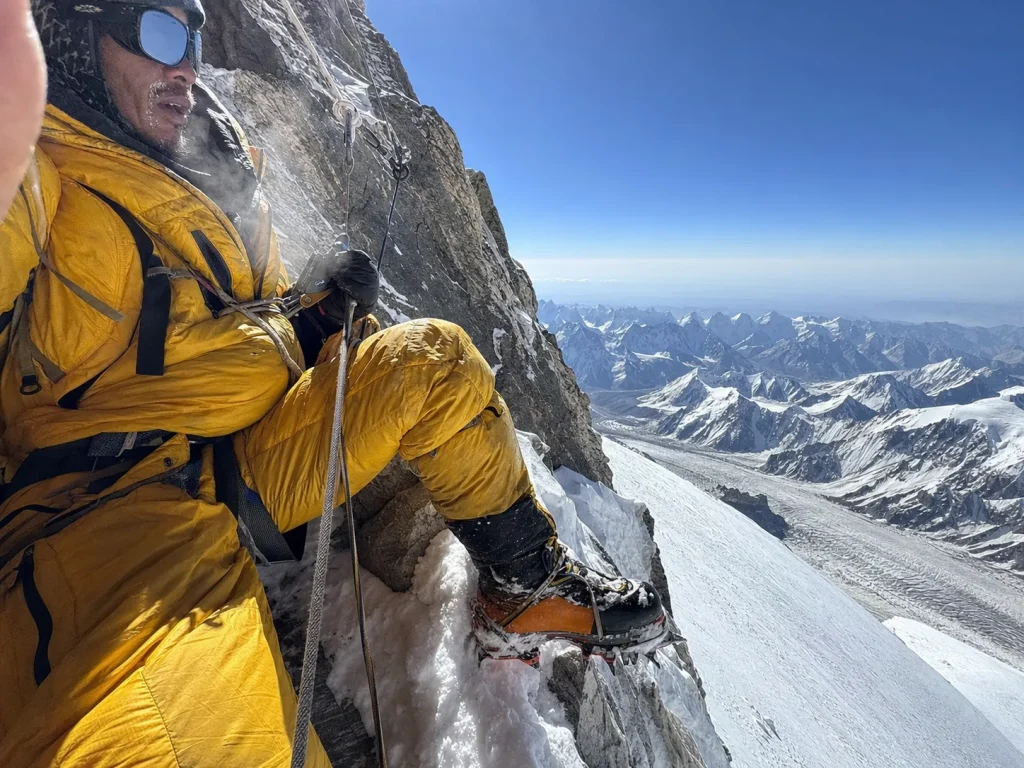
“Standard” does not mean easy. The Abruzzi Spur, which follows the Southeast Ridge, is the standard route the way the hardest trad line at your local crag is the “trade route.” Everyone does it, and it still has teeth. It carries the most traffic because it has the most established fixed-line infrastructure, the most beta, and the most guided support, not because the climbing is gentle. It is named for the Duke of Abruzzi, whose early expedition first scouted the line, and it became the route of K2’s first ascent in 1954.
The spur has named technical features you should picture concretely before treating it as the soft option. House’s Chimney is a steep, fixed-rope rock step low on the route. The Black Pyramid above it is a sustained buttress of mixed rock and ice that grinds on for hundreds of meters before you reach the Shoulder at around 7,900 meters. A veteran will tell you to file both of those as graded obstacles, not scenery labels.
The Abruzzi’s specific risk signature is rockfall and avalanche exposure, most of it concentrated through the Black Pyramid. The climbing style is siege-style: fixed camps, fixed ropes, and acclimatization rotations up and down the lower mountain, above Base Camp on the Godwin-Austen Glacier, over several weeks before any summit push. Watching it done in first person makes the scale land in a way no still photo can.
The Cesen Route, Harder Climbing but Less Exposure
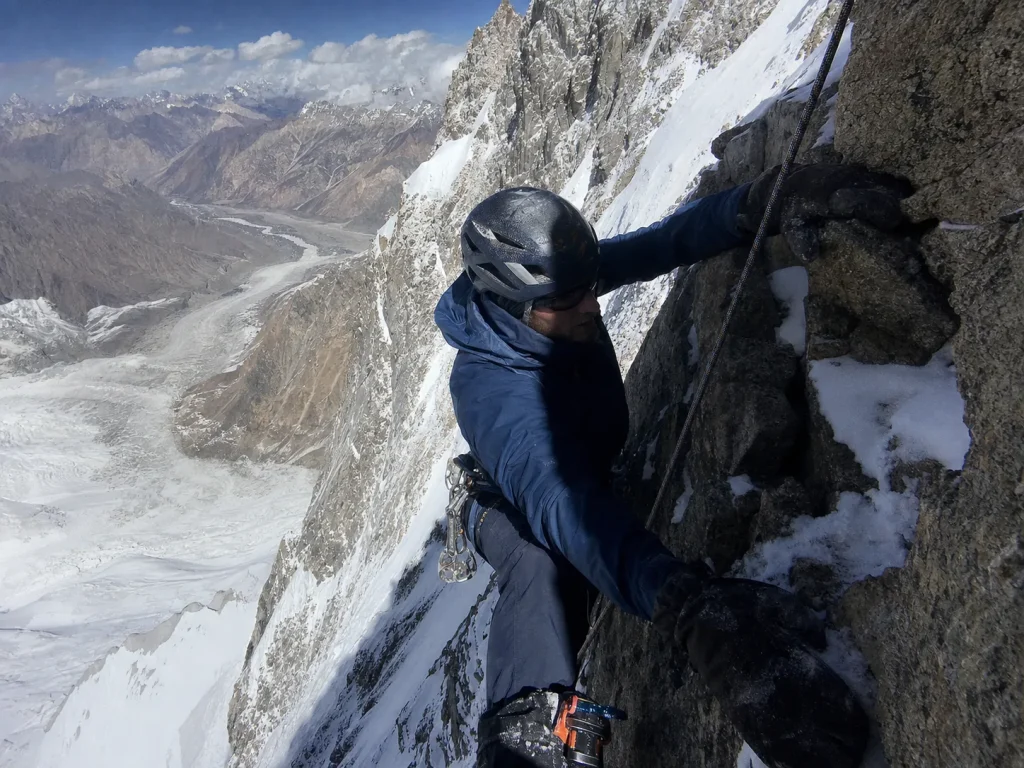
The Cesen Route up the South-Southeast Spur, named after the Slovenian alpinist Tomo Česen, is the clear number two, and it deserves a real profile rather than a footnote. It carries 15 to 20% of recent commercial attempts. What makes it interesting is that it is genuinely harder to climb than the Abruzzi in one sense and genuinely safer in another, and those are two different things.
The Cesen is steeper and more technically demanding on its lower and middle rock sections. But it reduces your total time in the fall line of objective hazard, because it sidesteps the Black Pyramid’s worst rockfall and avalanche terrain. So “harder” and “more hazardous” are not the same axis on K2. The Cesen asks more of your climbing; the Abruzzi asks more of your luck. This is exactly the kind of reputation-versus-reality trap that also snares climbers eyeing supposedly straightforward 8,000ers, the way an “easy” 8,000er reputation can quietly mislead you.
The real route decision on K2 is not which line is easier overall. It is which lower-mountain risk profile you are better suited to: the Abruzzi’s rockfall through the Black Pyramid, or the Cesen’s steeper technical rock. Above the Shoulder you are on the identical line anyway, so choose for the ground you personally climb best.
The North Ridge and the Chinese Side
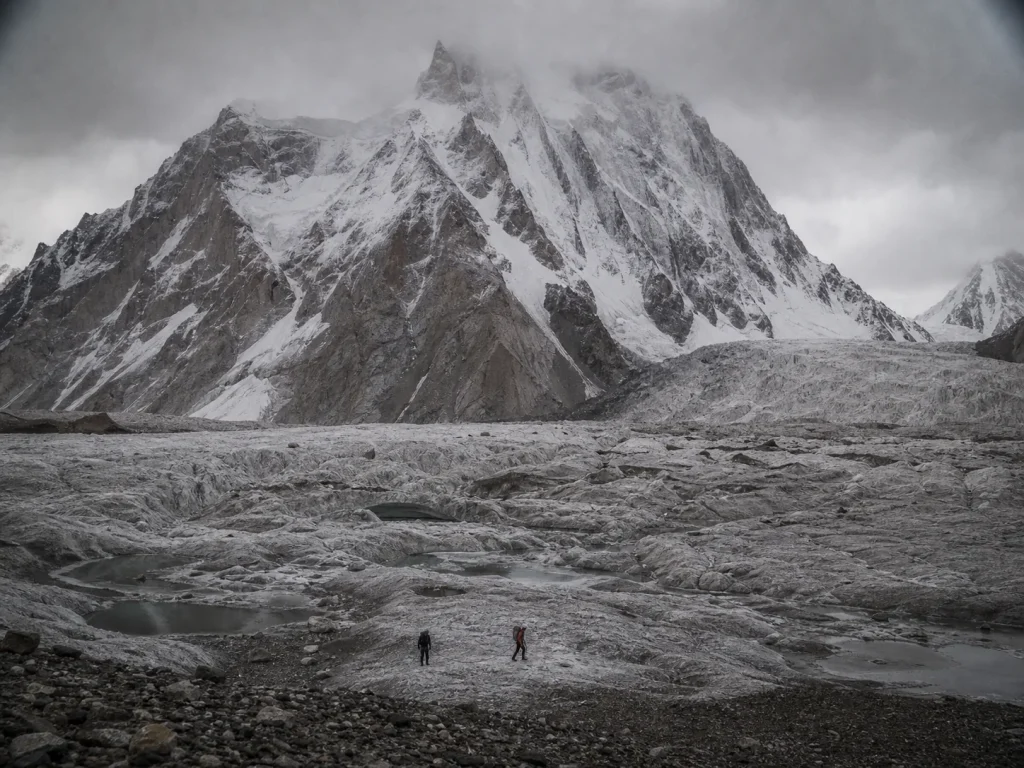
The North Ridge, sometimes climbed as the North Pillar, is the route for people who have already done nearly everything else. It ascends from the China side in Xinjiang, reached through the remote Shaksgam Valley, far from the Baltoro Glacier infrastructure that supports the Pakistan-side routes. The approach alone is a serious, committing undertaking.
Its appeal is that it avoids the classic Bottleneck line under the summit serac. Its catch is that it trades that for extreme remoteness, almost no fixed support, and a far smaller margin for error. “Avoids the Bottleneck” is not the same sentence as “safer.” On the North Ridge, remoteness is its own hazard multiplier, because if something goes wrong there is effectively no rescue coming.
Historically significant and rarely climbed, this is a route for elite alpinists operating in small, self-reliant teams, not for commercial expeditions. Its permit and logistics chain runs through China rather than Pakistan, which is a completely separate planning problem from the standard south-side expedition most climbers picture.
The Extreme Lines Almost Nobody Climbs
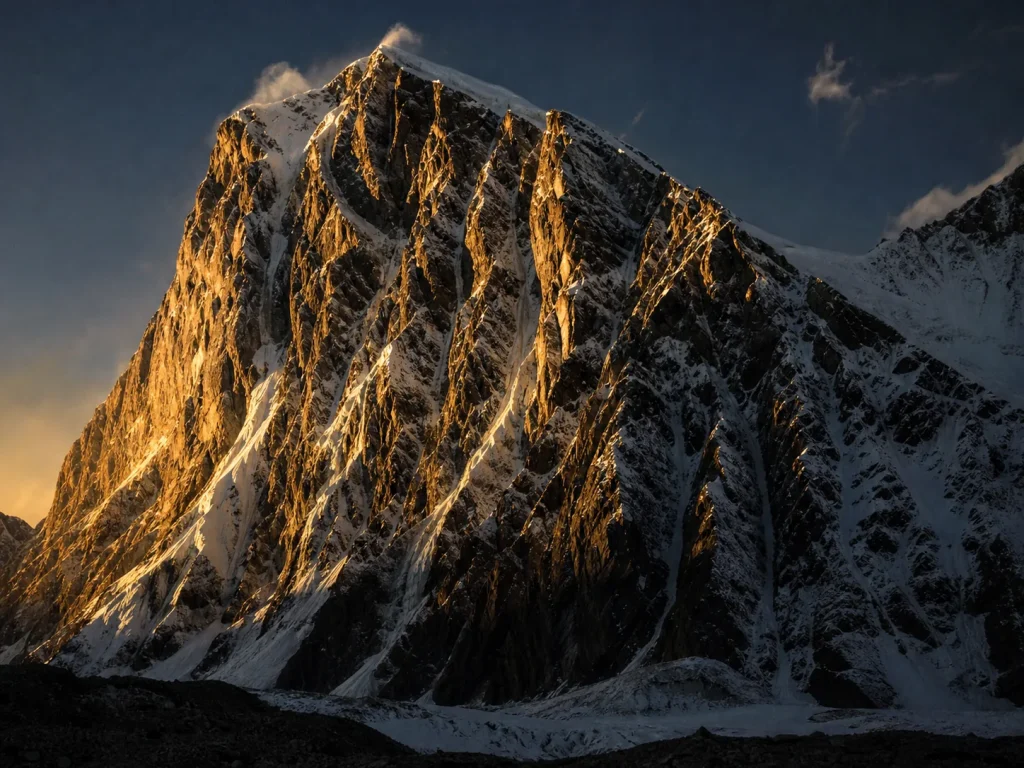
These are not on your menu, but you should know they exist, the way you would point out the local crag’s never-repeated horror-show line to a friend. K2’s severe faces hold several test pieces that sit at the cutting edge of alpinism: the Magic Line up the South-Southwest Pillar, the West Ridge, the Polish Line on the South Face, the Northeast Ridge, and lines on the Northwest Face and West Face.
Each of these carries single-digit ascent counts. Several have been climbed once and never repeated. They run through ED to ED+ terrain with no commercial support and no reasonable expectation of help, most of them attempted alpine-style by tiny self-reliant teams, and they are where the best high-altitude alpinists have historically tested themselves against the mountain’s hardest possible ground.
Names like Jerzy Kukuczka and Tadeusz Piotrowski are attached to the hardest of these lines for a reason. The useful mental filing for the rest of us is simple: for something like 99.9% of climbers, these are history and inspiration, not objectives. Knowing they exist rounds out the picture of what K2 is; treating them as a goal is a category error.
The Bottleneck, Where Every Route Converges
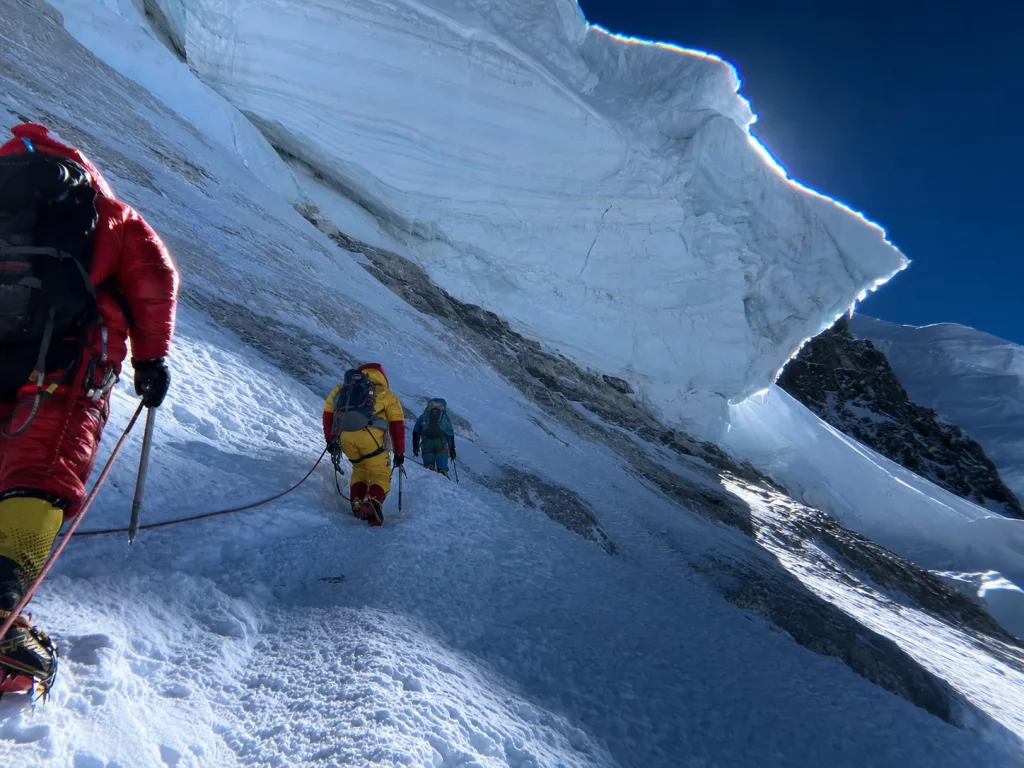
This is the section the title promised. It does not matter which line you climbed for six weeks. The last, most exposed stretch is the same for all of you.
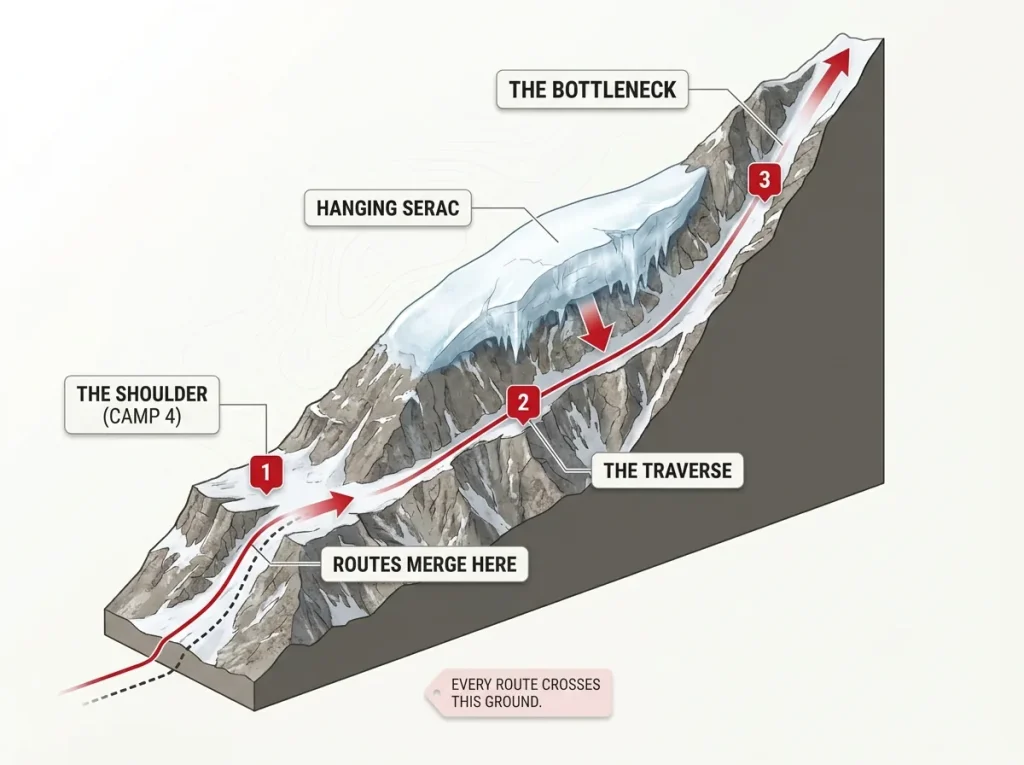
The Abruzzi and the Cesen physically converge at the Shoulder, K2’s Camp 4 at around 7,900 meters, and from there they share the exact same traverse and couloir to the summit. That shared stretch is the Bottleneck, and it is the single most hazardous 300 vertical meters on the mountain. It plays the same role as a final launch pad that Camp 4 plays on Everest, except that here the ground above it is far steeper and more exposed.
The reason the Bottleneck is so feared is a hanging serac, an overhanging wall of glacial ice that leans directly out over the climbing line. No skill controls it. It sits there, and you traverse beneath it. This is the ground behind the 2008 K2 disaster, still the deadliest single day in the mountain’s climbing history, when a serac collapse destroyed the fixed ropes while climbers were still above it, stranding many of them near the summit as the light went. The payoff of this whole guide is one flat sentence: route choice changes your approach to the Bottleneck. It never changes whether you have to cross it.
What Makes the Bottleneck Hazardous Now
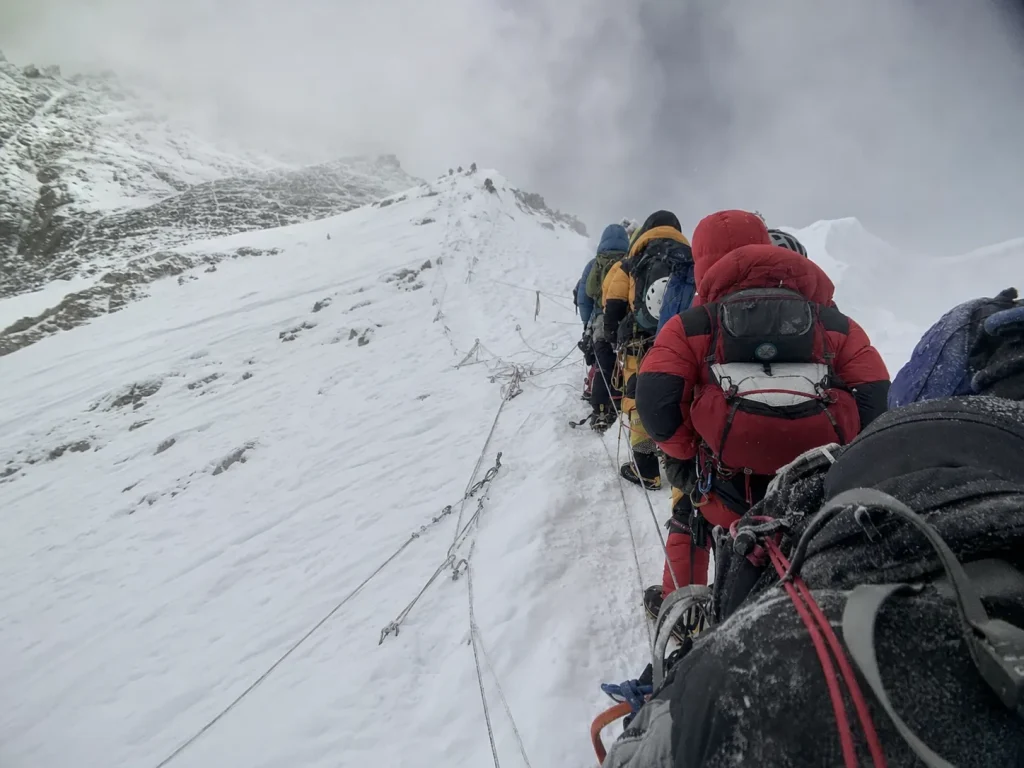
Most accounts tell you the Bottleneck is hazardous because of the 2008 serac collapse, and then stop. The insider correction is that the recurring modern problem is scheduling, not just ice.
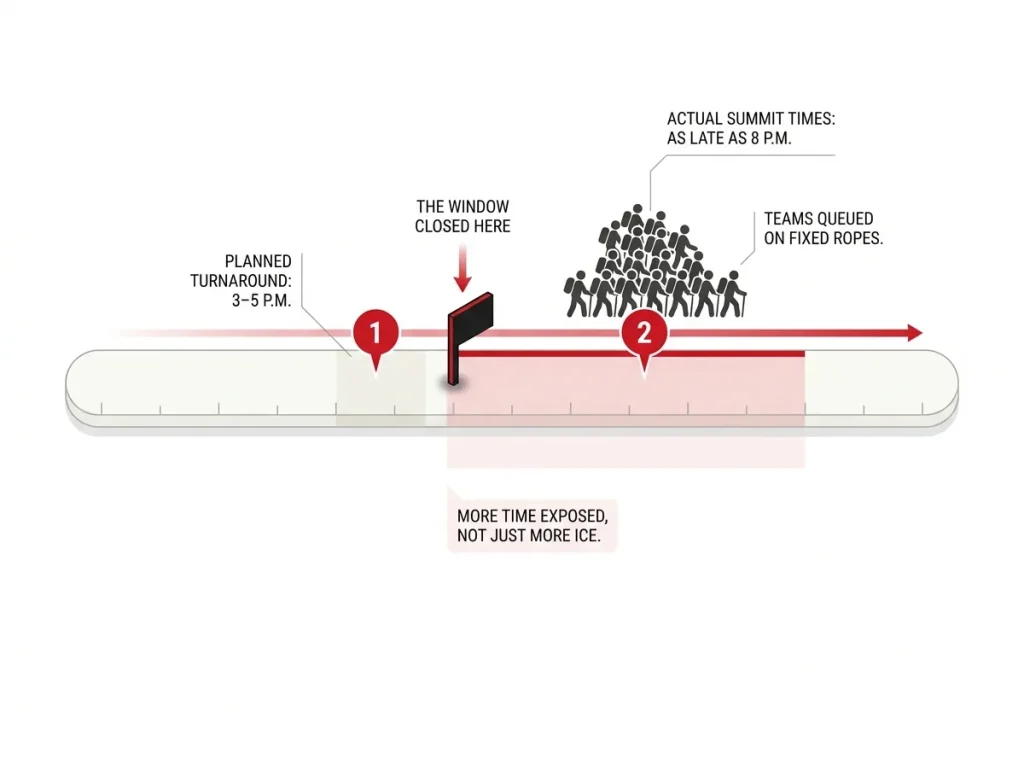
Look at the root sequence of 2008. Around ten teams had waited nearly two months at Base Camp for a usable weather window. When one finally opened, all of them pushed for the summit at once, and the fixed-rope traffic backed up so badly that many climbers summited as late as 8 p.m., against a standard turnaround target of 3 to 5 p.m. Then the serac let go and took the ropes with it. The catastrophe was not one bad decision. It was a literal bottleneck of too many climbers converging on one window, then losing their only way down.
That mechanism is the point. A queue of climbers waiting their turn on a single fixed line leaves each person standing under the serac far longer than the climbing itself demands. The hazard is measured in time exposed, and overcrowding multiplies that time. Commercial seasons from 2022 through 2025 have reproduced the same setup: more clients, the same narrow 2-to-3-day windows, the same choke point.
The trap is the sunk cost of the weather window. After weeks of waiting, teams talk themselves past a safe turnaround time because the window finally opened and the summit feels close. Pre-committing to a hard turnaround, and honoring it even when the top is in sight, is the discipline that separates survivors from statistics.
The honest takeaway is uncomfortable: the Bottleneck’s hazard today is as much about who else is on the mountain as about the mountain itself. Knowing the turnaround-time discipline that separates survivors from statistics is not optional reading here, it is the core survival skill of the summit day. A visual reconstruction of the serac geometry makes why this ground is unavoidable far clearer than any description.
What TD and ED Actually Mean for a Crag Climber
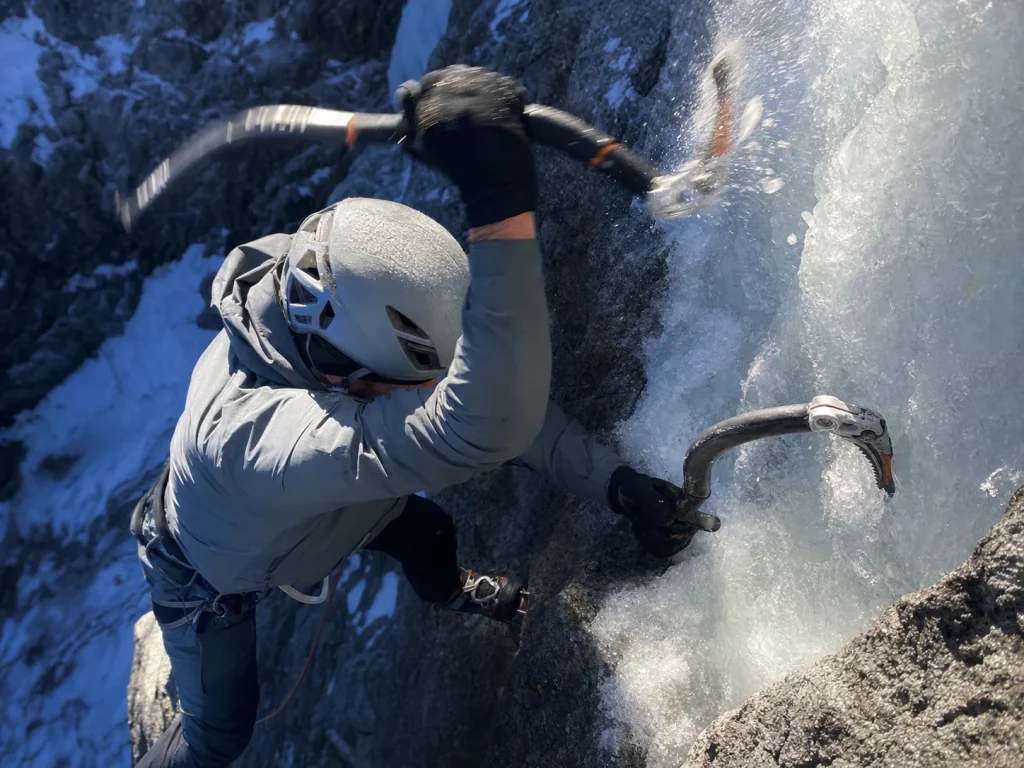
Every competitor states K2’s routes as a grade label, TD or ED, and none of them tell you what that actually feels like in terms you already own. Here is the single most useful thing a veteran alpinist can do for a strong sport climber staring at “TD+.”
Start with the plain definitions. TD stands for Très Difficile, meaning long, serious, remote routes with rock up to roughly French 6 and ice up to around 80 degrees or WI5+. ED, Extrêmement Difficile, means sustained French 6 rock or long stretches of vertical ice, with ED1 and ED2 marking escalating severity. Those grades are defined according to the International School of Mountaineering’s alpine grading reference, a professional guiding organization rather than a blog.
Now translate it. The individual moves on K2’s standard routes are within a strong climber’s ability. Picture sustained WI4-5 ice and low-5.10 mixed movement. If you lead WI4 at your local ice crag and you have a comfortable 5.10 trad head, the moves themselves would not shut you down at sea level.
The catch is the delivery. You are asked to make that movement at 7,000 to 8,000 meters, on little or no sleep, wearing a down suit and thick gloves and crampons, breathing a third of the oxygen, with a fall being close to unsurvivable. The grade number is not what filters people out. The conditions the grade is delivered in are the filter. That is why a strong 5.11 or 5.12 climber can look at “TD+” and badly underestimate the real ask, because the label prices the movement and says nothing about the setting. Any of this terrain also assumes you already own the self-arrest skills any of this ground takes for granted before you even rope up.
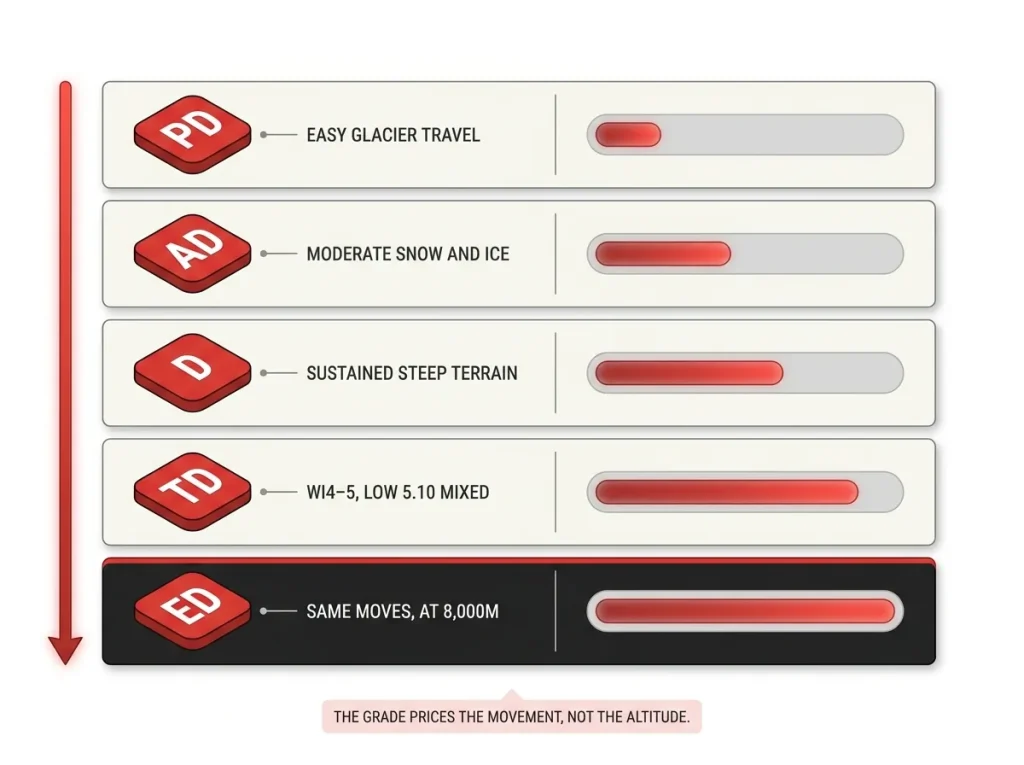
Route Grades and the Experience K2 Demands
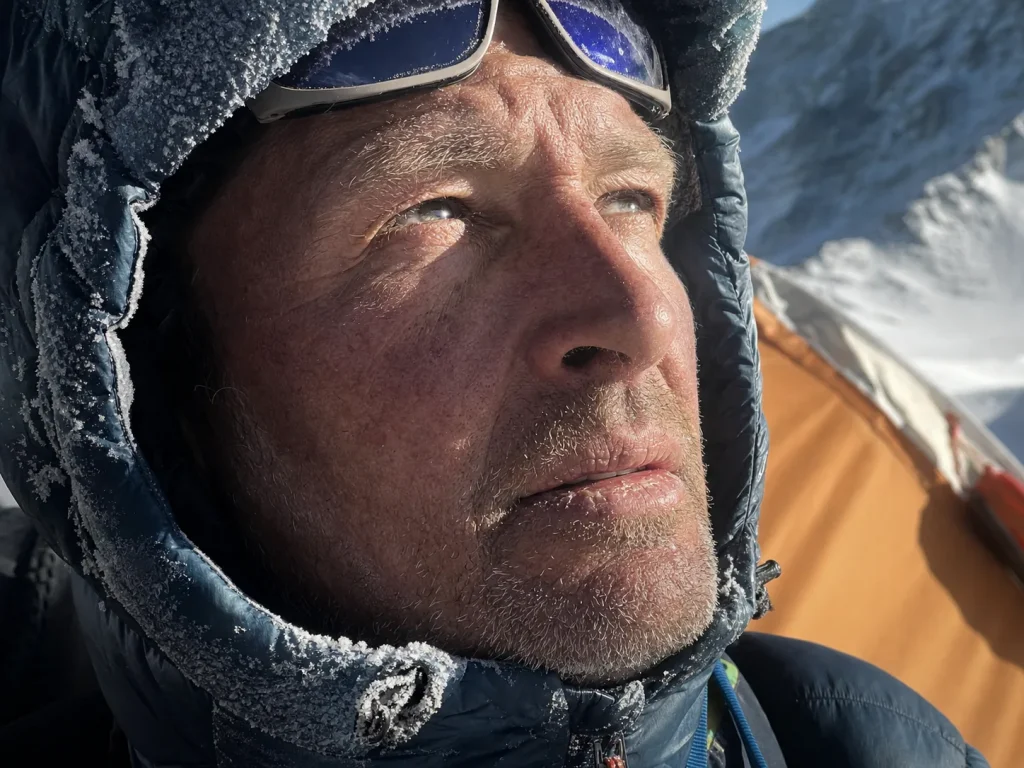
The gatekeeping conversation guides actually have is not about fitness. It is about whether you have been high, cold, and committed before, and whether you climbed well when you were.
Virtually every operator requires prior 8,000-meter experience before they will take you on K2. And here is the stat that should reset your assumptions: only around 250 people in history have summited both Everest and K2, despite Everest being a far more heavily trafficked peak. The two are not interchangeable résumé lines.
Alan Arnette, who has 25 years of high-altitude experience, puts it bluntly: just because you summited Everest does not mean you are ready for K2. His reasoning is concrete. K2 has no low-angle rest comparable to Everest’s Western Cwm, so climbers used to Everest’s rhythm are caught off guard by K2’s near-constant steep terrain. Treating “Everest-summited” as “K2-ready” is the single most common false-confidence pattern among aspirants. What genuinely prepares a climber is a technical alpine background first and altitude experience second, in that order of importance, and the altitude conditioning that has to be in the bank before any of this is a baseline, not a bonus.
Season, Permits, and Expedition Logistics
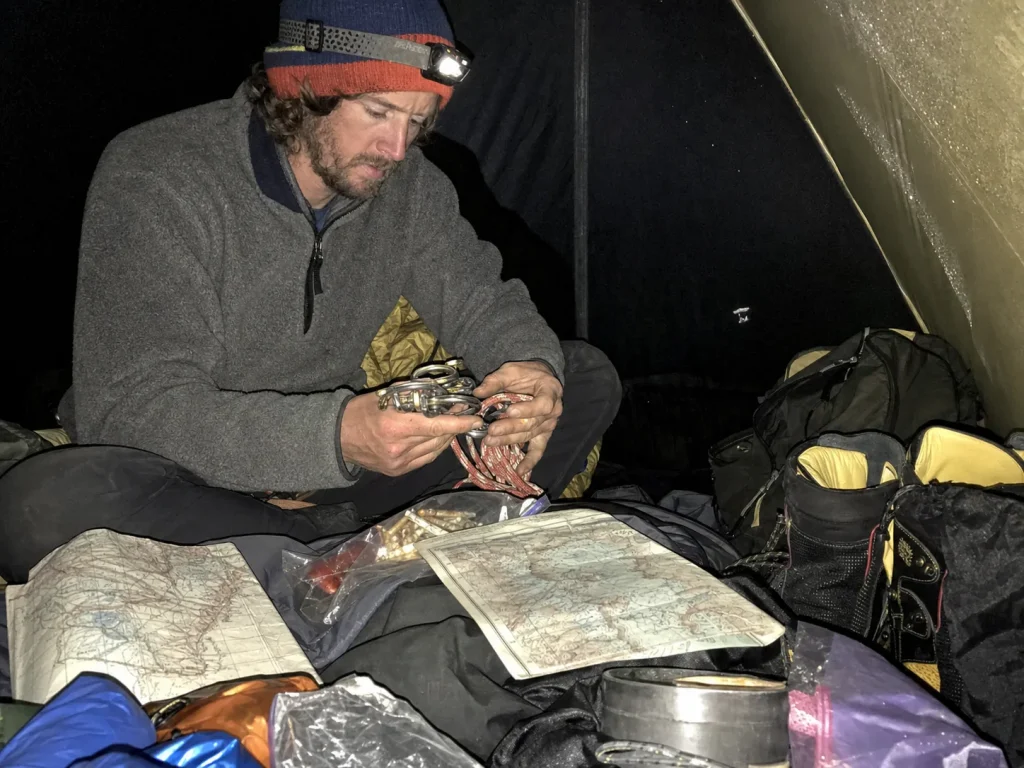
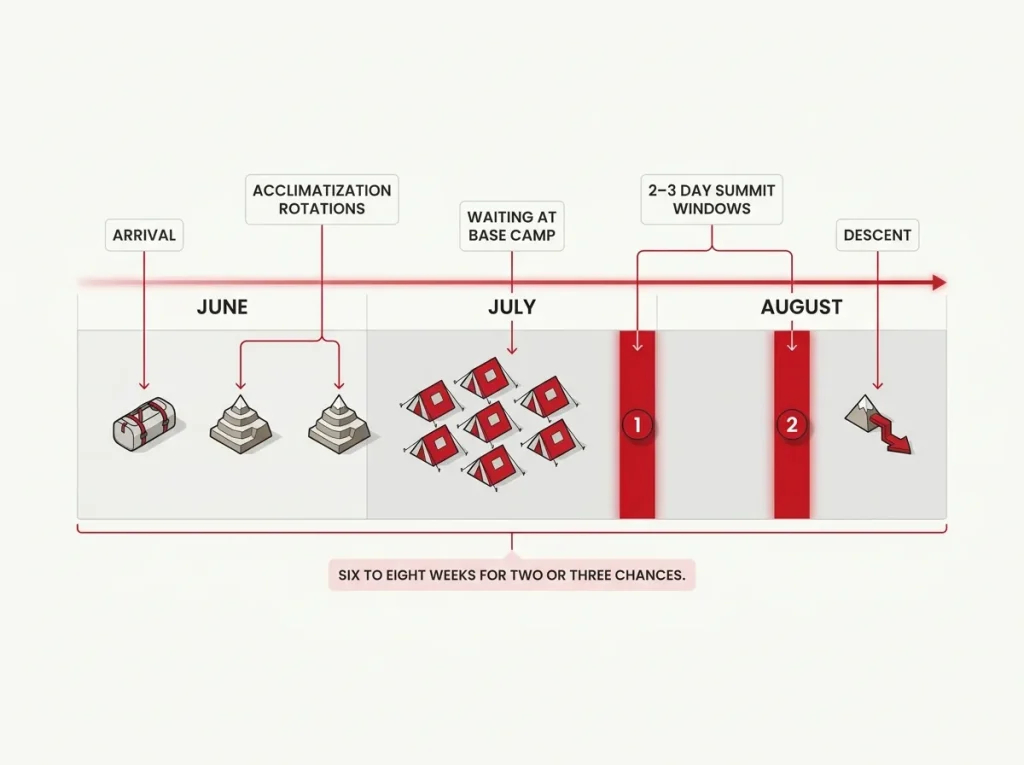
The logistics reality surprises people who think of a climb as a climb. You budget six to eight weeks to catch maybe two or three usable days.
K2’s climbing season is a narrow window from roughly June through August, and the actual summit-weather windows inside it run only 2 to 3 days at a time. Expeditions plan for 6 to 8 weeks on the mountain to catch what amounts to two or three genuine chances total. The rest is acclimatization rotations and waiting.
The two permit systems split by side. Pakistan governs the south-side standard routes, with the approach running through Skardu and the village of Askole to Base Camp on the Baltoro. China governs the north side through the Shaksgam, an entirely different logistics chain. As for cost, an expedition-scale budget is the honest framing. It sits in the same league as other 8,000-meter expeditions, with operator tier driving most of the range, from lean logistics-only support to full guided packages. If you want the full picture of what an 8,000-meter expedition really costs once every line item is on the table, the Everest breakdown maps closely, and there is a step-by-step way to budget a major alpine climb that applies directly here.
On K2, the waiting is the expedition. Teams routinely burn most of two months at Base Camp for a single usable window. Budget your patience, your food, and your mental game for the wait, not just for the climb. The people who crack are usually the ones who prepared only for the summit push.
K2’s Fatality Rate, Route by Route
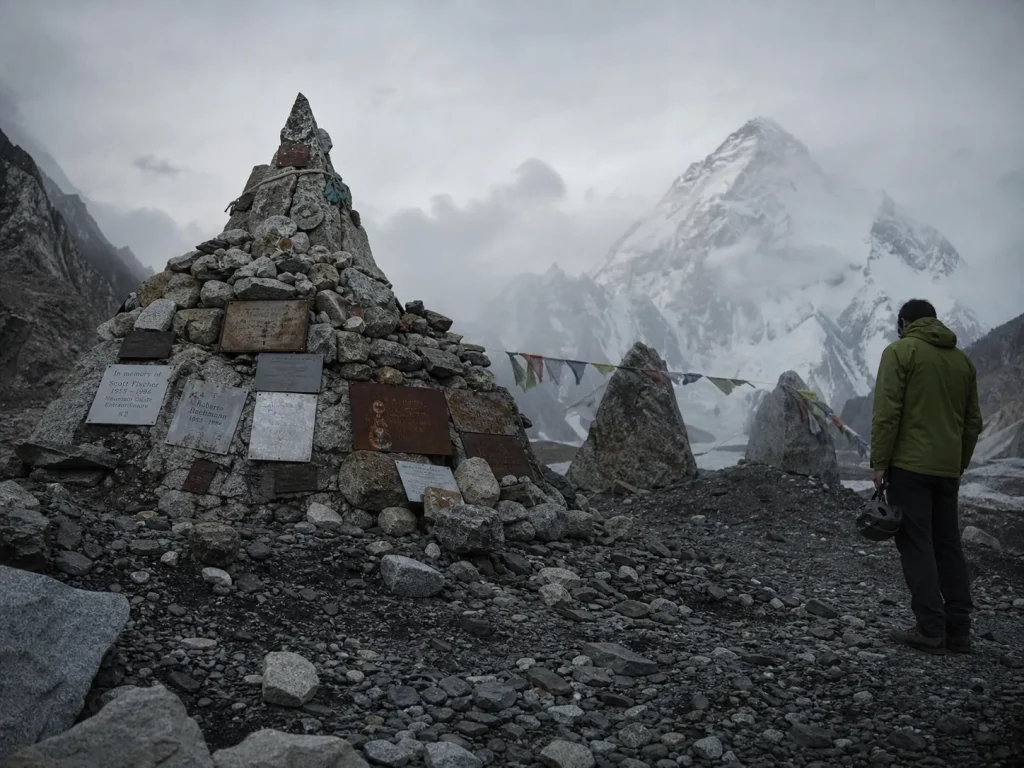
Here is the number that should end every “K2 is basically Everest but colder” assumption, said plainly and without drama.
K2’s historical fatality-to-summit ratio runs around 23 to 25%. In recent commercial seasons it has fallen to roughly 12 to 13%, which is still the worst of any 8,000er except Annapurna. The comparison that lands hardest: Everest’s fatality rate is about 2.7%, against K2’s roughly 17% in Arnette’s spring-2022 cut. K2 takes lives at something close to six times Everest’s rate.
So the “K2 is safer now” narrative is true only in relative terms. Better than one in four is real progress. It is still roughly one in eight. And the character of the risk is different from Everest’s. On Everest, exhaustion and altitude illness dominate the record; managing that comes back to acclimatization and the kind of protocol that keeps altitude illness off your personal risk list. On K2, the dominant recorded cause is classified as “disappearance,” meaning falls from exposed terrain or avalanche burial with no recovery. That is objective hazard, the mountain itself rather than the climber simply wearing down. And it is why route choice barely moves this number: the shared Bottleneck exposure dominates the risk no matter how you got there.
Who Should Actually Be Thinking About K2
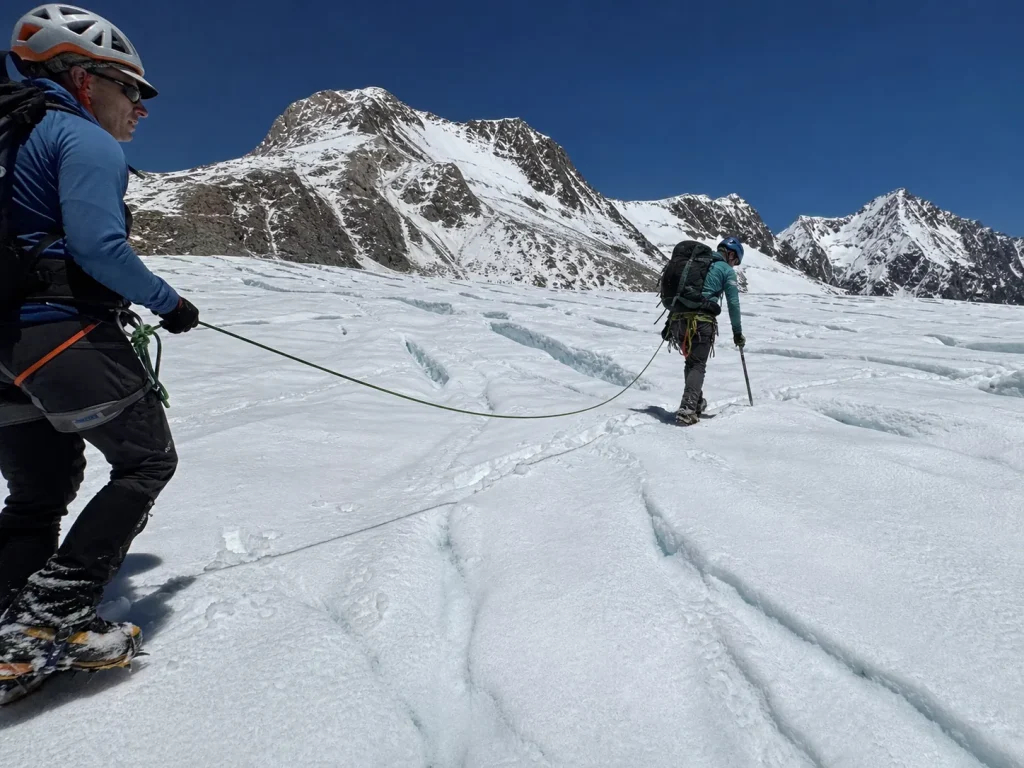
This is the straight talk a mentor gives, not the aspirational hype a brochure sells. Here is who is actually in this conversation and who is dreaming, and there is no shame in the second group.
Start with what transfers from cragging, because it is more than you would guess. Rope systems, exposure and fear management, efficient movement, and the fundamentals of ascending a fixed rope all carry over. If you have jugged an El Cap-style big wall, you already own the base skill for the fixed lines that define a K2 push.
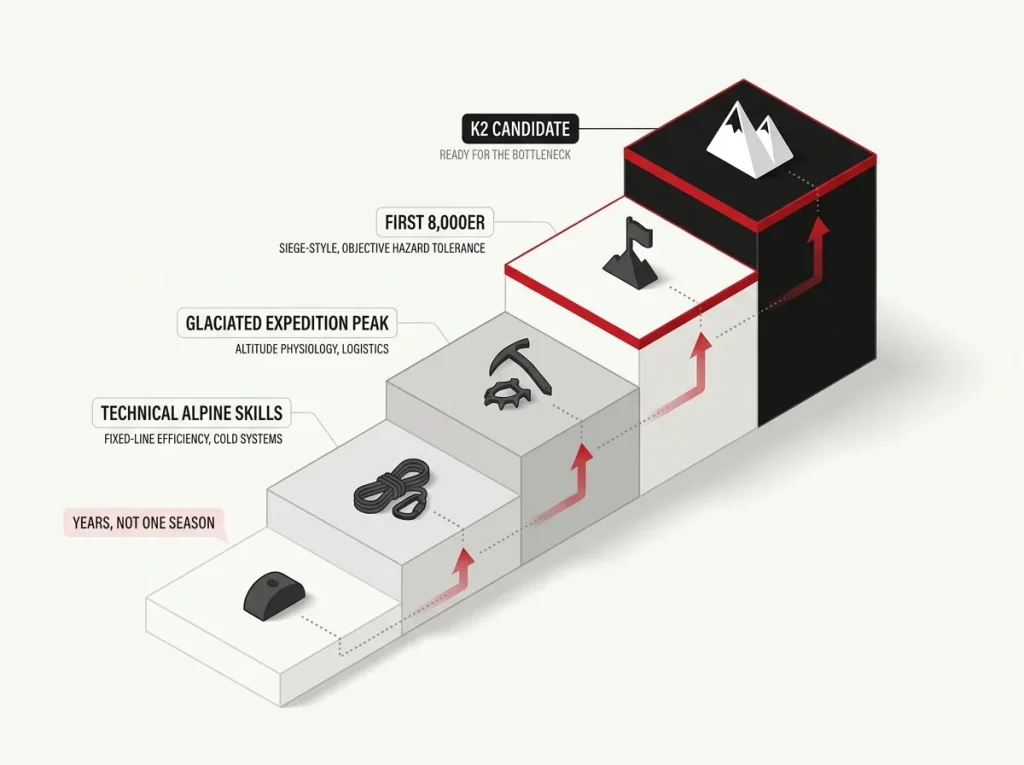
Now what does not transfer. Multi-week cold-weather logistics, altitude physiology, siege-style efficiency, and the tolerance for objective hazard you cannot climb your way out of are all learned somewhere other than a sport crag. This is the real gap, and it is the one no expedition-marketing site will name for you.
So picture the realistic ladder. Technical alpine climbing comes first, then smaller glaciated peaks to earn the systems, then a first 8,000er (often a less hazardous one), and only then is K2 legitimately in the conversation. A non-technical high-altitude peak like Aconcagua is a sensible early rung for the altitude piece, while a glaciated, cold-weather expedition like Denali earns you the systems and the logistics tolerance. The honest math is that a strong 5.11 or 5.12 crag climber with no alpine background is many years, not one season, from being a legitimate candidate. K2 selects for alpine and technical background over raw altitude experience, and the roughly 250 people who have summited both Everest and K2 are the proof that the two backgrounds are not the same thing.
The Gear Systems That Carry Over From Climbing
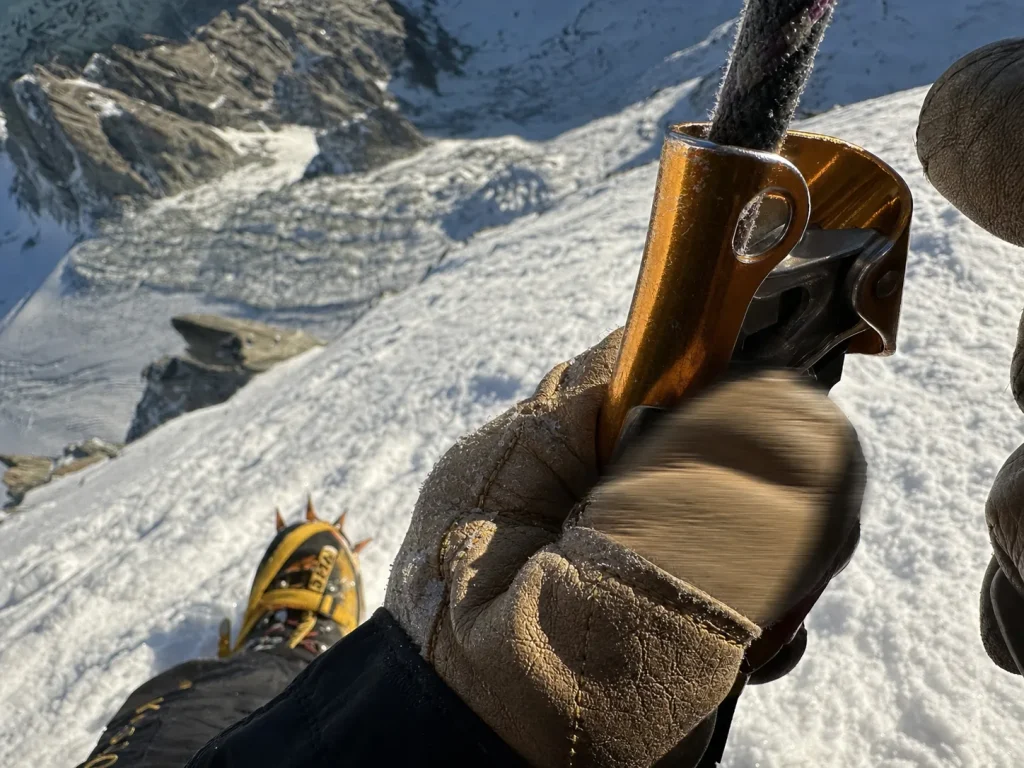
This is the gear conversation between two climbers, not a spec dump. Most of what K2 asks of your kit is a scaled-up version of systems you already have opinions about.
Take the ascender split a big-wall climber already knows. A single jumar plus a belay device for short position adjustments is one system; a two-jumar setup for efficient, fast fixed-line ascent is the other. That exact distinction reappears at 7,000 meters and above on K2’s fixed ropes. The core skill is identical. What you add is cold and altitude and the glove dexterity to manage it all with numb fingers.
Crampons follow the same logic. The fit and rigidity opinions you already hold for mixed ground versus glacier travel scale straight up to the compact rock and ice of the Black Pyramid. Ice axes and the double-boot system of high-altitude mountaineering boots round it out, and this is where the crossover ends and altitude-specific kit begins, since a multi-week siege demands boots and layering a single technical day never will. If you want the deeper dives, here is how to actually choose a mountaineering ice axe and the case for keeping crampon points and picks sharp enough to trust on mixed terrain. The honest note, in the blog’s usual anti-sell spirit, is that no gear list makes you K2-ready. The systems matter more than the brand names, and the skills matter more than either.
Conclusion
Three things to carry away. First, every route on K2 funnels into the same Bottleneck, so route choice changes your approach to the crux, never whether you face it. Second, the grade number is within a strong climber’s reach; the conditions it is delivered in are what filter people out. Third, K2 selects for alpine background over raw altitude, which is why an Everest summit does not make you K2-ready.
If K2 is a someday-goal, the honest next step is not buying gear. It is finding out where you actually sit on the readiness ladder and climbing the next rung, whatever that rung is for you right now. The mountain is not going anywhere, and the climbers who get there are the ones who respected the distance.
Frequently Asked Questions
01What is the standard or easiest route up K2?
The Abruzzi Spur (Southeast Ridge) is the standard route, carrying about 75% of all attempts. But standard is not easy: it still includes graded obstacles like House’s Chimney and the Black Pyramid before the Shoulder, and it shares the Bottleneck with every other route.
02Why is the K2 Bottleneck so hazardous?
The Bottleneck is a narrow couloir directly beneath a hanging serac near the summit, and almost every route funnels through it. The overhead ice hazard cannot be controlled, and narrow weather windows create traffic jams that leave climbers exposed under it far longer than the climbing itself requires.
03Is the Abruzzi Spur or the Cesen route harder?
The Cesen is steeper and more technically demanding on its lower rock, but it reduces objective-hazard exposure by avoiding the Black Pyramid’s worst rockfall terrain. Harder and more hazardous are not the same axis, and above the Shoulder both routes share the identical Bottleneck.
04Can you climb K2 from the Chinese side?
Yes. The North Ridge or North Pillar ascends from the China side in Xinjiang via the remote Shaksgam Valley. It avoids the classic Bottleneck line but trades that for extreme remoteness, minimal support, and a much smaller margin for error, so it is rarely climbed and reserved for elite alpinists.
05How hazardous is K2 compared to Everest?
K2’s fatality-to-summit ratio runs around 17% versus Everest’s roughly 2.7%, about six times higher. K2’s fatalities are dominated by objective hazard such as falls and avalanches classified as disappearance, rather than the exhaustion and altitude illness that dominate Everest’s record.
Safety Notice: Rock climbing and mountaineering are inherently high-risk
activities that can involve physical trauma or fatal incidents. The information on Rock Climbing Realms is for
educational and informational purposes only. Techniques and advice presented here are not a substitute
for professional, hands-on instruction. Conditions and risks vary by location. Always seek guidance
from a qualified instructor before attempting new techniques. By using this website, you agree that you
are solely responsible for your own safety. Any reliance you place on this information is strictly
at your own risk, and you assume all liability for your actions. Rock Climbing Realms and its authors
will not be held liable for any harm, damage, or loss sustained in connection with the use of this information.
Affiliate Disclosure: We are a participant in the Amazon Services LLC Associates Program, an
affiliate advertising program designed to provide a means for us to earn advertising fees by advertising and linking
to Amazon.com. As an Amazon Associate, we earn from qualifying purchases. We are also an official affiliate partner
of Black Diamond Equipment via the AvantLink network. If you click on a Black Diamond affiliate link and make a
purchase, we may earn a commission at no additional cost to you. We also participate in other affiliate programs.
Additional terms are found in the terms of service.