
In this article
Half the people who clip into the rope at Camp Muir won’t stand on the 14,410-foot summit of Mount Rainier, the peak the Coast Salish people call Tahoma. And almost none of them turn around because the climbing got too hard. They turn around because their legs gave out, the weather slammed shut, or the glacier was more broken than they planned for. Climbing Mt Rainier in summer is a fitness-and-conditions problem dressed up as a mountaineering one, and once you understand that, the whole trip-planning puzzle gets a lot clearer. Here’s what summer actually asks of you, from the calendar to the cost to the honest go/no-go.
When Summer Actually Means on Rainier (Month by Month)
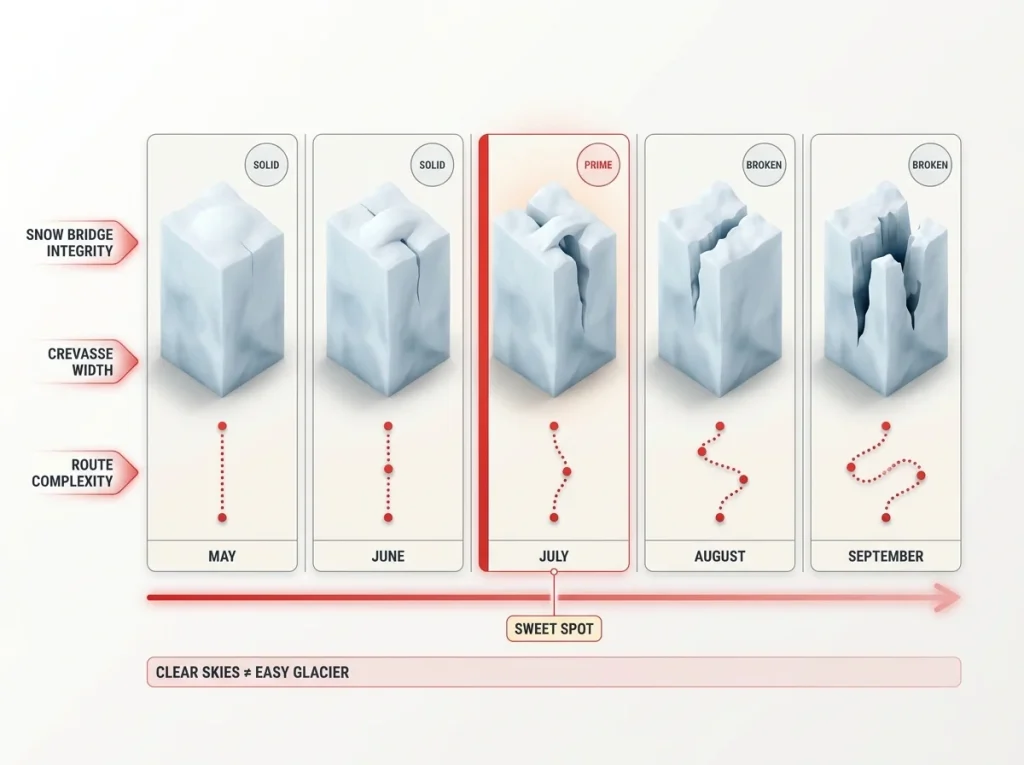
“Summer” on Rainier isn’t one season. The mountain changes character week to week, and the calendar that looks best on a weather app is not the one that climbs easiest. Most first-timers assume August is prime because the sky is bluest. The glacier tells a different story.
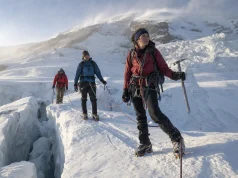
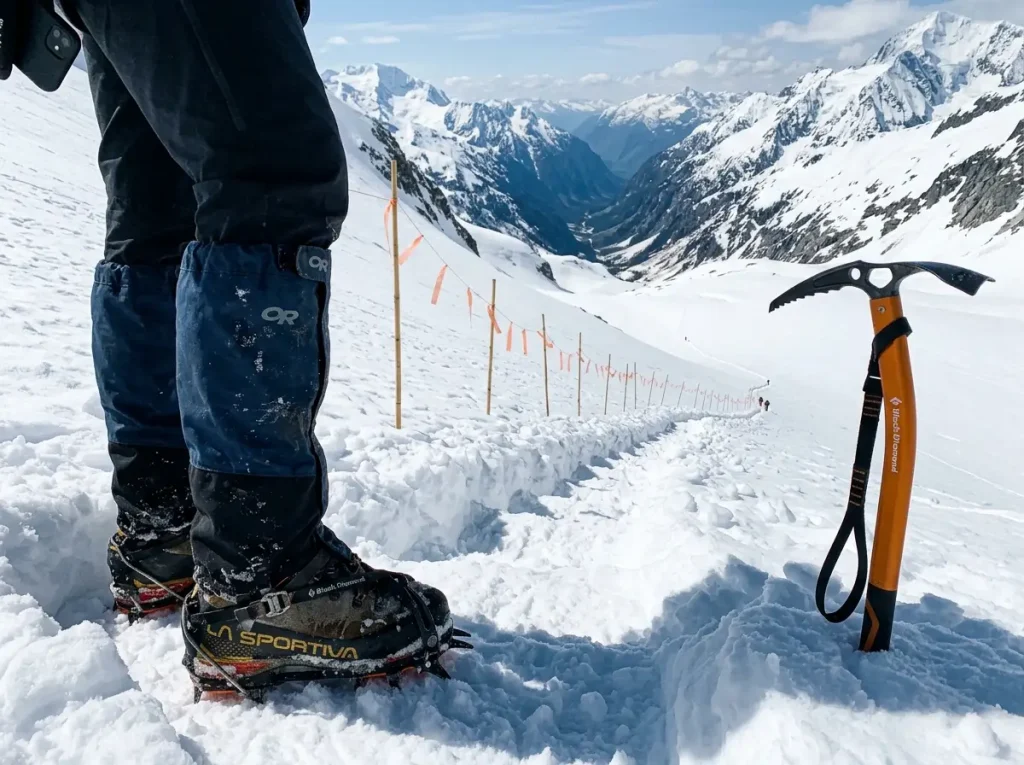
The peak season window everyone actually wants is July through early August. By then the winter snowpack has consolidated into firm, predictable surfaces, the boot pack (the kicked-in staircase of steps that guide services and early parties stamp into the snow) is established, and route-marking wands and ladders are already placed across the bigger slots. You’re walking a prepared highway compared to what comes later.
Early season, May and June, the deep snow actually smooths the mountain out. Crevasses are buried under solid bridges, the line runs more direct, and the glacier hasn’t started pulling apart yet. The trade is cold and wet feet, which is why doubles come out in those months. If you want the month-specific breakdown for the most popular window, the permit and conditions picture for a July climb lines up with everything below.
Then there’s the late-season trap. August and September bring the most stable weather of the year, and that’s exactly when the glacier is at its worst. Warm temperatures melt the surface all summer, a process called ablation, and it widens crevasses, weakens snow bridges, and forces the route to wander. The Disappointment Cleaver gets laddered and reroutes (climbers call it a “corkscrew” some years, where the line spirals up and around toward the Emmons side). The Emmons-Winthrop route often “closes” to casual parties by the first week of August when blue ice and open slots take over.
So the honest read is this: clearest skies do not mean easiest glacier. The best beginner conditions and the highest success rates sit in July, and the trade-off comes later in the season exactly when the forecast looks most inviting. Your real job is matching a good weather window to that mid-summer sweet spot.
If you want to see what the prepared July route actually looks like underfoot, this guided ascent runs the Cleaver in the prime window:
The Three Summer Routes and Who Each One Is For
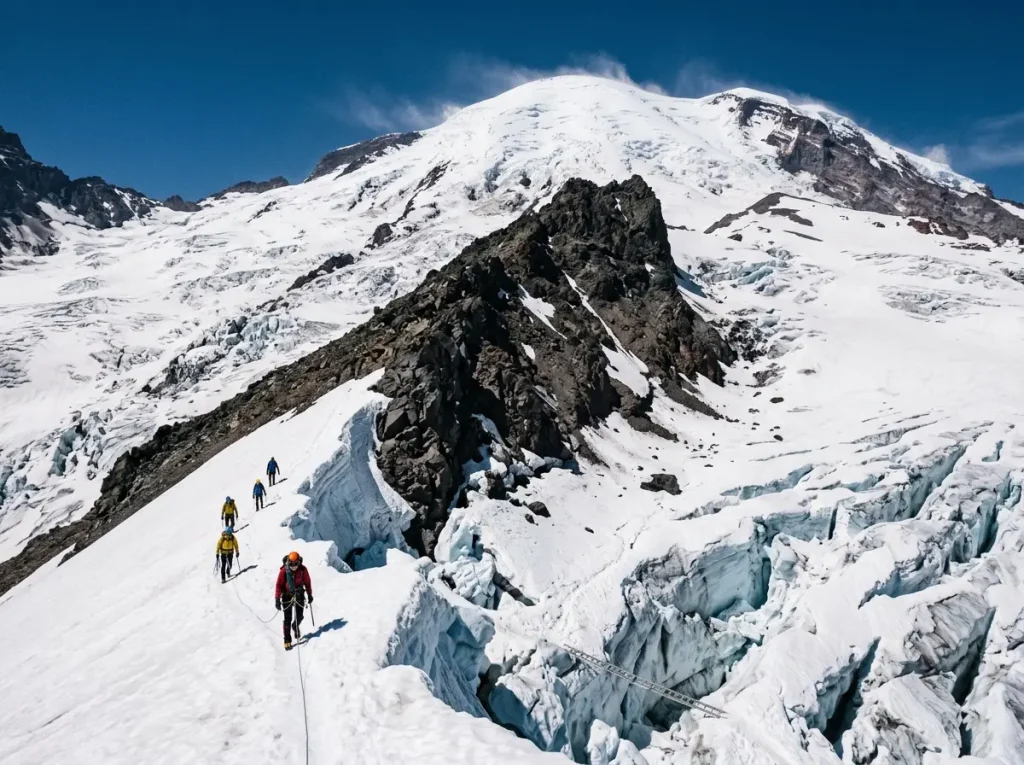
Rainier earns its place among the country’s benchmark mountain objectives, and part of that reputation is the choice of lines. Three routes carry almost all the summer traffic, and picking the right one is a skills decision, not a scenery one.
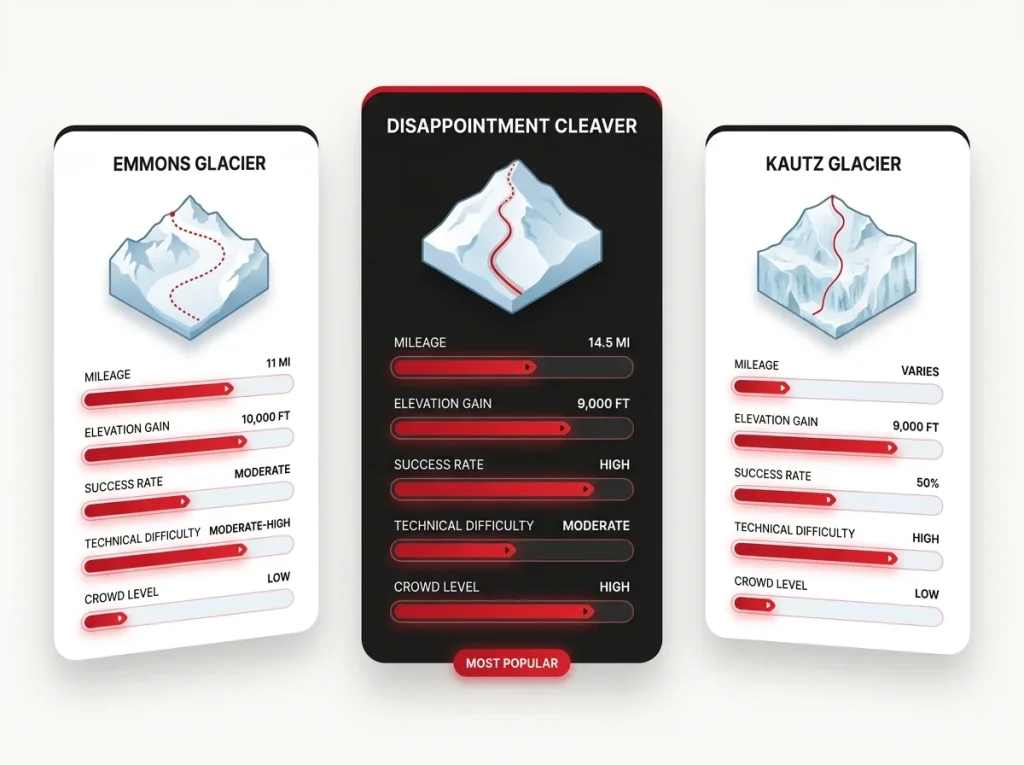
The Disappointment Cleaver, the DC, is the standard. It takes roughly 75% of all summit attempts for a reason: it’s the most forgiving line, it’s the one all three guide services run, and it’s the most prepared. Figure about 14.5 miles round trip and 9,000 feet of elevation gain from Paradise, crossing the Cowlitz and Ingraham glaciers above Muir. It’s crowded and it’s guided heavily, but if you’re unsure which route fits you, that uncertainty is your answer. The DC is the default.
The Emmons Glacier route (Emmons-Winthrop) is the next most popular, and it’s a bigger glacier-travel objective. From the White River side it runs around 11 miles with about 10,000 feet of gain, more remote, fewer people, and a longer commitment on open glacier. It rewards parties who already move well as a rope team. As noted, it tends to fall out of easy condition by early August.
The Kautz Glacier route is the oldest line and the third most traveled, and it’s a real ice climb, not a walk. Sustained technical ice pitches push its success rate down to around 50%, and it asks for skills the DC never tests. Choosing Kautz because it photographs well is how people overreach.
The pattern here is the same one you’d run on a Cascade volcano like Mount Shasta: match the route to your party’s actual experience, not to the prettiest ridgeline in the trip report. The summit is the same from all three. The cost of getting it wrong is not.
Permits, Fees, and What You Actually Pay in 2026
This is the section most blogs get flat wrong, and it’s not a rounding error. If you read three competitor pages you’ll see three different numbers, most of them years out of date.
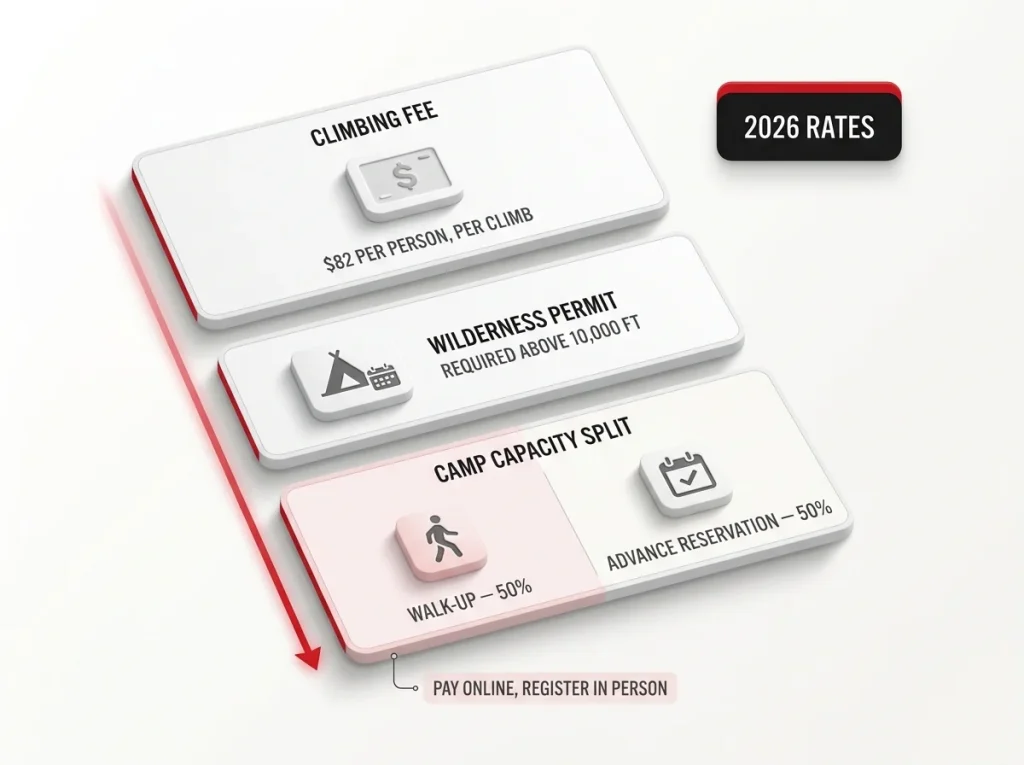
Here’s the current reality. The climbing cost-recovery fee is $82 per person, per climb, for all ages in 2026. It adjusts every year with inflation, you pay it online through Pay.gov before you arrive, and you still register in person at a ranger station once you’re there. It is not a cheap annual pass anymore. Budget it per body on the rope, every single trip. You can confirm the exact, current number against the National Park Service’s climbing-fee schedule so you’re not relying on a stale blog figure.
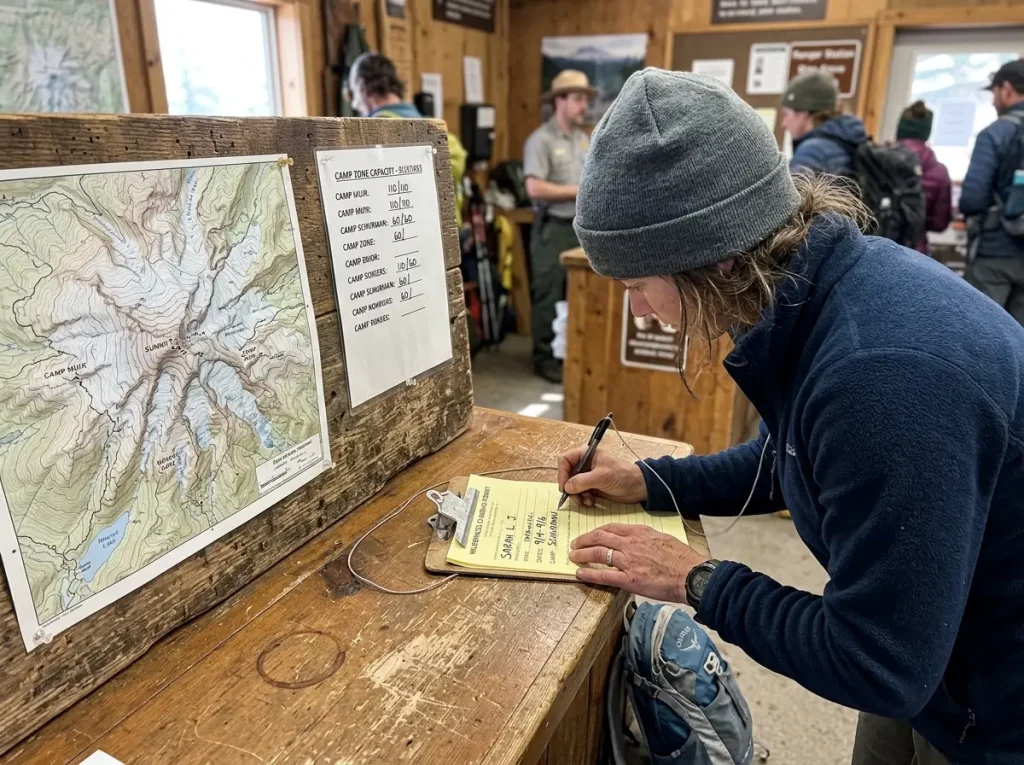
The fee is one thing. The wilderness permit is a separate requirement, and people conflate the two constantly. You need it to be on a glacier or above roughly 10,000 feet, above the normal high camps. During the high-use season, May 1 through September 15, it’s issued at climbing registration and works like a hotel reservation that caps how many people sleep at each camp or zone. Without it you can be turned back at the gate even if you’ve paid the fee.
One bit of good news for 2026: unlike some recent summers, the park is not requiring timed-entry reservations to drive into the Paradise and Sunrise corridors this year, leaning on parking management instead. That’s one less reservation to chase, though arriving before 7 a.m. still beats the crowds.
The part that saves a lot of trips: the park holds about half of each camp’s capacity for walk-up registration, available 24 hours before your climb begins. The other half is reservable in advance through Recreation.gov. So missing the online reservation window is not a lockout. You can read how the camp-zone reservations and walk-up split actually work through Rainier’s wilderness-permit system before you build your dates around it.
Missed the reservation window? Don’t cancel the trip. Show up at the ranger station the day before, register for a walk-up slot 24 hours out, pay the fee, and you’ve got a real shot at the camp you wanted. Plenty of summits start exactly this way.
The Honest Fitness Gut-Check Before You Book
“Be in excellent condition” is useless advice. Everyone reads it, nods, and books anyway. So here’s the number nobody states plainly.
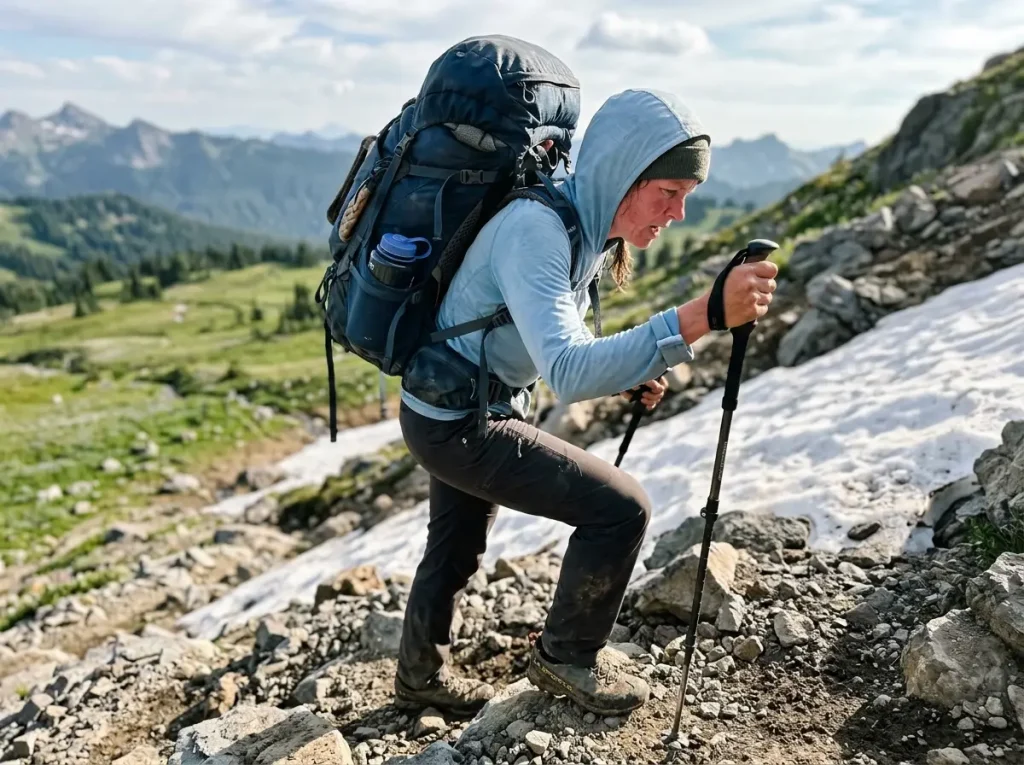
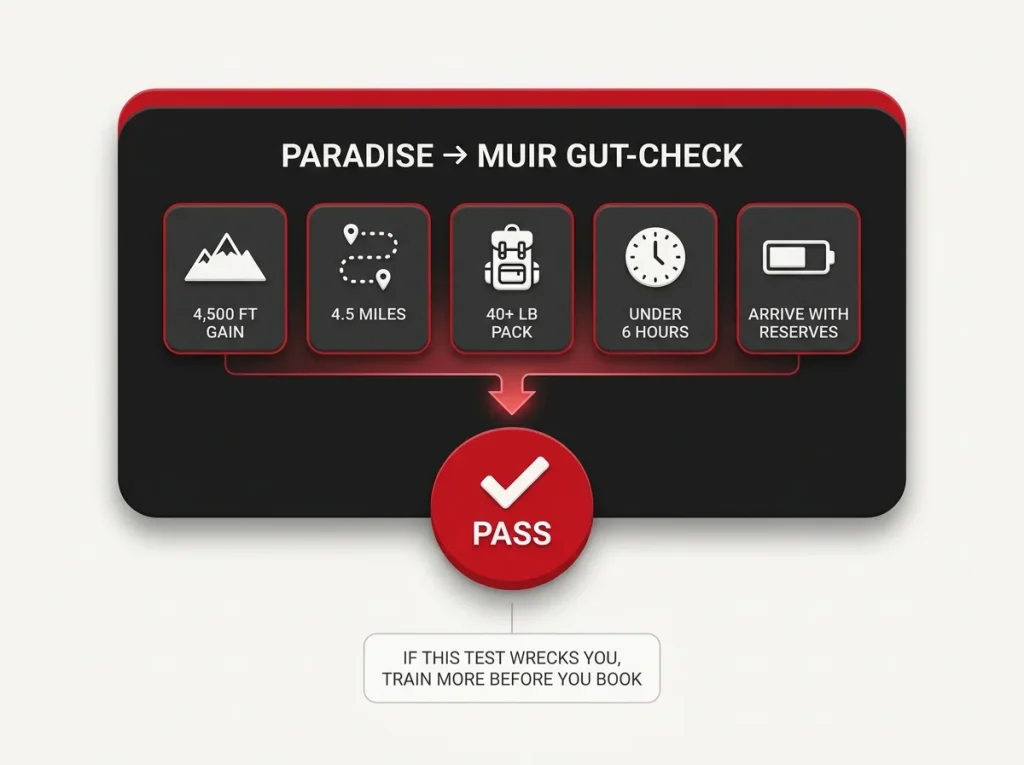
The benchmark is moving about 1,000 vertical feet per hour under a real pack. The honest go/no-go is the approach to the high camp itself, up the Muir Snowfield: Paradise to Camp Muir, roughly 4,500 feet of elevation gain over about 4.5 miles, in 5 to 6 hours, carrying 40-plus pounds, and arriving with something left in the tank. If that test wrecks you, you are not DC-ready yet. There’s no shame in that. There’s a lot of shame in finding it out at 12,000 feet.
Self-guided climbers carry more, usually 40 to 50 pounds; guided clients carry 30 to 40 because the guides haul the group gear. Either way, plan to train for 4 to 6 months, with an 8-week block as the bare minimum if you’re already fit. Build a deep aerobic base, then make the single most sport-specific session step-ups under load, 35 to 50 pounds on your back, stepping onto a box or a stair over and over. It beats the stair-mill because it trains the exact pattern Rainier demands, including the descent under weight that quietly destroys people’s knees on the way down.
Altitude is the other half of the equation. At over 14,000 feet the air is thin, and the climb is too short to truly acclimatize, so altitude sickness is a real possibility for anyone who pushes too fast. The way climbers manage it on summit day is the rest step (locking the back leg straight for a half-second pause every stride) paired with pressure breathing (a forced exhale that drives oxygen deeper). Slow and steady, not strong and fast, is what gets people to the top. You can map your build-up against the load-carry benchmarks Uphill Athlete uses to vet Rainier climbers, which is the same standard the guide services lean on.
Fitness isn’t just about reaching the summit. It’s about margin. Picture a strong climber stuck two hours at a ladder crossing in a traffic jam, the summit slipping away while their feet go numb because they spent all their reserves getting there. The fit climber waits it out and keeps the option alive. That’s the real reason so many fit-looking climbers still turn around: conditioning buys you the patience the mountain demands.
Run the Paradise-to-Muir test as a real rehearsal before you pay for anything. Load the pack to your expected summit-day weight, hit Muir in under 6 hours, and see how you feel sitting on the snow at the top. That single day tells you more than a month of gym numbers.
The Glacier Skills You Have to Own (Not Learn on the Mountain)
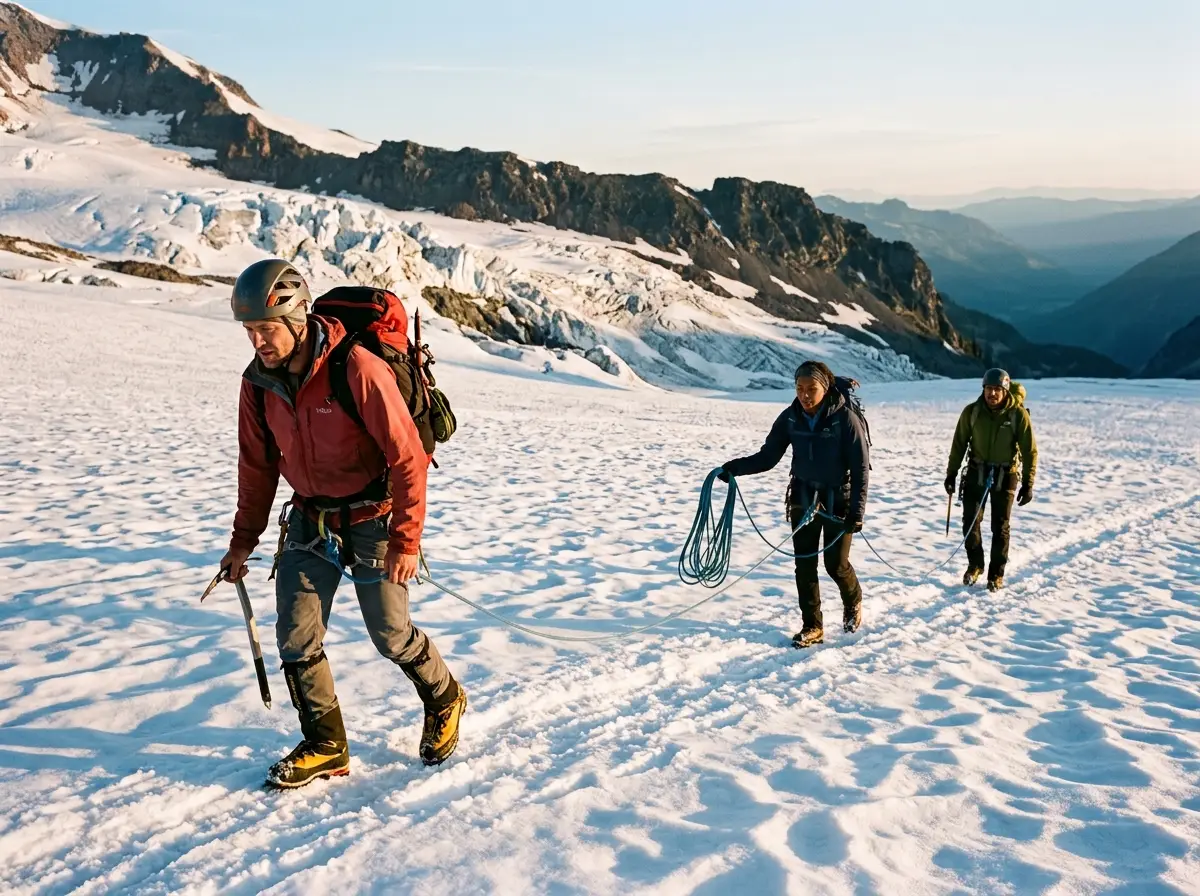
On the DC you put your crampons and helmet on leaving Camp Muir and you don’t take them off until you’re back. That tells you what kind of terrain this is. Everything above the high camp is roped glacier travel, and the skills that keep you alive are ones you need to already own.
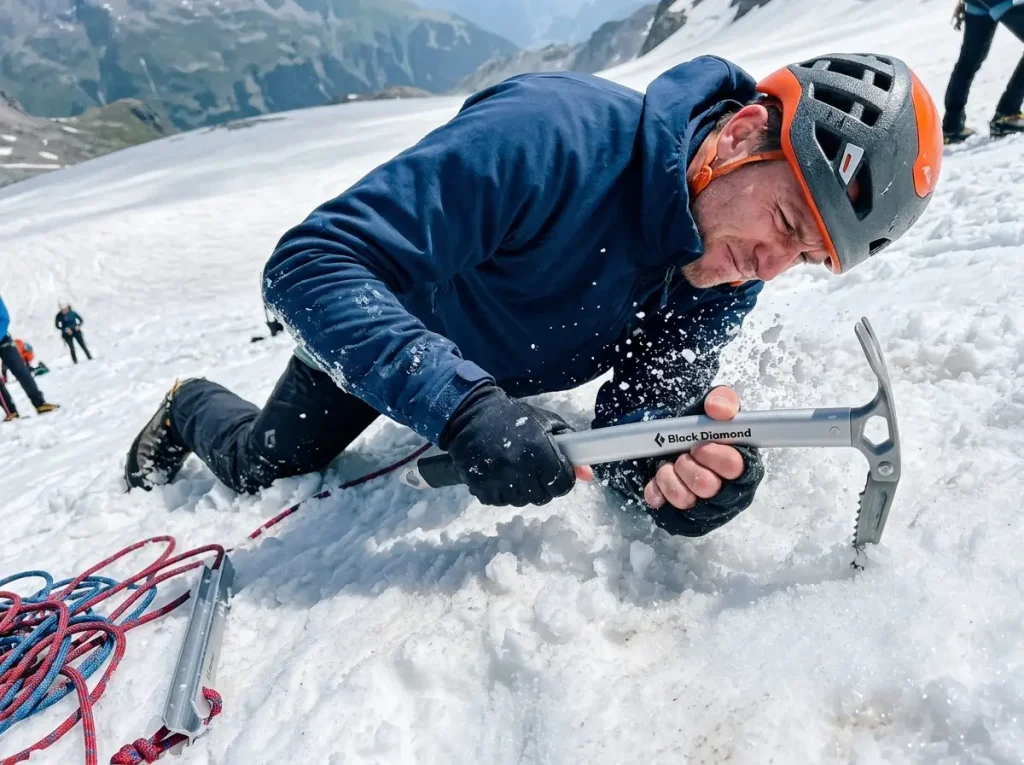
The non-negotiable list is short and serious: moving as a rope team, solid crampon technique, and ice-axe self-arrest practiced until it’s pure reflex. Self-arrest is the one you drill on a practice slope over and over until your body does it before your brain catches up, because in a real slip you won’t have time to think. If you’re rusty, walk through self-arrest in its proper steps before you’re standing on a glacier counting on it.
Then there’s the rescue layer, and this is where unguided parties get separated from the rest. If a partner drops into a crevasse, you need to build an anchor and run a haul system to get them out, fast, with cold hands, possibly alone on your end of the rope. That means owning the crevasse-rescue systems every rope team needs dialed before the trip, not skimming a diagram at the trailhead. Snow-anchor construction with pickets and the haul mechanics have to be muscle memory.
This is the demonstration to study until the system makes sense in your hands, not just on paper:
Guided parties get to lean on the guides for the route-finding and the rescue burden. Independent parties carry all of it themselves. If reading that paragraph made you realize you can’t actually build a Z-pulley from memory, that’s not a reason to quit. It’s a reason to take a crevasse-rescue course before you go, or to hire a guide for this one.
The Summer Kit That Actually Earns Its Weight
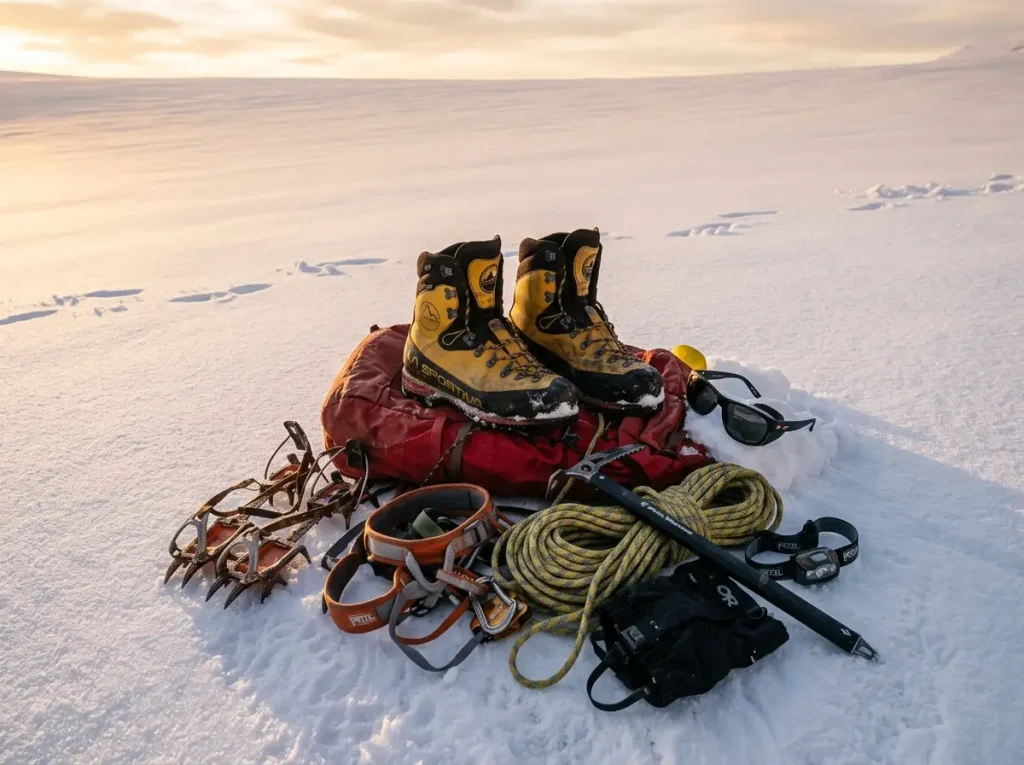
Let me give you the friend-at-the-trailhead version of the gear list, because the full glossy checklist will have you buying things you should rent. This whole kit leans on the standard alpine setup, trimmed to what a summer Rainier climb really uses.
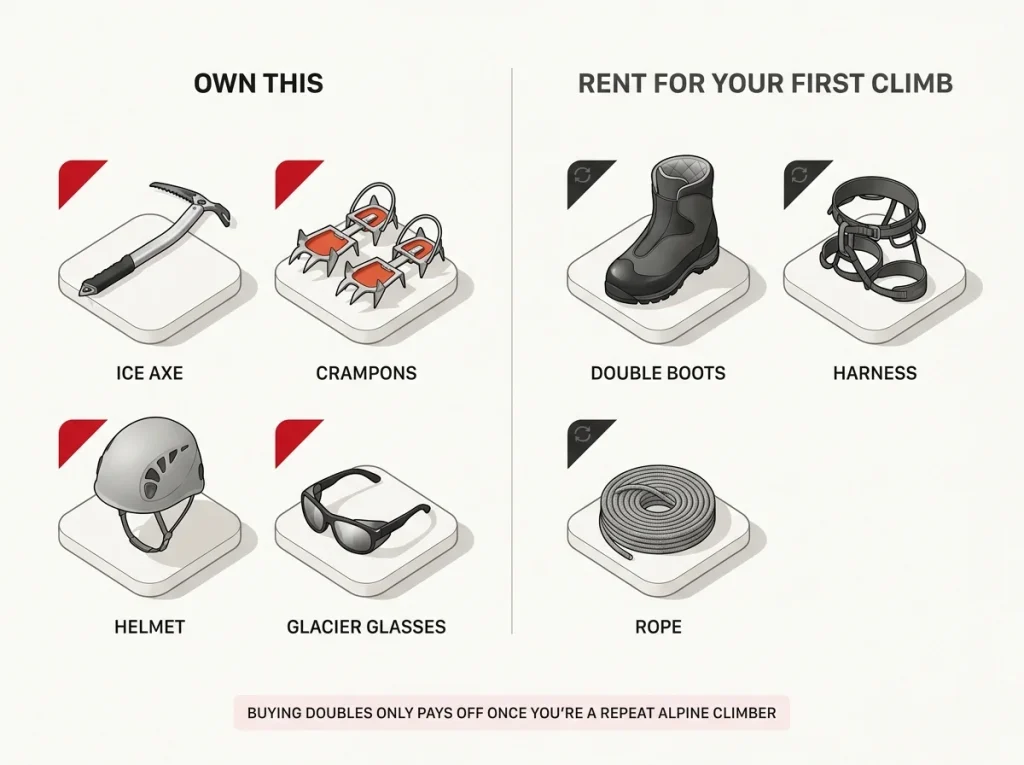
The hard kit is straightforward. You want a general-mountaineering ice axe sized to your height for glacier travel and self-arrest; the Black Diamond Raven is the default for a reason and it’s the axe you’ll see strapped to half the packs at Muir. For your feet on the snow you need twelve points of steel, and the Black Diamond Sabretooth clip crampon handles Rainier’s glacier without fuss; if you want a slightly different fit, the Grivel G12 New Matic does the same job. Roped travel means a harness, and a light alpine model like the Petzl Altitude disappears under a pack better than a bulky sport harness. And because the Cleaver throws rock, a helmet isn’t optional; the Petzl Meteor is the standard alpine lid.
Now the part competitors skip: boots, and why your toes freeze. Single leather mountaineering boots like the La Sportiva Nepal Evo GTX (men’s · women’s) are what the guide fleets run in warm, dry conditions, and they’re a boot worth owning once you’re climbing alpine regularly. But cold toes on Rainier don’t come from air temperature. They come from standing still. When you’re stationary for two hours in a traffic jam at the boot pack or waiting out a reroute, your feet stop generating heat, and a single boot can’t keep up. That’s why double boots come out in May, June, and September.
For a first DC climb, rent the double boots instead of buying. Guide services and gear shops run fleets of Koflach Degre plastics for exactly this. Buying double boots only pays off once you’re a repeat alpine climber. The same goes for most of the technical rack: rent or borrow through the guide service first, then buy what you actually keep using.
Two more pieces that punch above their weight. Glacier glasses with a Category 4 lens, like the Julbo Camino with side shields, keep you from getting snow-blind on a surface that throws sunlight back at you from every angle. And gaiters earn their spot twice over: the Outdoor Research Crocodile (men’s · women’s) keeps snow and scree out of your boots and shields your pant legs from your own crampon points, which will shred soft fabric the first time you cross your feet.
Guided or Independent — the Honest Call
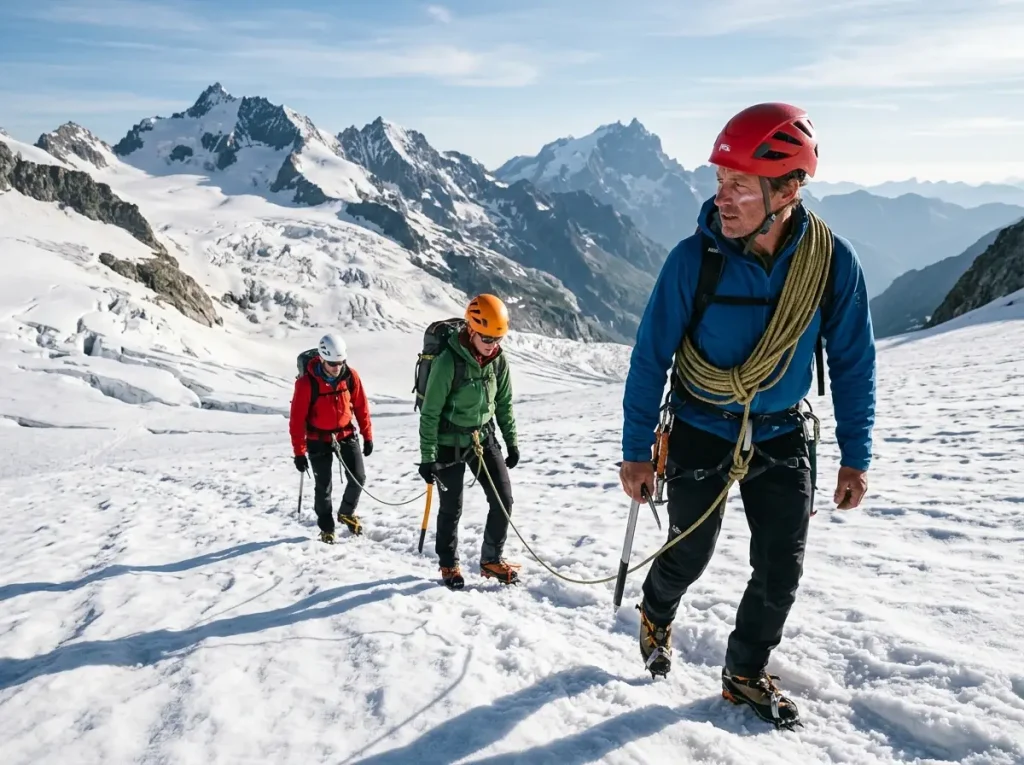
Booking a guide on Rainier isn’t a cop-out. On the DC it’s the norm. The standard ratio is two clients per guide, and the three concession services that run the route, RMI Expeditions, International Mountain Guides (IMG), and Alpine Ascents, put most of the people moving up the Cleaver on any given morning onto a guided rope. American Alpine Institute (AAI) and others guide the mountain too.
What you’re actually buying is the route-finding, the fixed protection and wands, and the rescue burden lifted off your shoulders. The guide handles the decisions that take years of mountain time to make well: when to turn around, which snow bridge to trust, how the glacier has shifted since last week. The trade is cost and a fixed schedule.
Going independent means you and your partners already own rope travel, crevasse extraction, and snow anchors, cold, before you arrive. Not learning them on the mountain. If your team can build a haul system in your sleep and you’ve done glacier travel together, independent is a legitimate and rewarding way to climb Rainier. If any of that gave you pause, the honest default for a first-timer is to go guided. It’s the same guided-or-independent math you’d run on a glaciated peak like Mount Elbrus: the mountain doesn’t care about your ego, only your systems.
Camp Muir, Schurman, and the Midnight Summit Push
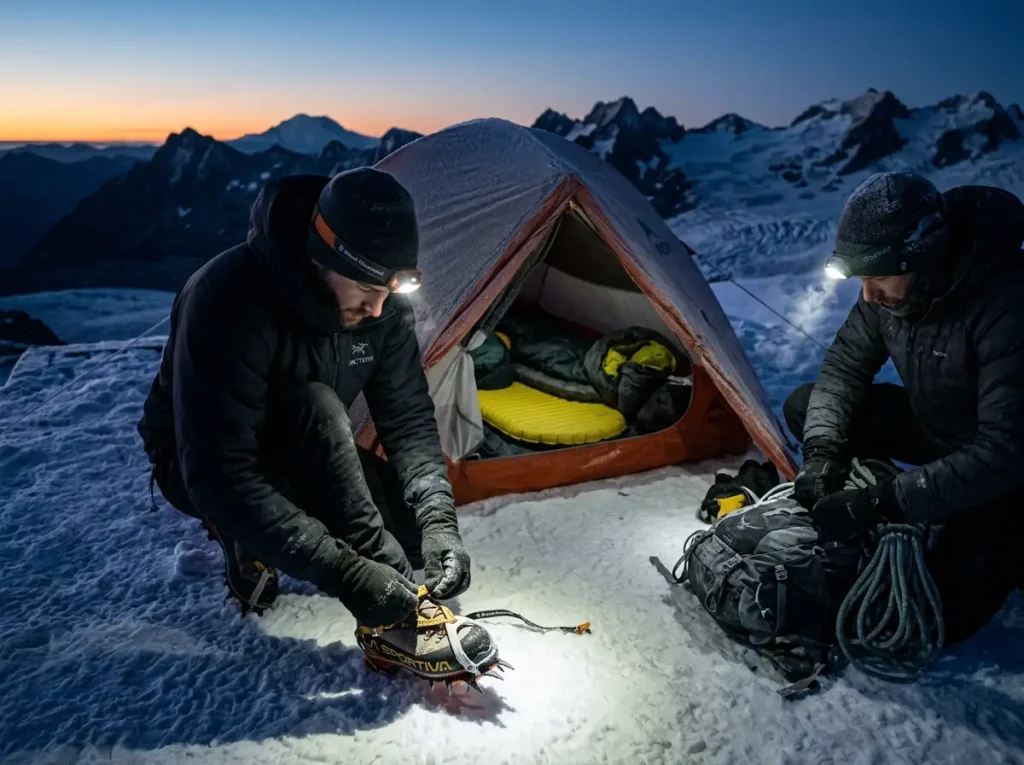
Summit day starts around midnight, in the cold and the dark, which is why the camp night before matters more than people expect. Burn yourself out shivering on a thin pad and you’ve spent energy you needed for the climb.
The two staging camps are Camp Muir at around 10,000 feet on the DC side and Camp Schurman on the Emmons. Both sit on snow, and the nights are genuinely cold even in July. An insulated sleeping pad makes the difference between resting and just lying there; the Therm-a-Rest NeoAir XLite NXT packs to almost nothing, weighs about 13 ounces, and carries enough warmth rating to keep the snow’s chill out from under you. Layering for that midnight start is its own skill, and a system that survives a cold alpine start is worth dialing before the trip.
One Rainier-specific rule that catches first-timers off guard: there are no toilets up high, and Leave No Trace here means packing out your solid waste in the blue bags the rangers hand you at registration. Everyone does it. Plan for it.
When the alarm goes off you’ll be roping up and pulling on crampons by headlamp, so bring a bright one. The Black Diamond Spot 400 throws plenty of light for finding straps and footing in the dark. And because Rainier has no cell coverage above the trailhead, a satellite communicator is non-negotiable safety gear: the Garmin inReach Mini 2 gives you two-way messaging, weather, and an SOS button that works when nothing else does.
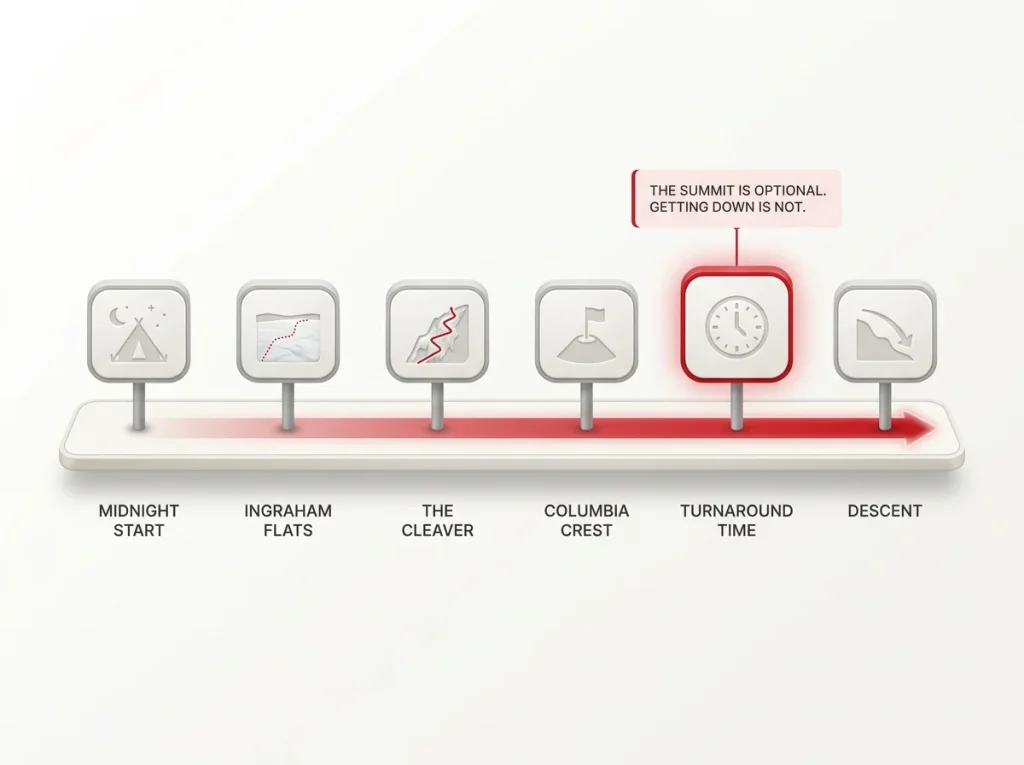
Then comes the part you’ll remember. You leave Muir in the dark, crampons biting, roped to your team, and watch a string of headlamps stretch up the Ingraham Flats ahead of you. An hour or two later the sun catches the top of the Cleaver and the whole mountain goes gold. Keep one eye on your turnaround time the entire way up, because the summit is optional and getting down is not.
Conclusion
Summer Rainier is a fitness-and-glacier problem, not a technical-climbing one. The moves rarely stop people; their legs, the weather, and the state of the ice do. Pick July and the DC if you’re unsure, because that’s where the conditions and the support stack in your favor. And pass the Paradise-to-Muir test before you pay the $82, because that single day is the most honest answer you’ll get about whether you’re ready.
Run that gut-check this season. Clear it, and lock in your permit with confidence. Miss it, and you’ve just learned exactly what to train for between now and next summer.
Frequently Asked Questions
01How much does it cost to climb Mt Rainier in 2026?
The climbing cost-recovery fee is $82 per person, per climb, for all ages in 2026, paid online before you arrive. A separate wilderness permit reserves your camp or zone. Guide services and gear rentals add to that.
02What is the best month to climb Mt Rainier?
July through early August offers the best mix of consolidated snow, an established boot pack, and stable weather. Later in summer the glacier breaks up, so August’s clear skies come with wider crevasses and longer reroutes.
03Do you need a guide to climb Mt Rainier?
No, but guided climbing is the norm on the Disappointment Cleaver. Climbing independently requires that you and your partners already own roped glacier travel, crevasse rescue, and snow anchors before you arrive.
04How fit do you need to be to climb Mt Rainier?
The honest benchmark is climbing Paradise to Camp Muir, about 4,500 feet in 5 to 6 hours, carrying 40-plus pounds, and arriving with reserves. If that test breaks you, train more before booking.
05Is Mt Rainier a technical climb?
It’s glacier mountaineering, not rock climbing. The standard routes don’t demand hard moves, but they do require roped travel, crampon work, and self-arrest. The difficulty is the altitude, the load, and the glacier hazards.
Safety Notice: Rock climbing and mountaineering are inherently high-risk
activities that can involve physical trauma or fatal incidents. The information on Rock Climbing Realms is for
educational and informational purposes only. Techniques and advice presented here are not a substitute
for professional, hands-on instruction. Conditions and risks vary by location. Always seek guidance
from a qualified instructor before attempting new techniques. By using this website, you agree that you
are solely responsible for your own safety. Any reliance you place on this information is strictly
at your own risk, and you assume all liability for your actions. Rock Climbing Realms and its authors
will not be held liable for any harm, damage, or loss sustained in connection with the use of this information.
Affiliate Disclosure: We are a participant in the Amazon Services LLC Associates Program, an
affiliate advertising program designed to provide a means for us to earn advertising fees by advertising and linking
to Amazon.com. As an Amazon Associate, we earn from qualifying purchases. We are also an official affiliate partner
of Black Diamond Equipment via the AvantLink network. If you click on a Black Diamond affiliate link and make a
purchase, we may earn a commission at no additional cost to you. We also participate in other affiliate programs.
Additional terms are found in the terms of service.