
In this article
You are six pitches up a long granite route, standing on a good ledge, and there is a hot burning spot at the back of your ankle that has been getting worse since pitch three. The shoes are the ones everybody told you to buy. Ask around in any Mountain Project or UKClimbing thread about the most-recommended trad shoe on earth and you will find that burning spot described over and over, usually followed by somebody telling the poster to toughen up. It is not toughness. It is a piece of rubber pressing into your Achilles tendon, and it is a purchase decision, not a character flaw. Below are the best climbing shoes for trad worth your money, what actually makes a shoe trad-worthy, how to size it so pitch eight does not ruin your day, and what to do when a high-top collar and your heel do not get along.
Here is how the six picks compare before we get into why.
| Shoe | Best For | Key Spec |
|---|---|---|
| La Sportiva TC Pro | All-day granite and wide cracks | Mid-height padded collar, stiff platform |
| La Sportiva Katana Lace | Mixed face, slab and crack routes | Moderate downturn, Vibram XS Edge |
| Black Diamond Aspect Pro | Climbers whose Achilles hates collars | Low-top, flat stiff midsole |
| Scarpa Generator Mid | Long multi-pitch with ankle coverage | Mid cuff, stiff midsole |
| Scarpa Instinct VS | Most capability without the top tier | Semi-stiff midsole, moderate downturn |
| Scarpa Helix | Finding out whether trad is your thing | Flat last, neutral profile, lace-up |
What Makes a Climbing Shoe Good for Trad (And Why Sport Shoes Fail)
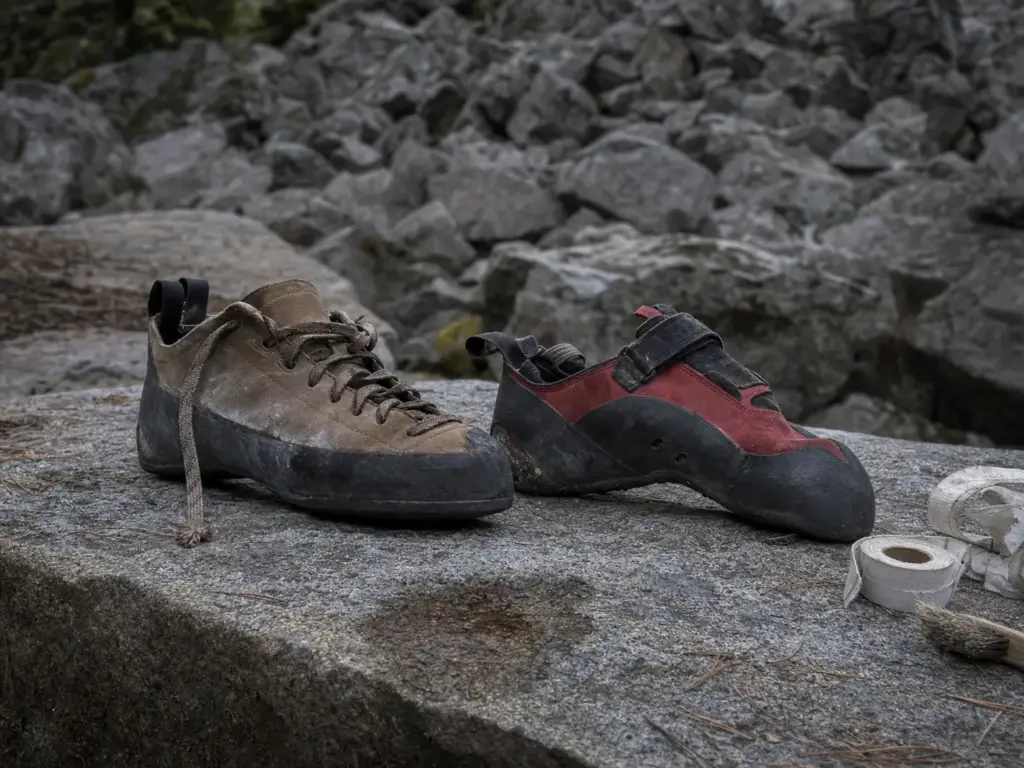
Most people arrive at trad climbing owning exactly one pair of shoes: aggressive, downturned, Velcro, bought for 30-second boulder problems at the gym. They follow their first trad pitch in those shoes, and by the third piece of gear their toes are numb and their foot is sliding around inside a shoe that was never built to stand still. That is not bad luck. It is the wrong tool, and the reasons are structural. Before you compare models, it helps to understand what the honest buying guide to climbing shoes calls construction fit, because trad asks for a specific combination that sport shoes deliberately abandon.
Start with the thing that matters most: a semi-stiff to stiff full-length midsole. Trad routes put you on small edges for long stretches while you stand still and fiddle a piece of protection into a crack. A stiff midsole holds that load for you. A soft shoe hands the job to your foot muscles, and they clock out early.
Second: a flat to moderate downturn, not an aggressive one. A downturned shoe is built for pulling on steep overhangs, and its asymmetry and curled toe both fight you on slab. It also refuses to sit flat inside a foot jam, which is a problem the moment a route turns into a crack, because foot jamming wants a flat platform and hand jamming wants your feet holding still while you work the crack above. Third: lace closure over Velcro, for reasons worth their own section below. Fourth, a durable upper and a substantial toe rand, because trad abrades the sides of a shoe, not just the toe.
Here is the mistake that runs the other direction. Climbers hear stiff is better for trad, buy the stiffest shoe on the shelf, take it to a single-pitch route with technical granite slab, and wonder why the shoe feels numb and lifeless under their feet. Stiffness is a fit-for-purpose choice, not a ranking. How aggressive the shoe is matters just as much, and how aggressive downturn changes what a shoe can do is worth understanding from the opposite end of the spectrum.
One more thing nobody states plainly, and it causes more bad purchases than any spec: trad is not the same thing as crack climbing. Trad is the discipline. You place your own protection, the route mixes face, slab and crack, and you are on it for hours. Crack climbing is a terrain skill that lives inside that discipline.
That distinction decides what you buy. A trad shoe has to edge acceptably, smear acceptably, and jam acceptably, all in one pair, because a single pitch will ask for all three. A dedicated crack shoe optimizes for jam mechanics alone and gives up edging precision to do it. If your objectives really are Indian Creek splitters and nothing else, go look at shoes built specifically for jamming instead. If your objectives are ordinary trad routes, keep reading.
La Sportiva TC Pro, the Benchmark Everyone Names
Ask any trad climber what to buy and you get the same three letters. That near-universal answer is real, it is mostly earned, and it is still worth interrogating instead of repeating.
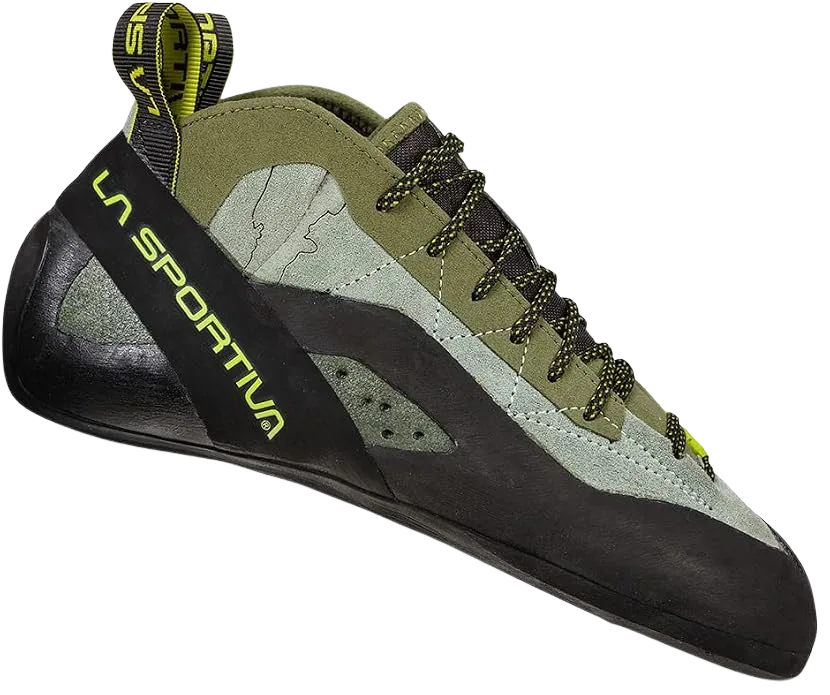
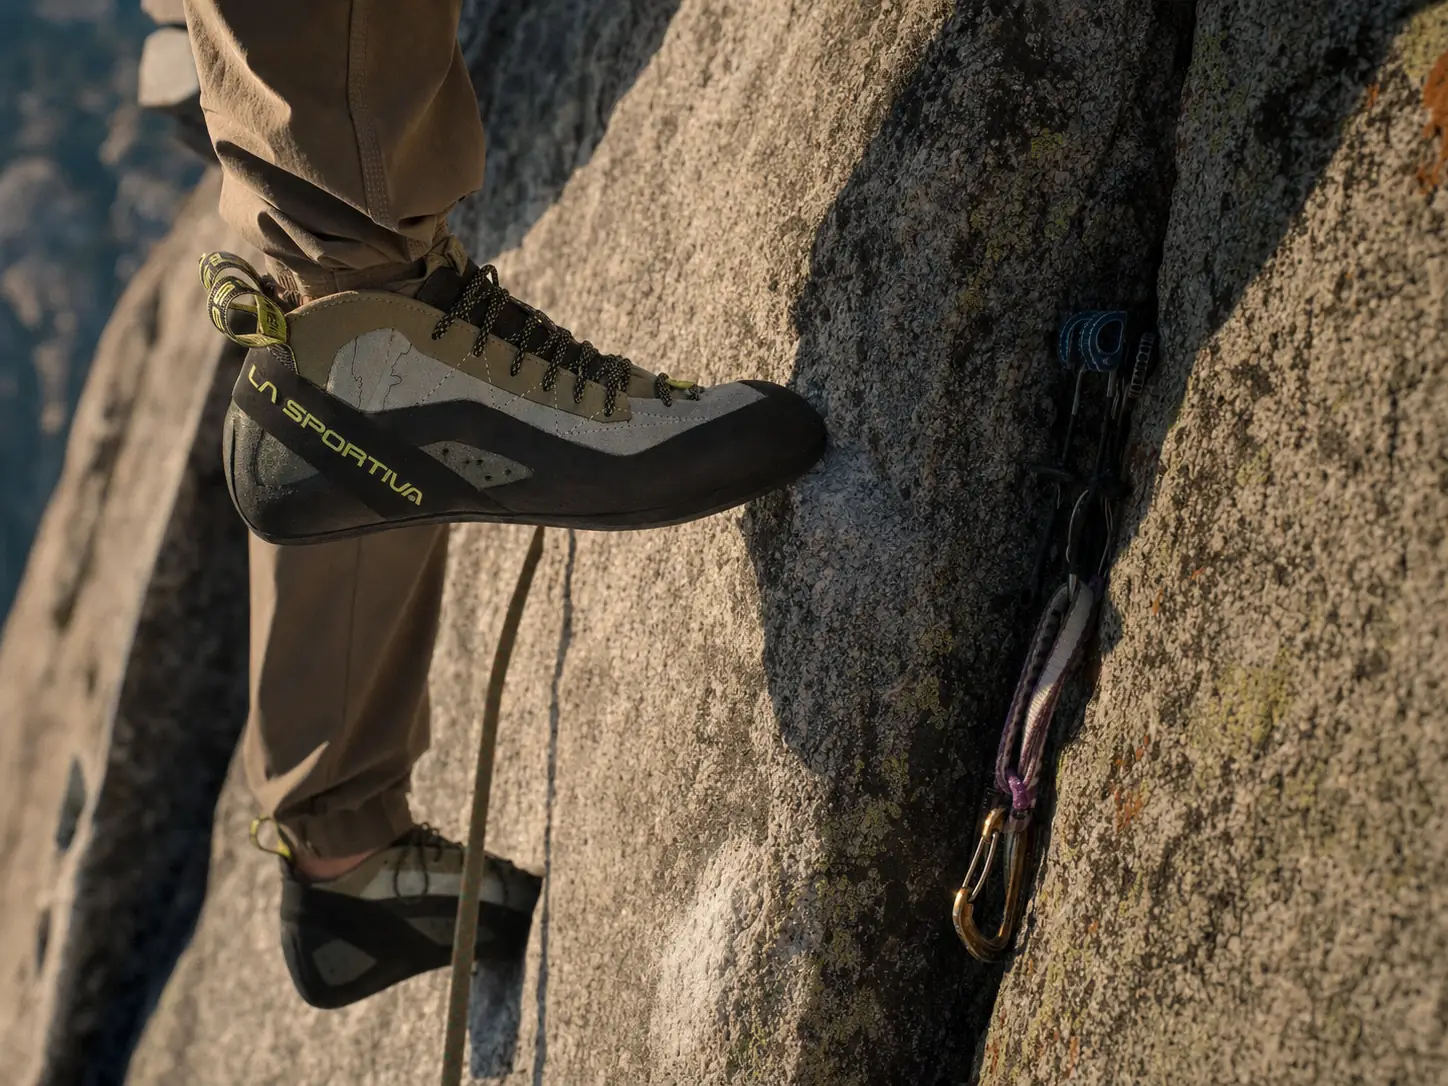
The La Sportiva TC Pro is built around Vibram XS Edge rubber on a stiff platform with a leather upper and a moderate downturn. The mid-height padded collar is not styling. La Sportiva’s own framing is ankle protection against abrasion inside wide cracks, which is exactly the terrain where your ankle bones end up as the contact point whether you planned it or not.
The design lineage matters here. This shoe carries Tommy Caldwell‘s name and comes out of Yosemite big-wall climbing, including his work on the Dawn Wall, where a shoe has to edge on granite face all morning and then survive being wedged into a fissure all afternoon. That is why it is stiff, why it is leather, and why it has a collar. It was never optimized for a redpoint burn on a steep sport route, and it does not pretend to be.
Where it genuinely wins: all-day edging on granite face and slab, with more crack tolerance than any pure face shoe. If your climbing looks like long moderate routes on featured rock, this is the safest single purchase in the category.
Where it does not win, and where every roundup goes quiet: the slingshot rand at the heel presses into some climbers’ Achilles tendon on long days. That is not a defect claim. It is a construction trade-off that shows up in community threads far more often than in editorial reviews, and it survives in the redesigned model. If you have a prominent Achilles or you already know high-tops bother you, read the next two sections before you buy this shoe.
Why Stiffness Actually Saves Your Feet on Pitch 8
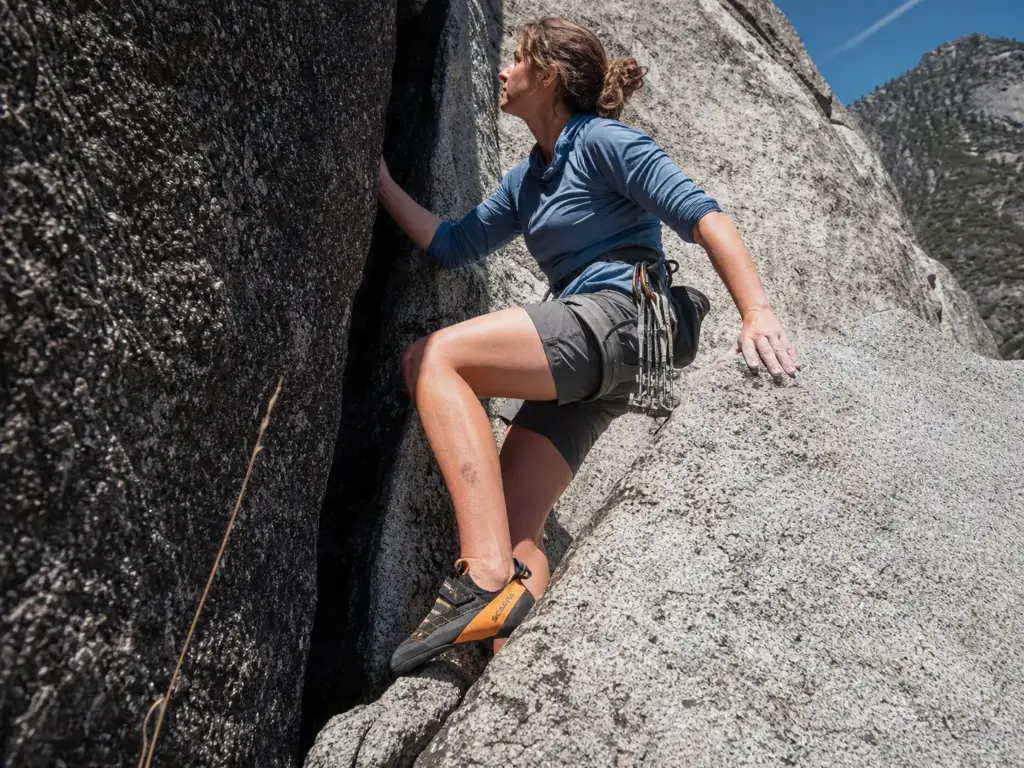
Everybody repeats stiffer is better for trad like a catechism. Almost nobody says what the stiffness is actually doing, which is why climbers keep buying stiffness they do not need and skipping stiffness they do.
Here is the mechanism in plain language. When you stand on a quarter-inch edge, your body weight has to travel from your leg, through your foot, onto a strip of rubber the width of a pencil. A stiff full-length midsole transfers that load through your big toe and spreads it across a rigid platform. The shoe holds you up. In a soft, flexible shoe, there is no platform to spread the load, so your foot muscles and arch do the holding instead. They can do it. They just cannot do it for very long.
That is where the fatigue actually goes. On a single boulder problem, muscle-powered edging costs you nothing you will notice. On pitch six of a route where you are standing in balance for two minutes at a time while you place a cam, it costs you the rest of the day. By pitch eight, a stiff shoe still feels like standing on a small platform. A soft shoe feels like standing on a rope.
The honest trade-off is sensitivity. A stiff midsole does not conform to the rock, so you feel less texture through the sole and you get less feedback about what your foot is actually on. On slab climbing and vertical face that is a fair price. On technical bouldering it is a real loss, which is exactly why boulderers buy the opposite shoe.
Test stiffness in the shop by holding the shoe at the heel and toe and trying to fold it in half. A trad shoe should resist you and flex mostly at the ball of the foot. If it folds easily into a taco, it will feel great on your first pitch and awful on your sixth.
Rubber compound plays a supporting role, not a leading one. Vibram XS Edge is formulated to hold its shape under load, which is what you want on edges, while softer compounds like Stealth C4 trade some of that for grip on friction moves. Neither one rescues the wrong midsole, and why stickier rubber is not automatically better is the part most gear pages skip entirely. The rest of the equation is your footwork, and the mechanics of edging and smearing will do more for your standing than any shoe on this page.
The Achilles Problem Nobody in a Gear Roundup Mentions
There is a specific burning spot at the back of the ankle that shows up on long routes in a high-top climbing shoe, and climbers now call it Achilles chafing. It gets dismissed as break-in, or as softness, or as the price of admission. It is none of those things, and it has a name.
The culprit is the slingshot rand, the tension band of rubber that wraps the heel and pulls the shoe onto your foot. On a low-top shoe it sits below your Achilles and you never think about it. On a high-top shoe with a padded collar, the rand and the ankle padding together can press directly into the tendon. Standing in that pressure for six or eight hours is what produces the burn. Climbers identified this pattern long before any review site did, and it persists in the current redesign of the most-recommended trad shoe on the market. As Mountain Project’s own trad community discusses at length, the usual advice is to find a different shoe rather than to keep grinding.
Worth saying plainly: this is not only a comfort issue. A foot that is actively distracting you degrades your footwork precision, and footwork precision is what keeps you on the wall on a runout pitch where the consequences of a slip are real. Fixing it is not vanity.
There are two real fixes.
Fix one: change shoe families. A low-top, flat-soled, stiff shoe skips the collar entirely, which removes the pressure point instead of padding around it. You keep the rigid platform that makes long days possible and you lose the ankle abrasion protection. The honest cost is heel- and toe-hook performance, which drops without a high, snug collar to lock your foot in. On slab, face and moderate crack that costs you almost nothing. If your objective has a roof move with a heel hook in it, keep the high-top.
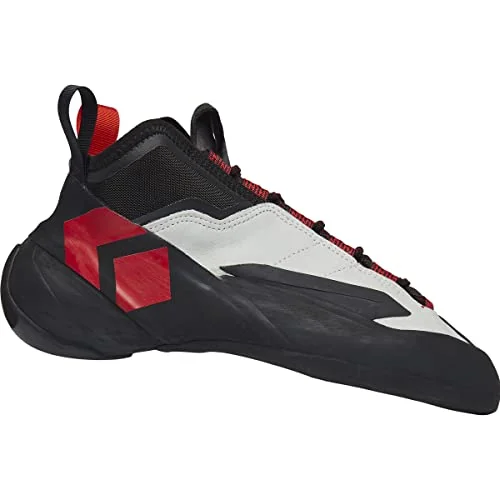
The Black Diamond Aspect Pro is the concrete version of that swap. Flat last, stiff midsole, no cuff, and a slim toe box that still works in thin cracks. If you already own a high-top you love in every way except the ankle, this is the shoe to try next.
Fix two: size and sock. Sizing up by half a size and wearing thin socks in the larger pair costs you almost nothing. Climbers use this specifically for long multi-pitch days, and it does two things at once: it relieves pressure from the rand and it stops the shoe from working directly against bare skin. You give up a small amount of edging precision, which is a trivial price for staying comfortable on pitch ten. It only makes sense against a baseline, though, so it is worth knowing what a correct climbing shoe fit actually feels like before you start sizing around a problem.
Lace, Velcro, or Slipper for Trad Routes
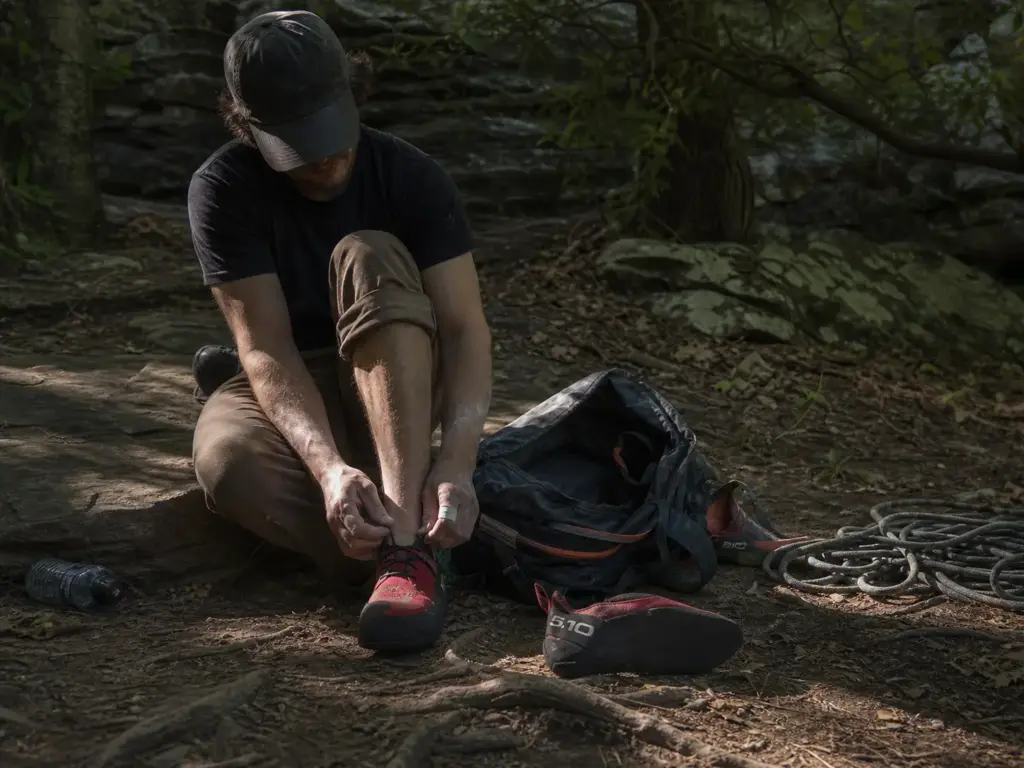
Velcro is faster at the gym, which is exactly why gym climbers assume it is fine everywhere. Then a strap pops open while the shoe is wedged in a crack thirty feet above the last piece, and the lesson arrives all at once. The full breakdown of how the three closure systems compare by discipline is worth reading, but for trad specifically the call is not close.
Laces win because of adjustment range. You can pull the forefoot snug for edging and leave the instep looser so your foot can live in the shoe for hours. A Velcro closure gives you one or two fixed tension zones and nothing in between. On a 30-second boulder problem that does not matter. On a route where your feet swell over the course of a morning, it matters a lot.
Then there is the failure mode. Straps can pop open when a shoe is jammed into a crack and dragged out under load. Mostly this is an annoyance, but it arrives at bad moments, and having to think about your shoe on a runout pitch is exactly the distraction you do not need.
Slippers sit at the other end. No closure at all, minimal and sensitive, and easy to pull on and off at a hanging belay. They are a useful contrast case rather than a trad recommendation, and the Five Ten Niad Moccasym (check it here) is the classic example, with Stealth C4 rubber on a flat profile and zero adjustment range. Plenty of trad climbers keep a pair for easy approach pitches and warm-ups. Almost none of them lead their hardest route in them.
One practical exception in favor of Velcro. Lacing a mid-cuff shoe takes real time, and doing it one-handed at a hanging belay while you also manage a rope is genuinely irritating. Worth knowing before you are up there finding out.
La Sportiva Katana Lace, the Versatile All-Arounder
Not every trad day is Indian Creek. Most are one face pitch, a slab traverse, one short crack section, and a scramble to the anchor. That mix is what this shoe is built for, and it is why the gear-lab pick and the forum-consensus pick are two different shoes.
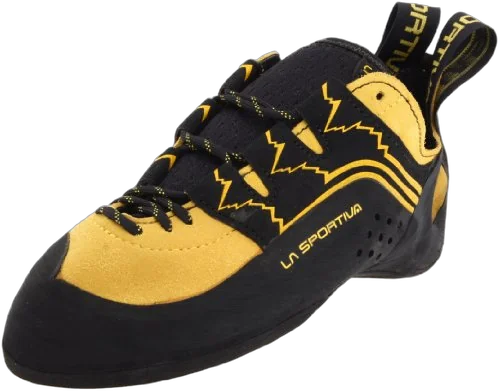
The La Sportiva Katana Lace runs Vibram XS Edge on a moderate downturn with a full lace closure, and it is OutdoorGearLab’s explicit pick for trad climbing. That is worth naming, and it is also worth explaining why an editorial test lands somewhere different than a forum consensus does. Testers rank across a spread of terrain and reward versatility. Forums reward whatever survived a specific climber’s specific routes, which in the American trad world skews heavily toward wide granite cracks.
On mixed terrain the Katana Lace is the more versatile climbing shoe of the two. It smears more willingly and edges more precisely than the benchmark high-top, and it still jams well enough for the crack sections most routes actually contain.
Where it gives ground is obvious the first time you commit to a wide crack: no ankle collar, so your ankle bones take the abrasion directly. It is also less at home than a dedicated crack shoe in sustained fissures. If you want to compare it against the rest of the line, how La Sportiva’s lasts differ across its lineup explains why two shoes from the same brand can fit completely differently.
The useful reframe for a first serious trad shoe: buy for the pitches you actually climb, not the pitches in the photos you keep saving.
Comfort Fit vs Performance Fit and How to Size Trad Shoes
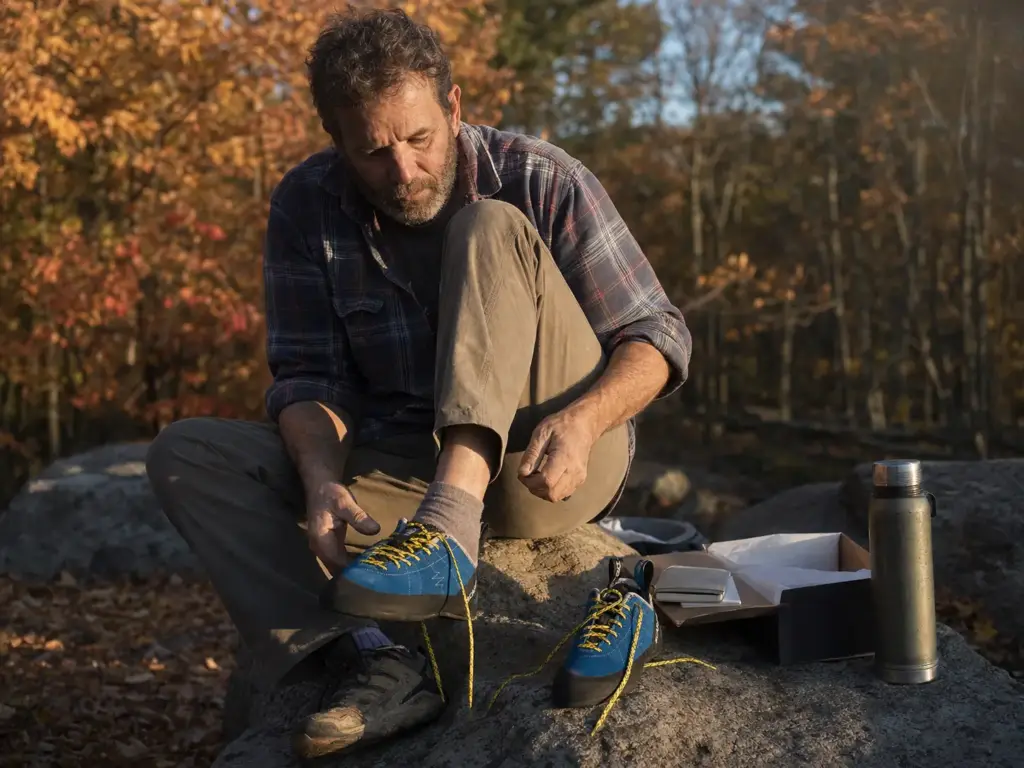
Your bouldering-shoe size will torture you on pitch six. That is the whole section in one sentence, and it is the sentence no sizing chart says out loud.
Why Trad Sizing Tracks Closer to Street Size
Climbers talk about comfort fit and performance fit as if they were two ends of a slider, and for trad you want to sit much closer to the comfort end than you would for anything else. In practice that means trad sizing lands near your street shoe size, not two full sizes below it.
The reason is that the question changes. A performance fit answers “how much precision can I extract for the next 30 seconds.” A trad fit answers “can I stand in this for eight hours and still want to be here.” Those are different problems with different correct answers.
Your feet also swell over a long day, more so in summer heat, and more so the longer you spend hanging at belays with your feet below your heart. The fit that felt dialed in the shop at ten in the morning is a measurably different fit at pitch seven. Size for the second one.
The Half-Size-Up and Thin-Sock Practice
The practitioner move is simple: buy half a size up from your usual climbing size and wear a thin merino liner sock. Climbers do this specifically for all-day multi-pitch, and it is the same adjustment that relieves Achilles pressure in a high-top.
Some climbers take it further and keep two pairs a half-size apart, choosing by objective: the tighter pair for a short technical crux pitch, the looser pair for a long moderate route. You do not need to do that. It is just what the practice looks like taken to its logical end.
Try trad shoes on late in the day, after you have been on your feet, with the sock you plan to actually climb in. Morning feet and afternoon feet are different sizes, and the route will be happening on afternoon feet.
What you trade away is a small amount of edging precision on the very smallest holds. Weigh that against how you expect to feel on pitch six. For most trad objectives it is not a close call. If you came from a different discipline, it helps to see how sport climbers size for short, hard burns and the aggressive downsizing bouldering rewards, because the sizing instinct you built there is the one to leave behind.
Leather vs Synthetic and What Break-In Really Changes
Upper material decides how tight is too tight on day one. Leather uppers stretch and pack out over a season, sometimes close to a half size, so a leather shoe that is snug out of the box will settle. A synthetic upper in microfiber holds its shape, so what you feel in the shop is roughly what you get in a year.
The break-in period is real but bounded. It softens a stiff upper, it molds the footbed to your foot, and it will not rescue a shoe that is a full size too small. Buying deliberately painful shoes on the theory that they will stretch into comfort is how people end up with a shelf full of unworn pairs, and what break-in can and cannot fix is worth reading before you commit to a size you cannot currently stand in.
Scarpa Instinct VS and Generator Mid for Value and All-Day Comfort
La Sportiva owns this conversation, which means the Scarpa options get skipped even when they are the better fit for a specific climber. Two of them earn a place here for genuinely different reasons, and how Scarpa’s lasts and lineup compare is a useful companion if you are cross-shopping brands.
Scarpa Instinct VS, the Value Alternative
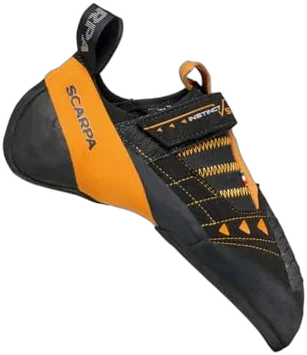
The Scarpa Instinct VS sits on a semi-stiff midsole with a moderate downturn and Vibram XS Edge rubber, which is close to the recipe the premium picks use. What you actually give up is refinement rather than capability: no ankle coverage, less crack-specific rand protection, and a slightly less precise toe than the top of the range. For a climber who wants a capable trad shoe without the premium tier, that is an easy trade.
Scarpa Generator Mid, Ankle Coverage With a Different Heel
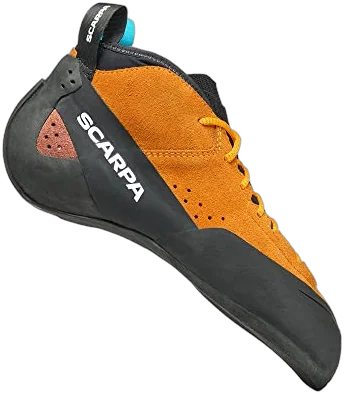
The Scarpa Generator Mid runs a mid-height cuff over a stiff midsole and was designed openly around long routes rather than hard single pitches. Its place in the Achilles conversation is worth being careful about: a different heel construction produces a different pressure pattern, so a mid cuff is not automatically ruled out for someone the usual high-top bothers. That makes it an option worth trying on, not a guaranteed cure. If your tendon is the sensitive kind, try before you commit.
The costs are the premium tier and the same lacing problem every mid cuff has at a hanging belay.
Worth naming the dynamic underneath all of this: brand gravity is real. The most-recommended shoe stays the most-recommended shoe partly because it is the most-recommended shoe, and a lot of good options get skipped for no better reason than that.
Testing Trad Without Spending Premium Money
Picture the gear-shop moment where somebody who has never placed a single cam is being walked over to the most expensive shoe on the wall. Every named top pick across the search results sits in the premium tier, and even the widely-flagged best-value pick is not what most people would call cheap. There is a genuine on-ramp below all of that, and almost nobody says so.
Here is what you actually need to follow your first ten trad pitches: a flat-lasted, lace-up neutral shoe with enough midsole to stand on an edge. That is the whole specification. Expect to spend roughly $100 to $150 for a solid pair of budget climbing shoes in that shape, which is a fraction of what the premium picks cost.

The Scarpa Helix fits that description, and it doubles as a first pair that will not waste your money if you are still figuring out which discipline sticks.
What you give up at the entry tier is real but survivable. Edging is less refined, so tiny holds feel vaguer. There is no ankle protection, so wide cracks are unpleasant. The shoe has a shorter useful life before it needs a resole. All of that is acceptable while you are finding out whether you enjoy placing your own gear or whether you would rather be clipping bolts.
Do not buy the best shoe before you know you are staying with the discipline. Borrow a pair from a partner for one weekend of easy multi-pitch first. You will learn more about what you need from two days of following pitches than from a month of reading spec sheets.
The upgrade trigger is specific: buy the better shoe when you notice the shoe limiting you rather than your footwork limiting you. Until then, the money is better spent on a rack.
Women’s Trad Shoes and What Actually Differs
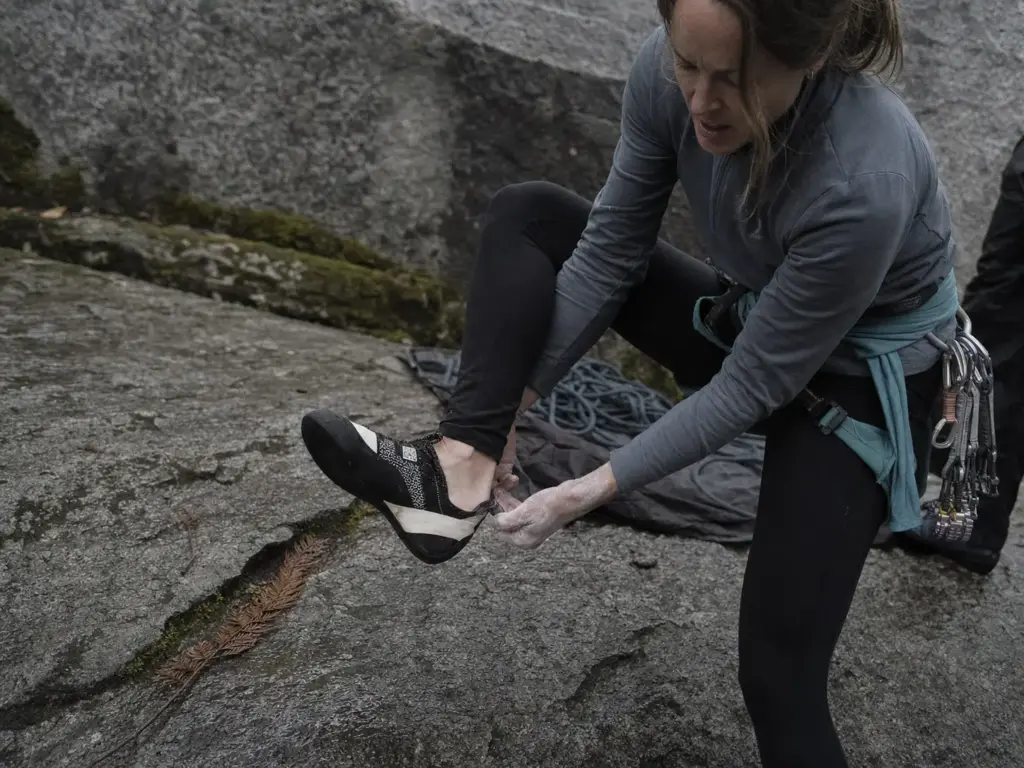
The useful version of this section is not a list of women’s climbing shoes. It is what a women’s last actually changes, and how to tell whether you need one, because plenty of women climb better in men’s lasts and plenty of men have narrow low-volume feet.
A women’s-specific last typically means three things: lower volume through the instep, a narrower heel cup, and often a slightly softer flex. None of those are cosmetic. They are shape differences that decide whether the shoe stays put on your foot.
That matters more on trad than on sport, and the reason is duration again. Heel slip on a five-minute redpoint is a nuisance. Heel slip across an eight-hour day is a blister, and the tell usually arrives on the descent rather than on the climb, when you are walking down a talus field with your heel lifting inside the shoe every step.
Fit beats the label in both directions. If a men’s last holds your heel and a women’s last does not, buy the men’s. If you have a low-volume foot and the shoe you want only comes in one last, expect to lace it tighter through the instep and accept a bit more heel movement than you would like. Climbers with wide feet face the mirror image of the same problem and should shop lasts before brands.
Of the picks here, four come in both lasts: the Katana Lace, the Helix, the Instinct VS, and the Generator. Three are single-last shoes: the TC Pro, the Aspect Pro, and the Niad Moccasym. With those three, a low-volume foot should size carefully and prioritize heel fit over toe precision. For the complete breakdown, the women’s climbing shoe guide goes deeper on lasts and volume than a section here can.
When a Trad Shoe Is Cooked (And When It Just Looks It)
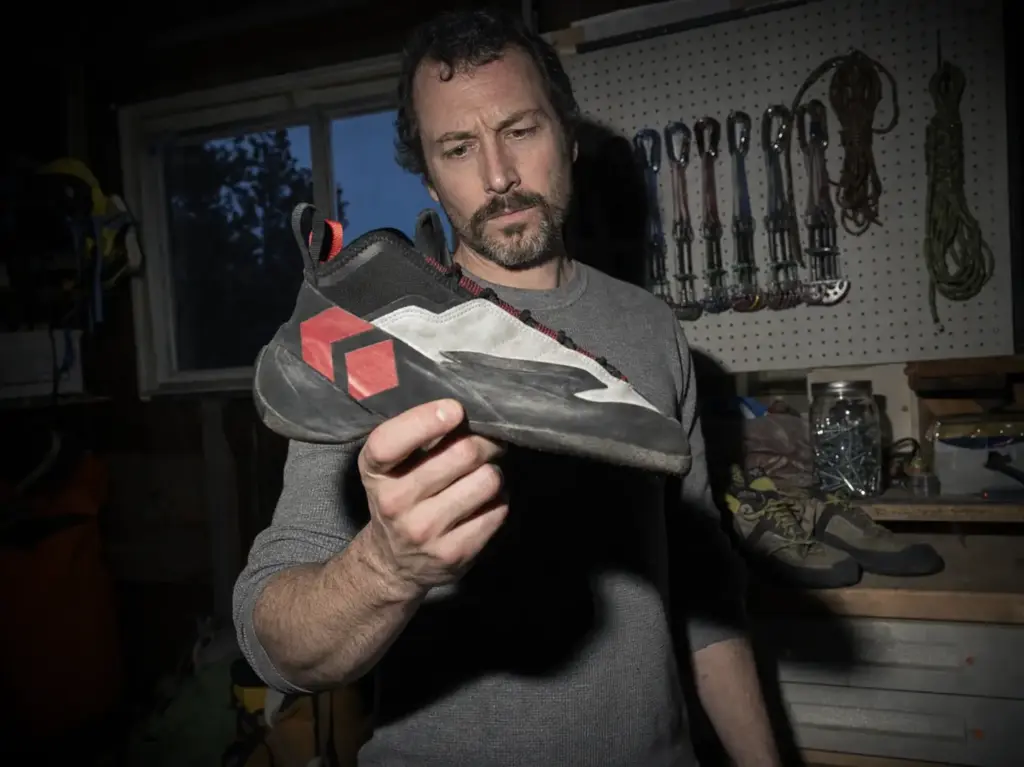
Your shoe looks destroyed along one side and the toe rubber still has life in it. Every resole guide you have read was written with sport shoes in mind and tells you to check the toe. For a trad shoe, that is half a guide.
Trad produces a dual wear pattern, and it is the single most useful diagnostic idea in shoe maintenance. Because one pitch mixes face, slab and crack, the shoe abrades in two places at once: the toe and outside edge wear like a sport shoe from standing on holds, and the sides and rand wear like a crack shoe from being wedged into fissures. Two clocks, running at different speeds.
Each pattern tells you something different. Toe rubber thinned down toward the midsole is a resole trigger and you should act on it before the rand itself gets breached, because a resoler can replace sole rubber cheaply and a breached rand is a bigger, more expensive repair. Scuffing along the sides and rand is often cosmetic, and a shoe that looks wrecked from jamming may have plenty of climbing left in it.
The genuine retirement signals are different from either wear pattern: a rand worn through to the upper, delamination where the sole is separating, a midsole that has gone soft and no longer holds an edge, and an upper stretched so far the laces cannot take up the slack. Storage matters here too, and what a hot car does to a shoe’s shape explains a midsole-softening cause most climbers never connect to their own habits.
Check both wear patterns before you write off a shoe. Run your thumbnail along the toe rubber and then along the lateral rand. Thin toe with an intact rand means resole it now. Ugly rand with fat toe rubber means keep climbing in it.
There is a stewardship argument for resoling too. A resole keeps the upper, midsole and lacing in service instead of manufacturing a whole new pair, which is a meaningful reduction in materials and shipping for a piece of gear most climbers replace every year or two. It fits the same ethic behind the Access Fund’s stewardship guidance on extending gear lifecycle. Timing is the whole trick, and how to time a resole so the shoe does not peel covers when to send them off.
Trad Shoes and the Rest of Your Rack
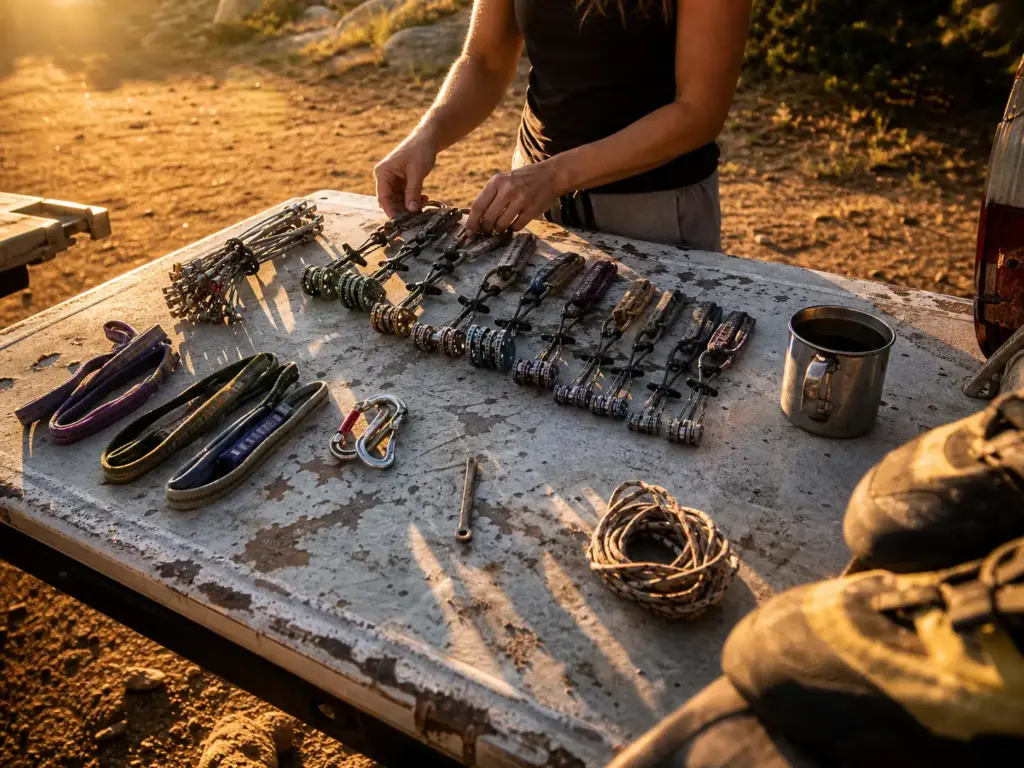
Worth saying at the end of a shoe article: the shoe is the piece people obsess over and it matters least on run-out routes where your protection is questionable. Your trad rack and your judgment about placing protection both outrank it. The rack, the placements and your judgment all rank above it.
The honest connection between the two is standing still. A shoe that lets you hold a small edge comfortably for two minutes while you fiddle a nut into a constriction is doing real work, because that is the moment when a rushed placement happens. Comfort buys you the patience to place well.
Two things usually come next for someone shopping for a first trad shoe. One is grades, since trad routes are graded across several systems and the numbers do not line up cleanly. Sorting out how trad grades convert across systems will save you from picking objectives that are sandbagged relative to what you have been climbing indoors. The other is jamming, which is a learned skill rather than a shoe feature. The shoe helps, the technique does the work, and how to read a crack and pick the right jam is the place to start.
You see the pattern at every crag: the climber who spends three weeks researching shoes and zero afternoons at the local practice crack. The shoe never fixed anybody’s footwork.
Conclusion
Get the order of operations right and this becomes a much simpler purchase.
A trad shoe is a stiffness-and-comfort decision, not a downturn-and-precision one. That is the whole difference between it and the aggressive pair in your gym bag.
If a high-top collar fights your Achilles, that is information, not weakness. Switch to a low-top shoe family or go half a size up with a thin liner sock, and stop treating a fixable pressure point as a test of character.
Size for pitch eight, not for the shop floor. Your feet at the end of a long day are the feet the shoe has to fit.
Whatever pair you land on, take it to a low crack before you take it up a route. Edge on something small, smear on something blank, jam a foot in, and hang around in the shoes for five minutes doing nothing. You will learn more about the fit in that session than in any spec table.
Frequently Asked Questions
01Are trad climbing shoes different from crack climbing shoes?
Yes. A trad shoe has to edge, smear and jam acceptably because trad routes mix face, slab and crack, while a dedicated crack shoe optimizes for jam mechanics alone.
If your routes are varied, buy the versatile shoe. If you climb splitters almost exclusively, look at crack-specific models instead.
02Should trad climbing shoes be tight or loose?
Snug but not crushed. Trad sizing tracks closer to your street shoe size than bouldering sizing does, because the real question is whether you can stand in them for eight hours.
That is the difference between a comfort fit and a performance fit, and trad belongs firmly on the comfort side.
03Why do my heels or ankles hurt in the TC Pro?
The heel rand, which climbers call the slingshot rand, presses into the Achilles tendon on long days. It is a recurring complaint even with the redesigned model.
Two fixes work: switch to a low-top shoe with no collar, or go half a size up and wear a thin liner sock.
04Can I use my sport climbing shoes for trad?
For a pitch or two, yes. An aggressively downturned, tightly sized sport shoe becomes punishing over a multi-pitch day and will not sit flat inside a foot jam.
What fails first is usually arch fatigue and toe pain, followed by the curled toe fighting you on any slab.
05How long do trad climbing shoes last before they need a resole?
It depends on wear pattern, not calendar time. Check the toe rubber and the lateral rand separately, because trad wears both at different rates.
Thin toe rubber with an intact rand means resole now. Heavy side scuffing with fat toe rubber usually means keep climbing.
Safety Notice: Rock climbing and mountaineering are inherently high-risk
activities that can involve physical trauma or fatal incidents. The information on Rock Climbing Realms is for
educational and informational purposes only. Techniques and advice presented here are not a substitute
for professional, hands-on instruction. Conditions and risks vary by location. Always seek guidance
from a qualified instructor before attempting new techniques. By using this website, you agree that you
are solely responsible for your own safety. Any reliance you place on this information is strictly
at your own risk, and you assume all liability for your actions. Rock Climbing Realms and its authors
will not be held liable for any harm, damage, or loss sustained in connection with the use of this information.
Affiliate Disclosure: We are a participant in the Amazon Services LLC Associates Program, an
affiliate advertising program designed to provide a means for us to earn advertising fees by advertising and linking
to Amazon.com. As an Amazon Associate, we earn from qualifying purchases. We are also an official affiliate partner
of Black Diamond Equipment via the AvantLink network. If you click on a Black Diamond affiliate link and make a
purchase, we may earn a commission at no additional cost to you. We also participate in other affiliate programs.
Additional terms are found in the terms of service.