

In this article
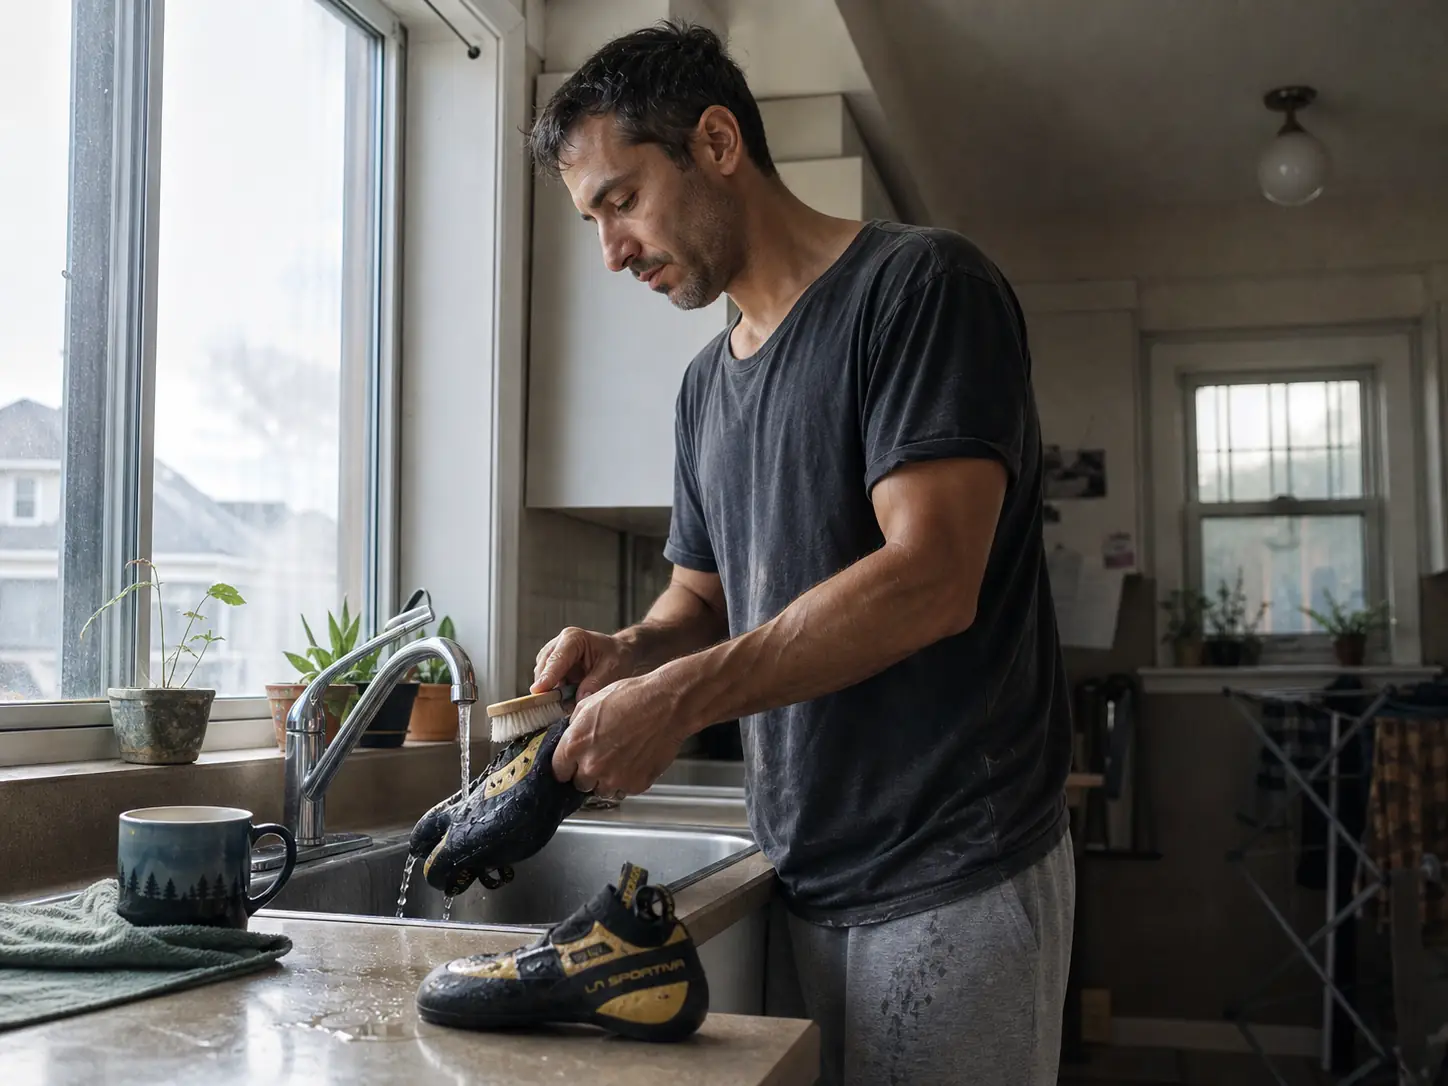
You unzip the gym bag four days after your last session and the smell arrives before the shoes do. Every guide on how to clean and care for climbing shoes tells you the same three things: mild soap, soft brush, air dry. What almost none of them tell you is that climbers actually do two completely different jobs here, and the community already has names for them: the wipe-down and the deep clean. Confuse the two and you either let the funk win or you scrub a perfectly good pair into early retirement. Here’s the actual schedule, plus the drying and storage steps where most of the real damage happens.
Why Climbing Shoes Fall Apart Before They Wear Out
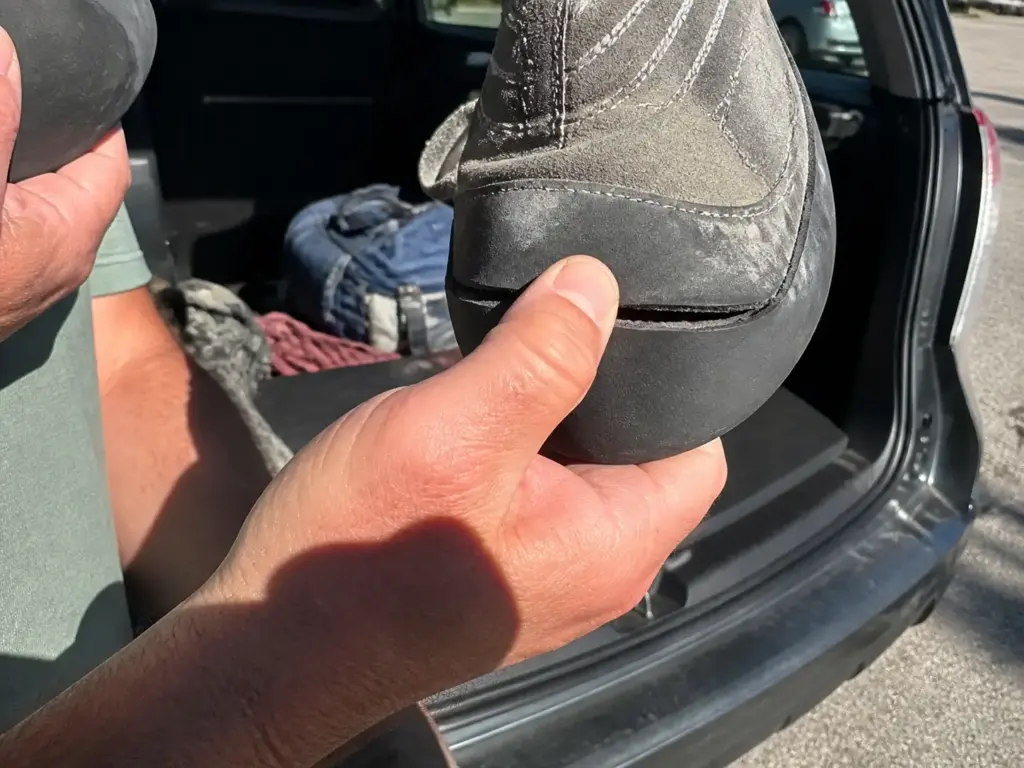
Most climbers think the enemy is odor. It isn’t. The enemy is heat damage and trapped moisture, and both of them work on the glue.
The rand wrapping your toes is bonded to the sole with contact cement, and that bond softens when it gets warm. A shoe left in a summer car turns into a small oven, and the adhesive gives up long before the rubber does. That’s the pair that comes apart at the rand with plenty of tread left. If you want the bacterial chemistry and the exact temperature numbers, the sibling piece covers the bacteria and heat thresholds behind all of this in detail, and it’s also where to go once the rand starts peeling away from the sole.
Trapped humidity is the other half. Damp shoes sealed in a pack pocket sit in their own warm swamp for hours, and that’s what breeds the next round of odor. The sweat itself isn’t the problem. The sweat plus a closed bag plus a warm room is.
Leather and synthetic uppers soak up and release that moisture at different rates, which changes how gently you wash and how long you dry. That distinction gets its own full treatment in the sibling article, so treat it here as a dial rather than a rule: leather wants less water and more patience.
And then there’s the mistake nobody names. Climbers treat cleaning as one undifferentiated event, so they either never do it or they do the full soap-and-water routine every other week. Washing more often than the shoes need is its own kind of wear on the glue and the upper. A real shoe care routine separates the two jobs and puts most of the effort into the cheap one.
The 30-Second Habit After Every Session
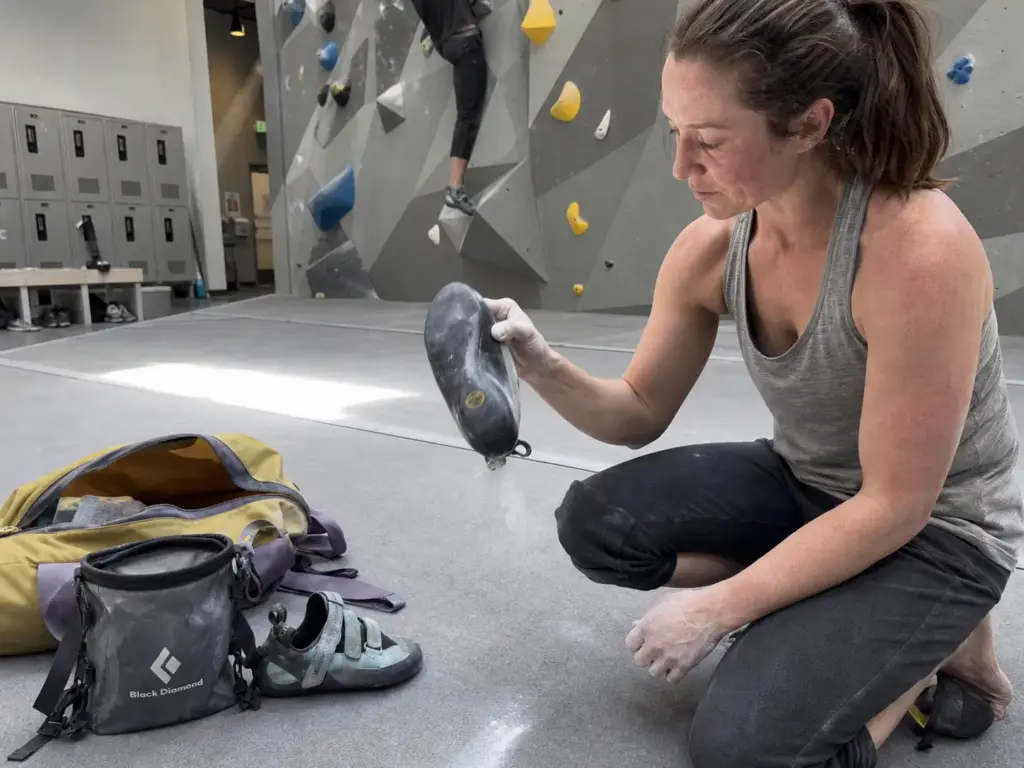
Here’s the default behavior a post-climb routine is meant to replace: you peel the shoes off at the base of the wall, stuff them in a pack pocket, and forget them until the next session. That single habit creates most of the cleaning work you’ll ever do.
What to do before you even leave the gym
Get them out of the bag. Not later, not at home, right there while you’re coiling the rope or racking your pad. A sealed bag riding in a warm car is the worst combination in this entire article, and it costs you nothing to break it.
Knock the shoes together sole-to-sole over a trash can and you’ll be surprised how much the chalk that ends up everywhere but your hands comes out of the toe box. Chalk buildup inside is the thing that eventually forces an aggressive wash. Then loosen the laces or peel the straps back all the way so air can actually move through the shoe instead of over it.
The interior wipe (and the alcohol rule)
A cloth with a little 70% isopropyl alcohol on it wipes the interior clean and knocks down surface bacteria within about ten seconds. It also evaporates before it ever reaches the foam where the colonies actually live. That makes it maintenance, not a cure, and worth doing anyway because odor prevention is far cheaper than odor removal.
The rule that matters: the alcohol goes on the cloth, never into the shoe. Poured or soaked, it strips the natural oils out of leather and goes after the adhesives holding the midsole and insole together. Same logic as the rand, just on the inside.
The cheapest fix in this whole article isn’t a product. Where your discipline and fit allow it, wear thin socks. Sweat that never soaks into the liner never becomes an odor problem, and gym climbers who switch usually notice within a few sessions.
Then park them somewhere cool with air moving. Not the trunk, not a sunny windowsill, not a closed locker. The drying rules further down are the long version of this same idea, and doing the miniature version after every session means you rarely need the long one.
How to Actually Wash Climbing Shoes by Hand
Every competitor says “mild soap and a soft brush” and stops there. Nobody tells you how hard to brush, what to rinse separately, or how you know when you’re finished. That’s this section, and the routine applies to whichever pair you ended up buying, aggressive downturned sport shoes included.
The one shoe you can put in a machine (and why yours probably isn’t)
The La Sportiva Oxygym and GeckoGym are among the only models rated machine-washable, and even then only on a lukewarm cycle with no detergent. Everything else in the shop is hand-wash-only. Machine washable is an exception on two specific models, not a loophole you can stretch to cover your Solutions.
Soap, brush, and when to stop
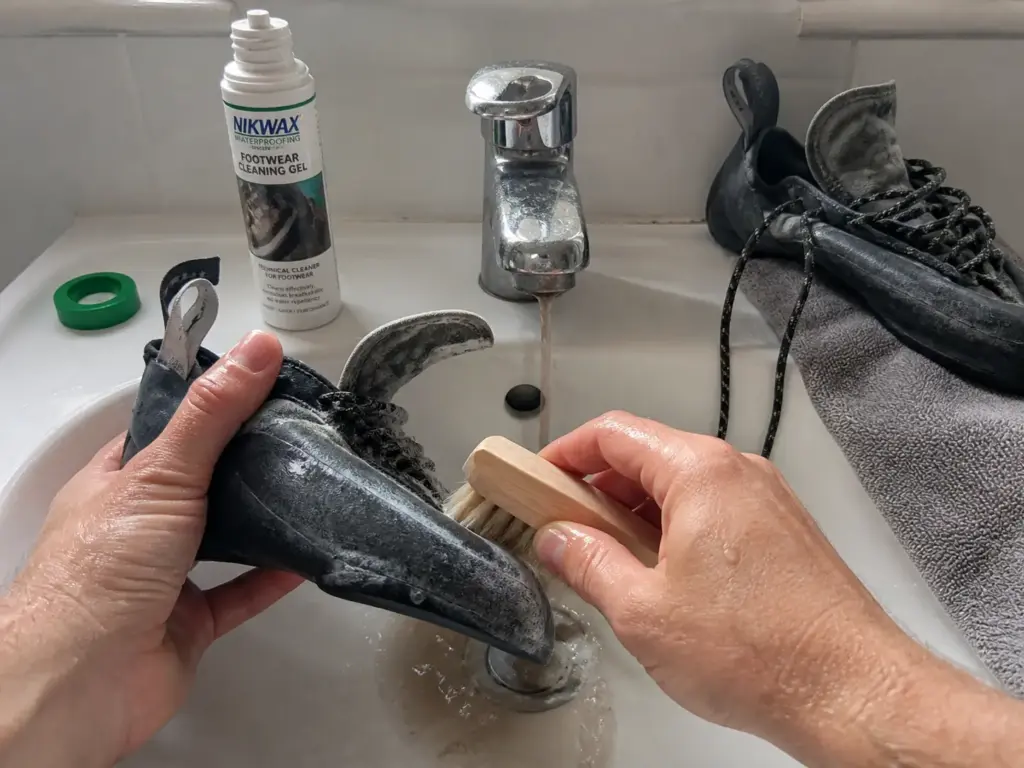
Run lukewarm water. Warm enough that it doesn’t feel cold on your wrist, never hot. Work a small amount of mild soap into the footbed and the interior with a soft brush, using short strokes rather than long scrubbing passes.
Brush the footbed, the interior lining, and the seams. Go gentle on the upper and stay off the rand edge entirely, because that’s the seam you’re trying to protect. Rinse the tongue separately from the rest of the shoe, since it holds soap longer than anything else.
Then keep rinsing until the water running out of the shoe is clear. That’s the finish line nobody states, and it usually takes twice as long as you’d guess.
A dedicated brush makes the footbed work easier than a household one because the head is sized for a toe box. The JOINPAYA Mountaineering Cleaning Brush (check it here) has natural braided bristles soft enough for a liner and a handle you can actually control at an angle. Honest version: any soft toothbrush already in your bathroom does nearly the same job. The dedicated brush is a convenience, not a requirement.
Same story on soap. Dish soap is the community default and it works fine on both leather and synthetic. If you want something built for footwear, Nikwax Footwear Cleaning Gel (check it here) is a gel cleaner rated safe on suede, leather, fabric, and synthetics, which takes the guesswork out if your pair mixes materials. But a squirt of Dawn under the sink is genuinely cheaper and genuinely adequate, and anyone who tells you otherwise is selling something.
One more thing while you’re in there: Velcro straps trap more debris than laces do, so pick the hook side clean with a fingernail before it turns into felt.
How often is often enough
Every couple of months covers most climbers. Sweat heavily or climb five days a week and you’ll shorten that window on your own. No source supports a fixed calendar rule, and inventing one would be worse than useless, because the deep wash is the part that stresses the glue. When in doubt, do the 30-second habit more often and the full wash less often.
Drying Is Where Most Shoes Get Ruined
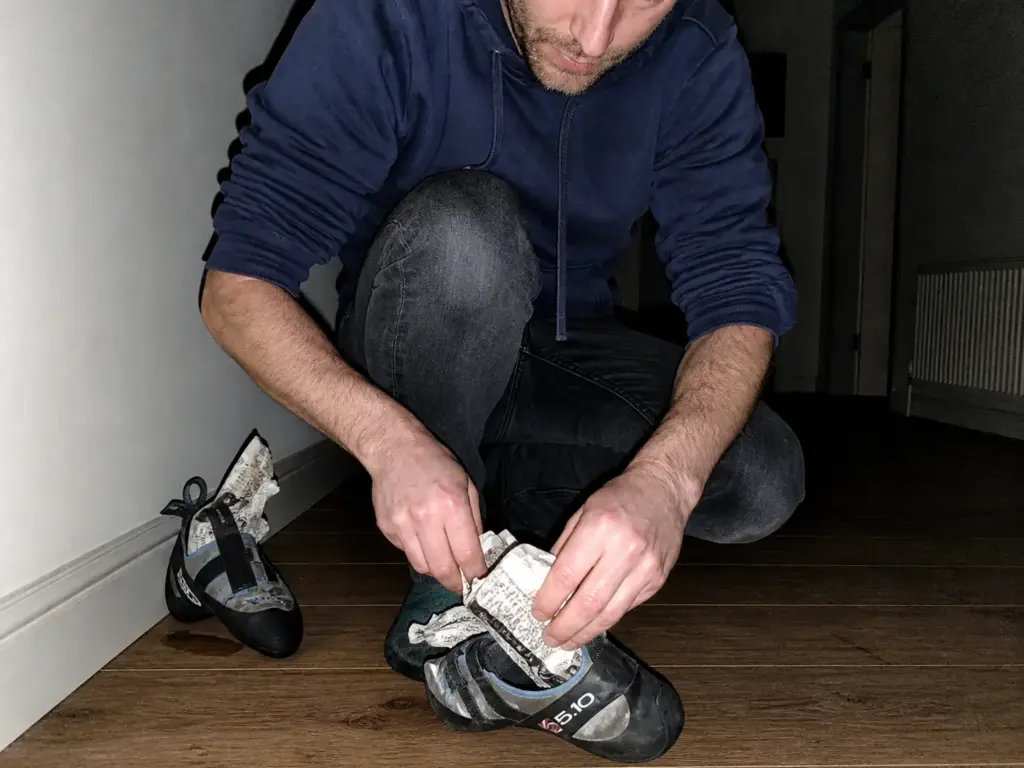
People survive the wash and then wreck the shoes in the next twenty minutes. The washing was never the risky part.
Wipe them down with a dry towel the moment you pull them out of the water, then press a cloth into the interior and squeeze to pull the water out of the liner. Don’t wring or twist the shoe to speed this up. Twisting stresses exactly the seams you just spent ten minutes cleaning around.
Stuff them loosely with paper. Loosely is the operative word, because packed-tight paper distorts the toe box and slows the drying instead of helping it. The paper is there to hold shape and wick, not to fill volume.
Then leave them alone for several hours somewhere warm and ventilated, out of direct sun. A drying rack in a room with moving air beats any heat source, and if you want it faster, fan drying at room temperature is the only speed-up that costs the glue nothing. Not on a radiator, not on a dashboard, not in a closed car. The same heat that flattens a downturn in a parked car is the heat working on your adhesive right now, just slower.
The hairdryer isn’t automatically wrong, the way you’re holding it is. Lowest setting, arm’s length away, pointed into the shoe, and it’s just moving air. On high and held close, you’re running a compressed version of the hot-car mistake you already know to avoid.
That nuance matters because the flat ban (“never use a hairdryer”) is the kind of advice climbers ignore the moment they’re in a hurry before a session. Distance and setting are the variables. If the shell of the shoe feels warm to the back of your hand, you’re too close.
Storage Does More for Your Shoes Than Cleaning Does
The shoes that smell worst usually belong to people who clean them regularly and then store them wrong. Storage is the part nobody writes about, and it’s most of the job.
Rule one: shoes never go back into a sealed pack against damp gear. A warm, humid enclosure is the odor engine, and no amount of scrubbing on Sunday outruns six days of that. This matters more for climbing shoes than for any other footwear you own, partly because shoes fitted that tight sweat more than anything with room in the toe box.
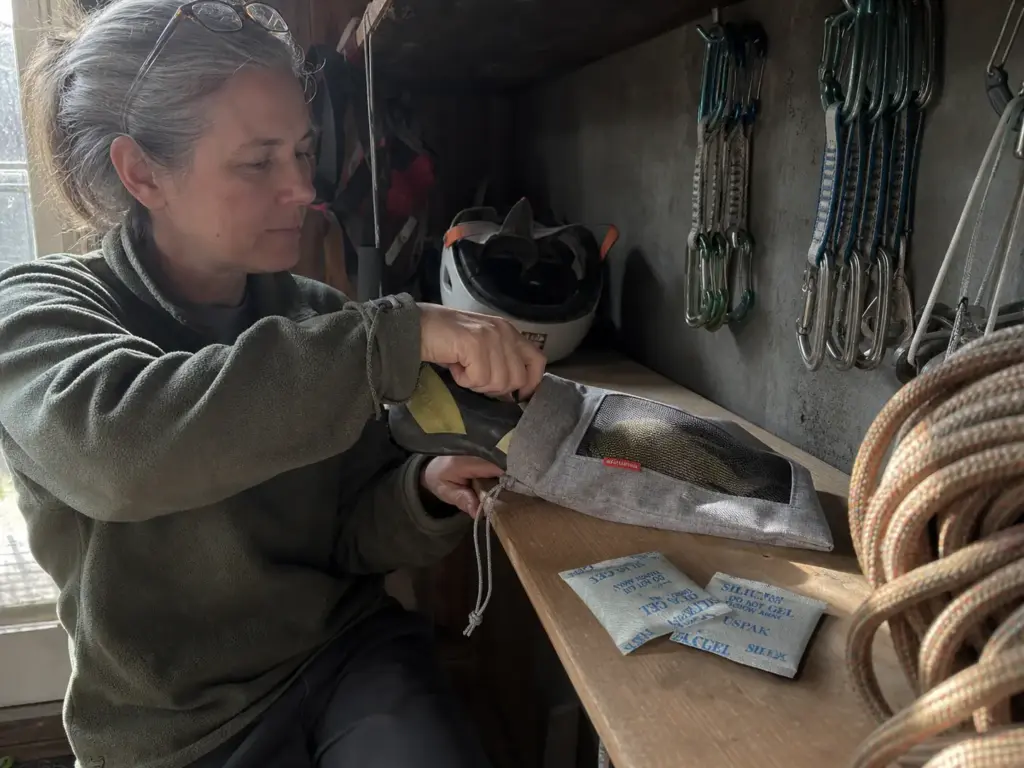
Rule two: give them their own mesh bag. A mesh panel lets moisture out while keeping chalk and grit off the rest of the kit you’re storing next to them. It’s the one piece of gear maintenance with the best return per minute spent. Loose shoes rattling around against carabiners and cam lobes pick up buildup that then forces the aggressive wash you were trying to avoid in the first place.
The LeanTravel Shoe Bags with Mesh Window (check them here) come six to a set with a breathable panel and a drawstring cord lock, so one pair lives in a bag and the spares stay separated. A mesh produce bag from your kitchen does the identical job for nothing, and I’d rather you use that than skip the step entirely.
Rule three: attack the moisture instead of masking the smell. A deodorizer or a shoe spray covers odor; a moisture-absorbing insert removes what causes it. Toss a couple of USPak Silica Gel Desiccant Packets (check them here) into each shoe between sessions and they pull residual humidity out overnight. They’re non-toxic, reusable once you dry them out, and a 100-pack lasts effectively forever.
Zero-cost version: newspaper stuffing, swapped out when it feels damp. Slower, free, works.
For long-term storage between seasons, the checklist is short. Cool, dark, ventilated, shape held with loose paper, and out of the car and the trunk entirely. A pair stored properly through a winter comes out the same shoe. A pair stored in a garage that bakes all August does not.
What Never Touches Your Climbing Shoes
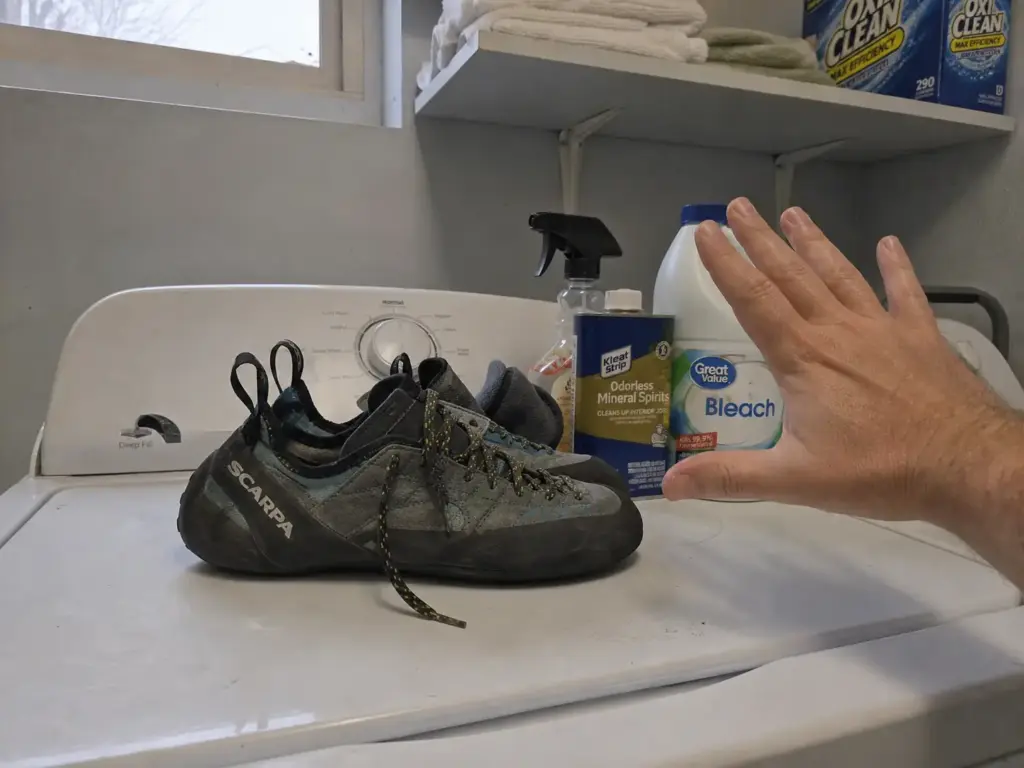
“Mild soap only” is standard advice and it tells you nothing. Here’s the specific list, with what each one actually does.
Bleach and harsh chemicals. On mesh and colored synthetic uppers, bleach strips dye and degrades the material itself. You’ll see the color go first and the fabric fail later. There’s no dilution that makes this a good idea on a climbing shoe.
Poured or soaked isopropyl alcohol. Wiping the interior with a cloth is fine and useful. Pouring alcohol in to fix the smell fast strips the oils out of leather and attacks the industrial adhesives holding the midsole and insole together. It’s the single most common well-intentioned mistake in shoe care, and it does the opposite of what a disinfecting wipe is supposed to do.
The washing machine. Outside the Oxygym and GeckoGym exception above, no. Detergent chemistry plus agitation plus a heated cycle is three attacks on the same adhesive bond at once.
Degreasers and solvents. Not on the upper and especially not on the sole. Whatever aggressive cleaner strips grease off your driveway will also work on the rubber compound you’re standing on, and glazed or dried-out rubber doesn’t come back. Ask a cobbler what they use to prep a sole for a resole and you’ll notice it’s not what’s under your kitchen sink.
If a cleaning product’s label brags about cutting grease, it’s the wrong product for a shoe held together by glue. Mild means mild. The stuff that works here is boring by design.
None of this buys you immortal shoes. Care buys time, and eventually normal rubber wear thins the toe rubber out and you reach the point where a resole is the answer instead. The whole reason to clean carefully is to get there with the rand and the upper still worth saving.
Conclusion
Three things carry the rest of this article. The 30-second post-session habit prevents more damage than any wash does, so bag out, chalk out, wipe, air. Wash by hand every couple of months in lukewarm water until the rinse runs clear, then dry slow and cool with paper holding the shape. And store them ventilated, out of the bag and out of the car, because storage is quietly most of the job.
Try the short version first. Do the 30-second routine after your next five sessions and check whether the shoes even need the deep wash on schedule. Most climbers find the interval stretches out on its own once the shoes stop marinating in a closed bag, which is the same reason the shoes and the crags both last longer when people bother with the small habits, something the climbing access and stewardship work Access Fund does nationally reflects at a much bigger scale.
Frequently Asked Questions
01Can I use Dawn dish soap to clean climbing shoes?
Yes. A small amount of mild dish soap in lukewarm water is the community default and works on both leather and synthetic uppers. Use it sparingly and rinse until the water runs clear, because leftover soap residue attracts more grit than it removes.
02Can I use wet wipes on climbing shoes?
For a quick interior wipe between sessions, yes. They are a convenience version of the cloth-and-alcohol step. They will not reach the foam where odor-causing bacteria live, so treat them as maintenance rather than a substitute for the periodic hand wash.
03Can baking soda be used to clean climbing shoes?
Baking soda works as a dry odor absorber sprinkled inside between sessions, then knocked out before you climb. It is not a cleaner. It will not lift chalk or grit, and leaving it packed in the toe box does nothing for the moisture that caused the smell.
04How often should you clean climbing shoes?
A full hand wash every couple of months covers most climbers, with the 30-second wipe-and-air habit after every session in between. Climb more or sweat more and that window shortens. Washing more often than needed is its own kind of wear on the adhesives.
05How do I take care of my climbing shoes day to day?
Get them out of the bag the moment you finish climbing, knock the chalk out, and air them somewhere cool and ventilated. That single habit does more for the life of a pair than any cleaning product on the shelf.
Safety Notice: Rock climbing and mountaineering are inherently high-risk
activities that can involve physical trauma or fatal incidents. The information on Rock Climbing Realms is for
educational and informational purposes only. Techniques and advice presented here are not a substitute
for professional, hands-on instruction. Conditions and risks vary by location. Always seek guidance
from a qualified instructor before attempting new techniques. By using this website, you agree that you
are solely responsible for your own safety. Any reliance you place on this information is strictly
at your own risk, and you assume all liability for your actions. Rock Climbing Realms and its authors
will not be held liable for any harm, damage, or loss sustained in connection with the use of this information.
Affiliate Disclosure: We are a participant in the Amazon Services LLC Associates Program, an
affiliate advertising program designed to provide a means for us to earn advertising fees by advertising and linking
to Amazon.com. As an Amazon Associate, we earn from qualifying purchases. We are also an official affiliate partner
of Black Diamond Equipment via the AvantLink network. If you click on a Black Diamond affiliate link and make a
purchase, we may earn a commission at no additional cost to you. We also participate in other affiliate programs.
Additional terms are found in the terms of service.