
In this article
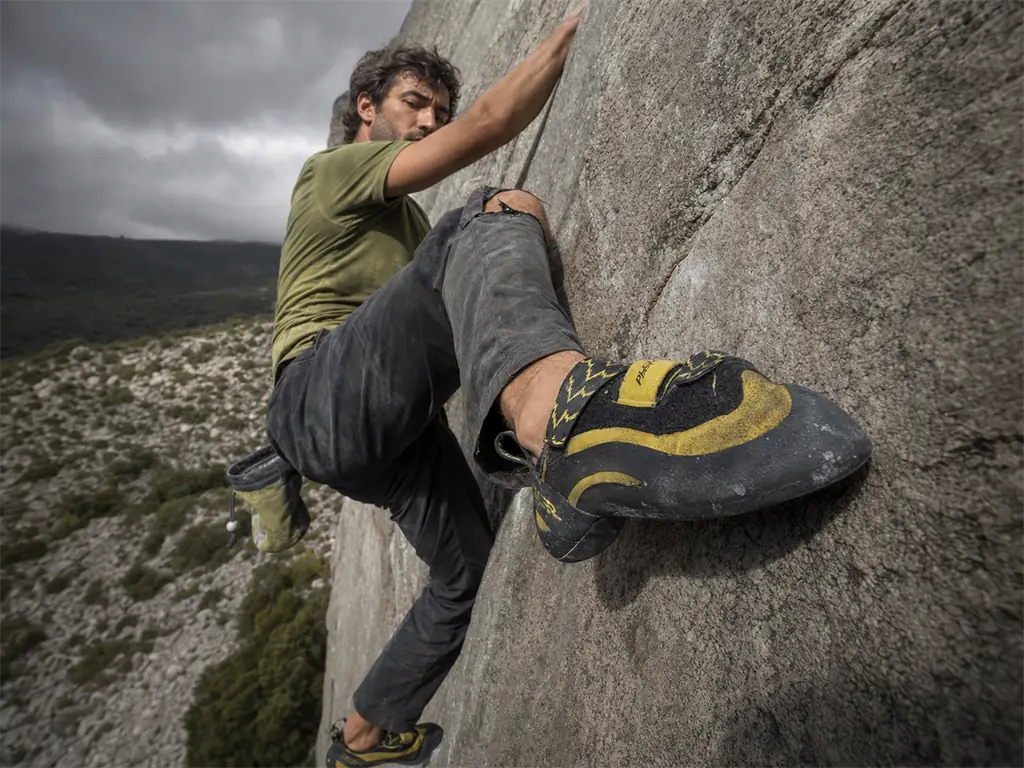
You finish a good session, stuff your shoes in the pack, and leave the car in the crag lot for four hours in full sun. Nothing about that feels like damage, but that parked car does more to flatten an aggressive shoe than the climbing did. Ask around long enough and the same story shows up in every forum thread: the shoes went soft, nobody knows when, and everyone blames mileage. Here is what actually happens to the tension rand that holds the shape an aggressive climbing shoe is built around, why the curve relaxes, and how to keep the downturn you paid for.
What Actually Holds The Downturn In Place
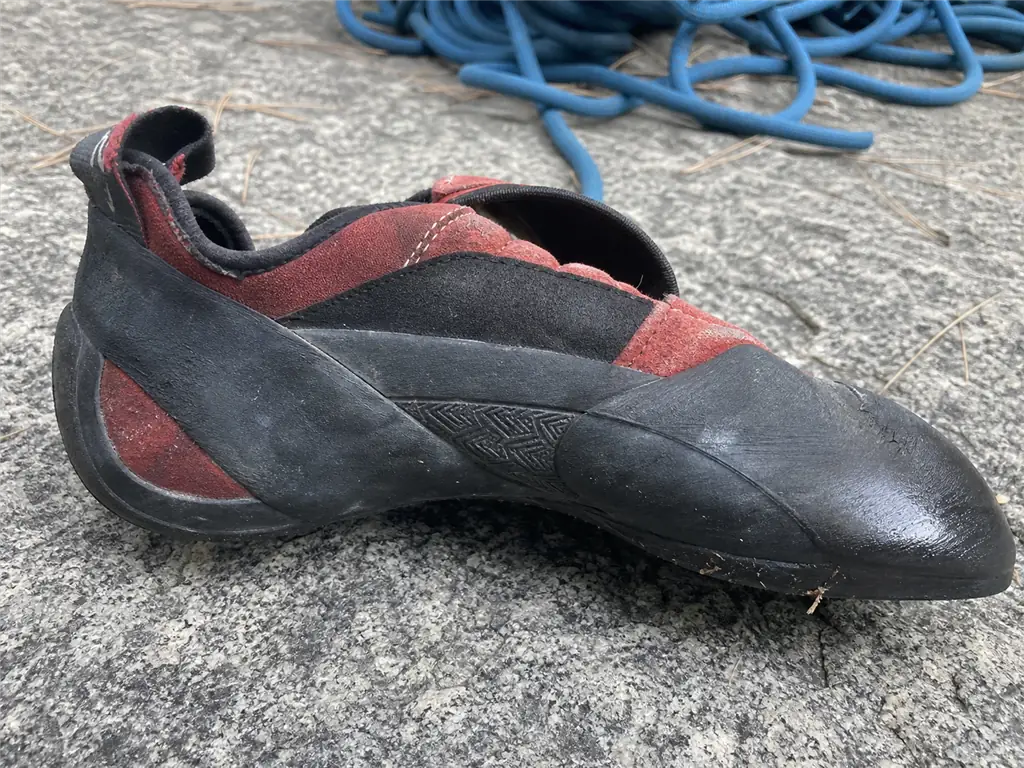
Most climbers, asked what makes a shoe aggressive, point at the sole. That answer is wrong in a way that costs money, because the part doing the work is the one nobody looks at.
The tension rand is doing the work
The rand is the rubber band wrapped around the heel and toe of the shoe, running under the arch and pulling the toe box downward. It is the reason a downturned shoe holds a banana curve on the shelf instead of lying flat like a sneaker. The heel tension band is the back half of that same loop. Climbers use the word constantly in gear threads and almost nobody defines it, so hold onto it: everything in this article is about keeping that band under tension.
Two other shape words travel with it. Asymmetry is the sideways bias that points the power toward your big toe, and camber is the front-to-back arch of the sole. A flat-lasted shoe has neither working hard; a moderate downturn has some of both; an extreme downturn is a banana-shaped shoe that will not sit flat on a table no matter how you set it down. All three shapes depend on the rand, and the more aggressive the shape, the more tension the rand is being asked to hold.
Midsole stiffness supports the curve, it doesn’t create it
Midsole stiffness resists flattening when you stand on a small edge. It is what keeps edging honest and precision footwork repeatable on a chip the size of a coin. The rand supplies the pull that makes the curve exist in the first place. Those are two different jobs, and confusing them explains a lot of frustrated forum posts. A shoe with a stiff midsole and a tired rand still goes flat, it just goes flat while feeling supportive on edges.
Why the sole rubber is the wrong suspect
Sticky rubber wears out, glazes over, and eventually needs replacing, but it was never holding the shape. That distinction matters at resole time, which is why a fresh half sole can leave you with a grippy shoe that still feels neutral underfoot. Worth knowing too that what the sole rubber compound actually controls is friction, not geometry. And before you spend anything on shape retention, it’s fair to ask how much downturn a shoe actually needs for the climbing you do.
Why Downturn Relaxes Over Time
Every maintenance article on the internet tells you not to leave shoes in a hot car. None of them tell you what heat is doing in there. That gap is why the rules never stick.
Compression set, or why rubber stops springing back
Rubber under sustained squeeze does not return all the way to its original shape. Engineers measure this with the industry-standard compression-set test that measures how much an elastomer fails to spring back after sustained load, and the number gets worse as temperature climbs. Think of a foam mattress that never quite recovers its old loft. Your tension rand lives under exactly that kind of load every time downturned toes cram into the curve, so elastomer fatigue is not a metaphor here, it is the actual failure mode.
Heat rewires the rubber instead of just wearing it
Heat drives oxidative degradation in rubber: the polymer chains break down or re-crosslink, and the compound permanently hardens or softens depending on its structure. The important part is the word permanent. Cooling the shoe back down does not undo it. Heat also pushes compression set up sharply, which means the same afternoon that softens your glue is quietly spending your curve.
Flex cycles, moisture, and drying flat
Then there is ordinary use. Thousands of flex cycles, a soaked upper, and a shoe left to dry in whatever position it landed in. Wet material sets in the shape it dries in, and most people never choose that shape on purpose. Interesting wrinkle: stretching a shoe on purpose works on the same tension system, just aimed in the opposite direction.
Cold stiffness is not damage
One honest correction before you panic. A shoe that feels board-stiff on a 35°F morning is not dead. That is reversible thermoplastic behavior, and ten minutes against your skin or inside a jacket brings the flexibility back. Retiring a shoe in November because it felt wrong at the base of a route is a mistake plenty of climbers have made.
The Hot Car Problem And The Number Nobody Gives You
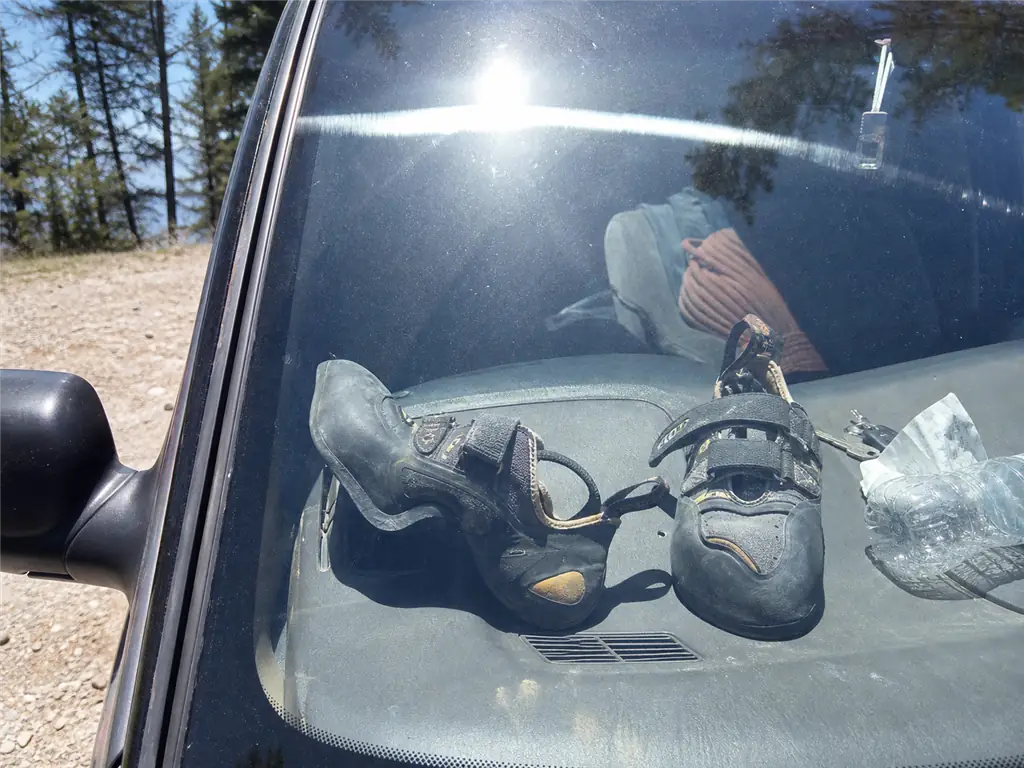
Here is the number the rest of the internet leaves out: the adhesives holding climbing shoe rubber together start letting go somewhere between 140°F and 158°F, roughly 60°C to 70°C.
140 to 158°F is where the glue starts letting go
That is not a desert-extreme figure. It is not a Phoenix parking lot in August. It is the temperature range where ordinary shoe adhesive stops behaving like a bond and starts behaving like a suggestion, and it sits well inside what a normal sunny afternoon can produce.
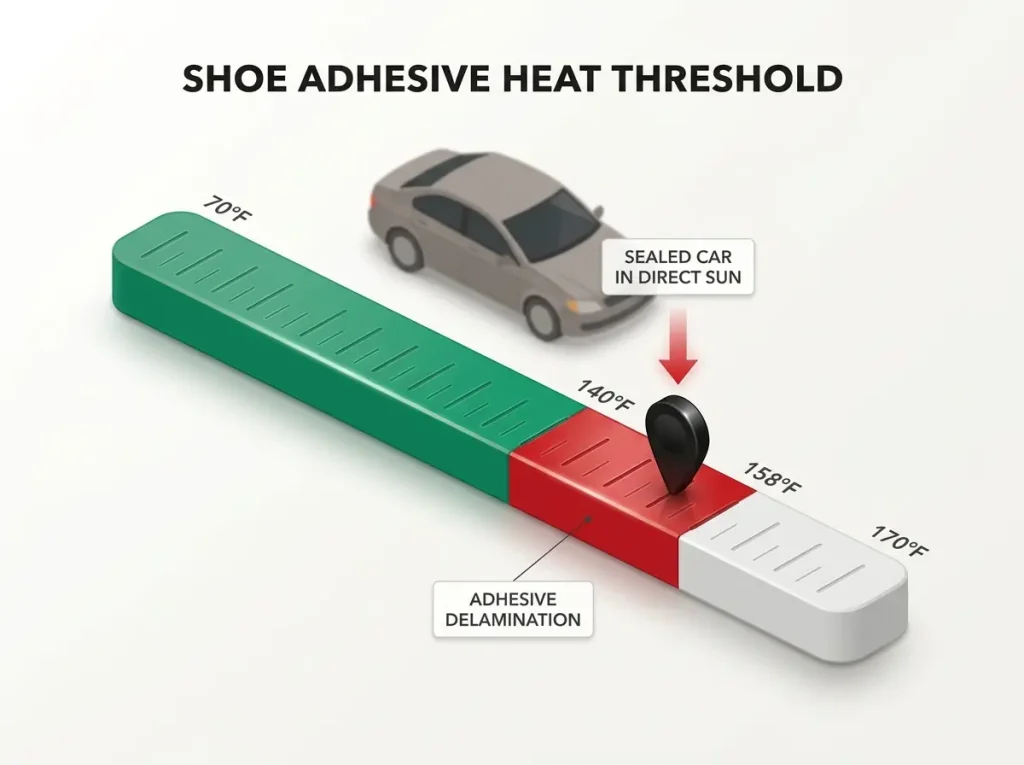
A sealed car in the sun clears that threshold in under an hour
A closed car parked in direct sun can pass 150°F inside on a hot day. Dashboard, back seat, trunk, it makes little difference once the glass has done its job. And this is not only about the wait at the crag. The drive home counts, the errand on the way counts, and the shoes left in the car overnight before the next session count too.
It’s not only the glue, it’s the shape memory
This is the part nobody connects. The same heat that softens the adhesive is also the single biggest accelerant of compression set in the rand. Rubber memory is the property doing the work when a shoe springs back to its curve, and heat exposure is what erases it. So hot car storage charges you twice: bond strength on one side, tensioned curve on the other. A pair can survive that treatment for months without visibly delaminating while quietly losing the aggression you bought them for.
Climbing Magazine’s own maintenance reporting describes a youth team climber’s La Sportiva Testarossas cooked through exactly this kind of neglect. Sponsored kids with free shoes make this mistake, which should take the sting out of admitting you have too. If yours are already past that point and the sole has started peeling away from the rand, that is a repair conversation rather than a prevention one.
If the shoes have to stay in the car, put them in the footwell behind the driver’s seat with a jacket over them, not on the dash or in the trunk. Shaded floor space runs many degrees cooler than glass-exposed surfaces, and that gap is often the difference between staying under the adhesive threshold and blowing through it.
Drying And Storage That Holds The Curve
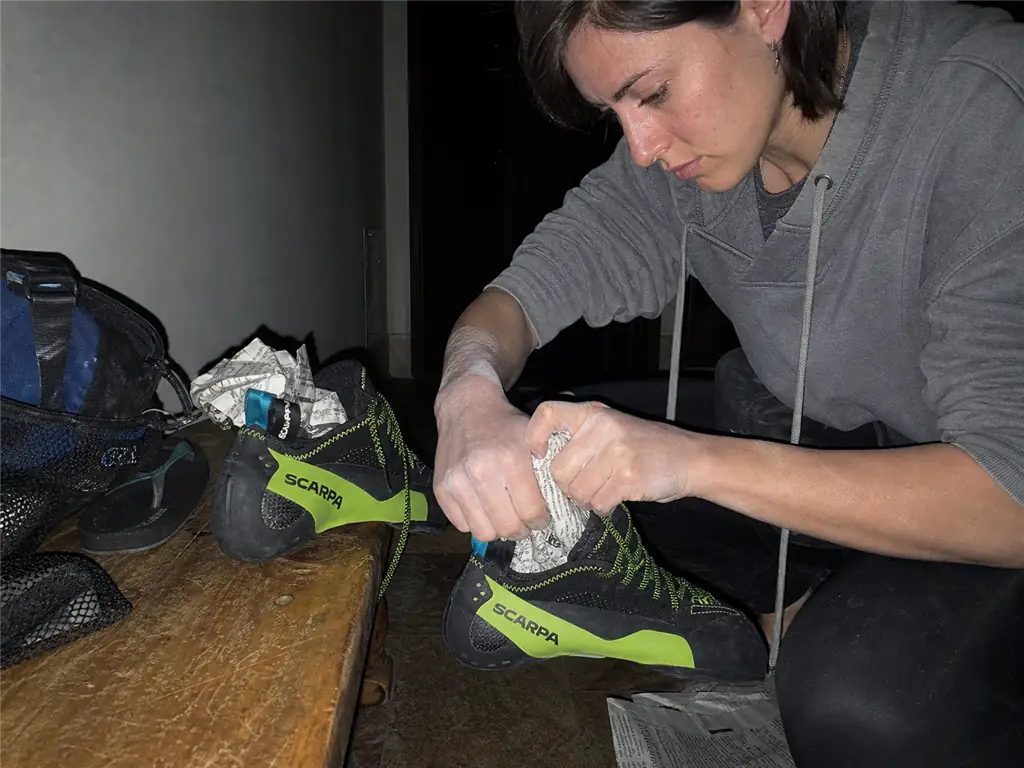
Here is the step that is missing from every shoe care guide worth reading, including the two dedicated maintenance articles that dominate this search. They all say air dry them. None of them say what shape to dry them in.
Stuff the toe box while they dry
Take crumpled newspaper or a couple of paper towels and pack them loosely into the toe box while the shoes dry. The paper does two jobs at once: it wicks moisture out of the upper, and it holds the curve while the material sets. Newspaper stuffing is the closest thing to a free extension on a shoe’s aggressive life. Swap the paper once it feels damp, usually after an hour or two, and leave it in overnight.
The word loosely is doing real work in that instruction. You are supporting a shape that already exists, not forcing a new one. Jam the toe box full and you have invented a slow stretching device, which is the opposite of the goal.
Close the straps or laces before they go in the pack
Thirty seconds, no cost. Fastening the hook-and-loop closure or cinching the laces before the shoes go into the bag keeps the rand in its trained position instead of letting it slouch open around a shapeless void. Do it even for the walk back to the car. It also matters which closure you have, since laces hold a tighter closed shape than a two-strap Velcro system.
Ranked by how well they hold a stored shape: a lace-up closure first, velcro straps second, and a slipper last, since an elastic slipper has nothing to cinch and simply relaxes to whatever shape it is left in. A high-top rock shoe sits closer to the lace-up end for the same reason. None of that should decide your purchase, but it should decide how carefully you store what you already own.
Where shoes live between sessions
Open air, hanging or standing upright, never compressed under a rope in the bottom of a gym bag. Knock the chalk dust out of the toe box before they go away, because caked chalk holds moisture against the upper for days. A breathable mesh shoe bag beats a sealed plastic one every time, and breathable storage is the whole point rather than a detail, because the same trapped moisture that makes shoes smell is what softens the rand and locks in a flattened resting shape. Odor and shape loss are one problem wearing two costumes.
Your Sizing Decides This More Than Your Climbing Does
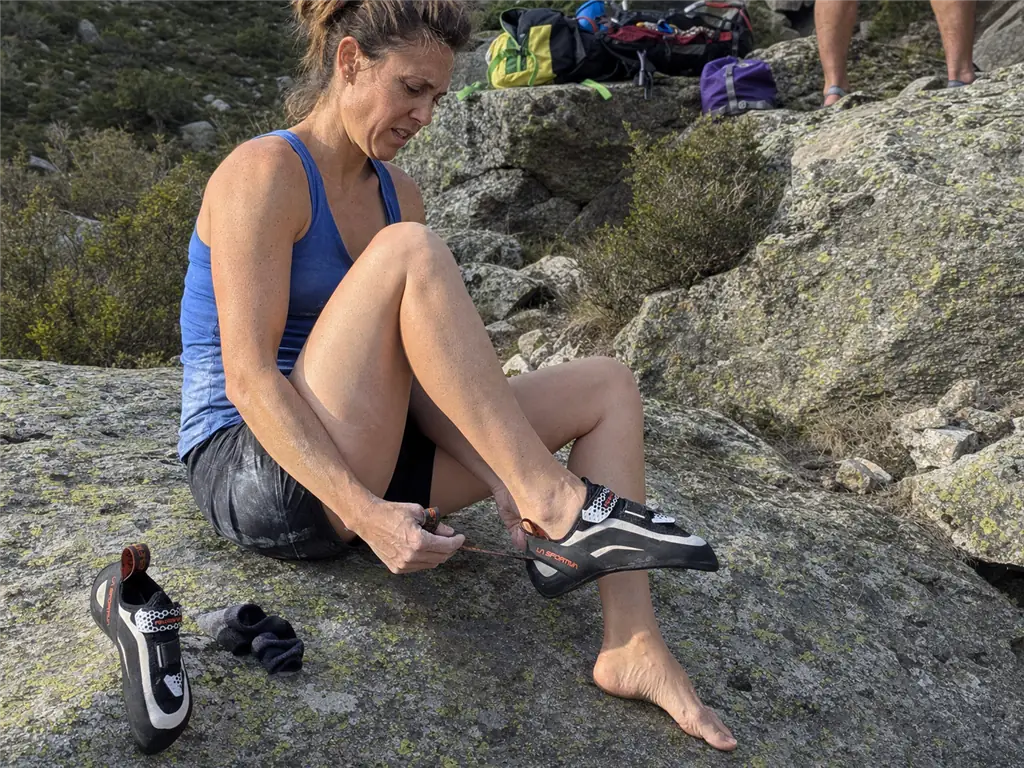
This is the section that changes people’s minds. Climbers assume shape loss is a mileage problem. The community pattern says it is mostly a fit problem.
An oversized aggressive shoe goes flat regardless of model
Climbers on Mountain Project have hammered this point for years: heel cup and arch tightness, not sole stiffness, is what actually preserves the downturned shape. A shoe with room to spare lets your foot slide forward under load, and the rand ends up tensioning against air. Buy the best aggressive shoe on the market a half size too big and it will still relax toward neutral faster than a snug pair of something cheaper.
What the heel cup is actually holding
The rand’s tension is anchored heel to toe as one continuous system. Slack at the heel is slack everywhere, which is why a problem people diagnose at the toes usually starts at the back of the foot. This is also where narrower lasts and lower-volume heel cups change the answer for a lot of climbers who have been fighting heel slop in a men’s last.
The extra-toe-room trap
The most common self-inflicted version goes like this. You try on an aggressive shoe, it hurts, you go up a half size for comfort, and you walk out with a shoe that is comfortable today and neutral by spring. Sizing tight is uncomfortable for a break-in period measured in a few sessions; downsizing past that point is a different mistake, and so is refusing to downsize at all. Honest version: if you want comfort, buy a moderate shoe deliberately instead of a downgraded aggressive one. Getting how a climbing shoe should actually fit before you size down or up settled first saves more downturn than any care routine.
The original poster in that Mountain Project thread ended up somewhere useful, by the way. After watching his oversized aggressive shoes flatten out, he started asking whether he needed an aggressive shoe for gym 5.10s at all. That is a reasonable question and the answer for many climbers is no.
Test the heel, not the toe, when you check whether a shoe still fits properly. Stand up, weight one foot, and try to lift your heel inside the shoe. If it moves at all, the rand is no longer tensioning against your foot, and no amount of careful storage will keep that curve alive.
The Habits That Burn Down Downturn For Nothing
Everything above costs either money or attention. This section is free.
Stop walking around in them
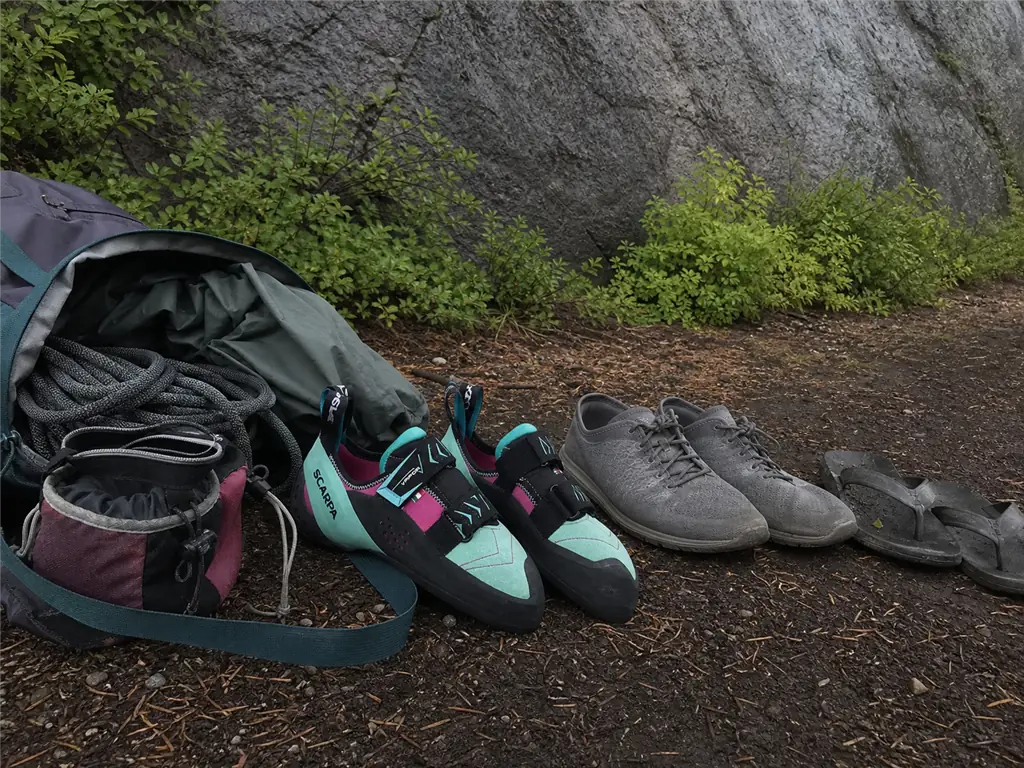
Approach trails, gym floors, the walk to the bathroom, the stroll between boulder problems. Every step on flat ground pushes the curve toward neutral and buys you nothing, because none of that walking is climbing. A pair of flip-flops for approach walks and belay duty weighs almost nothing and lives permanently in the pack.
The two-shoe quiver
Keep the aggressive pair for the routes that actually need it and rotate a moderate pair for warmups, gym laps and easy terrain. Deliberate shoe rotation is standard practice among climbers who make shoes last, and the two-shoe quiver is what they call it. The cheapest version costs nothing at all: that beat-up first pair in your closet is already the second shoe. If you are buying, a moderate pair for gym sessions and warmups is the right slot to fill.
Match the shoe to the angle
Steep and overhung terrain earns the downturn, because that is where a curved toe converts pull into purchase. Heel-hooking and toe-hooking on a steep bouldering problem are the two moves that pay the rand back for everything it holds. Slab climbing does not, and neither does vertical: smearing on granite friction, crack climbing, and hand or foot jamming in a splitter all work better in a flatter shoe, and jamming a downturned toe into a crack is a fast way to break the rand’s bond. Gym climbing on easy angles is the same story indoors. Wearing an aggressive shoe on terrain that never asks for it spends shape you cannot buy back, which is why it pays to know which shoe suits which route angle before you lace up. The practical version: save the aggressive pair for the sport climbing project you are trying to redpoint, and let the moderate pair take the multi-pitch day, the sandstone cruising at Red River Gorge, and everything else.
Which Downturned Shoes Actually Hold Their Shape
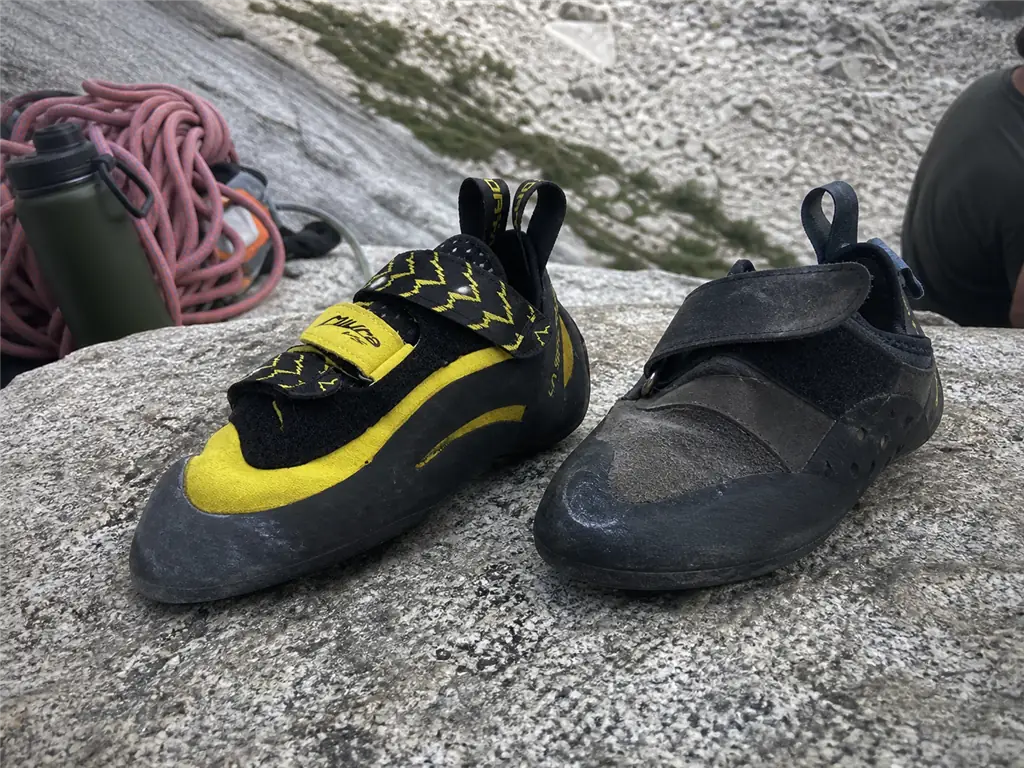
Not every downturned shoe fights fatigue equally well, and no competitor in this search will tell you which ones do. Everything below is a community-reported pattern from climbers comparing notes over years, not a lab result.
What a tension platform buys you
The shoe that comes up over and over as holding its curve through multiple resoles is the La Sportiva Miura VS (men’s · women’s). Climbers credit the P3 platform, La Sportiva’s system that ties rand and midsole together specifically to resist the shape fatigue described earlier. Whether the branding is doing marketing work is a fair question. The reported pattern of shoes still curved after two resoles is harder to dismiss.
Models the community says go flat faster
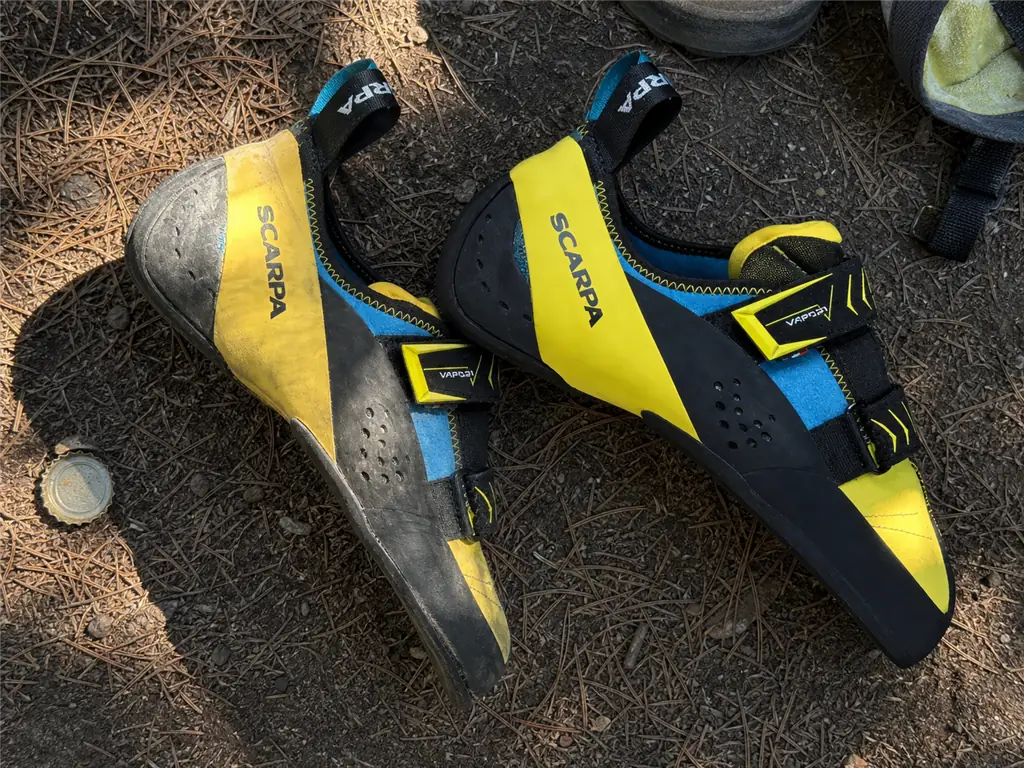
The same threads name the La Sportiva Miura Lace as a shoe that does not stay aggressive nearly as long, which is about the cleanest evidence available that construction rather than brand is the variable. Same company, same rough price bracket, different result. The Scarpa Vapor V (men’s · women’s) draws the same complaint from a second brand, and climbers who own them still like climbing in them. That is the honest framing: these are good shoes that happen not to be the ones to buy if long-term shape retention is your first priority. You can see how the rest of the range compares in the Scarpa aggressive models compared side by side and in how La Sportiva’s models line up by discipline.
What to look at before your next pair
Two questions, not a buying guide. How does the rand wrap the heel, and does the maker treat tensioning as a named engineered system or as an afterthought? That is most of the signal. La Sportiva’s No Edge technology is a useful contrast here, because it changes the sole geometry without changing how the rand is tensioned, which tells you the two decisions are genuinely separate. And to be plain about it: if your current shoes still hold their curve, none of this is permission to buy new ones, and if you are still on your first pair, an aggressive shoe probably is not the upgrade you need yet.
When A Resole Buys Back The Curve And When It Doesn’t
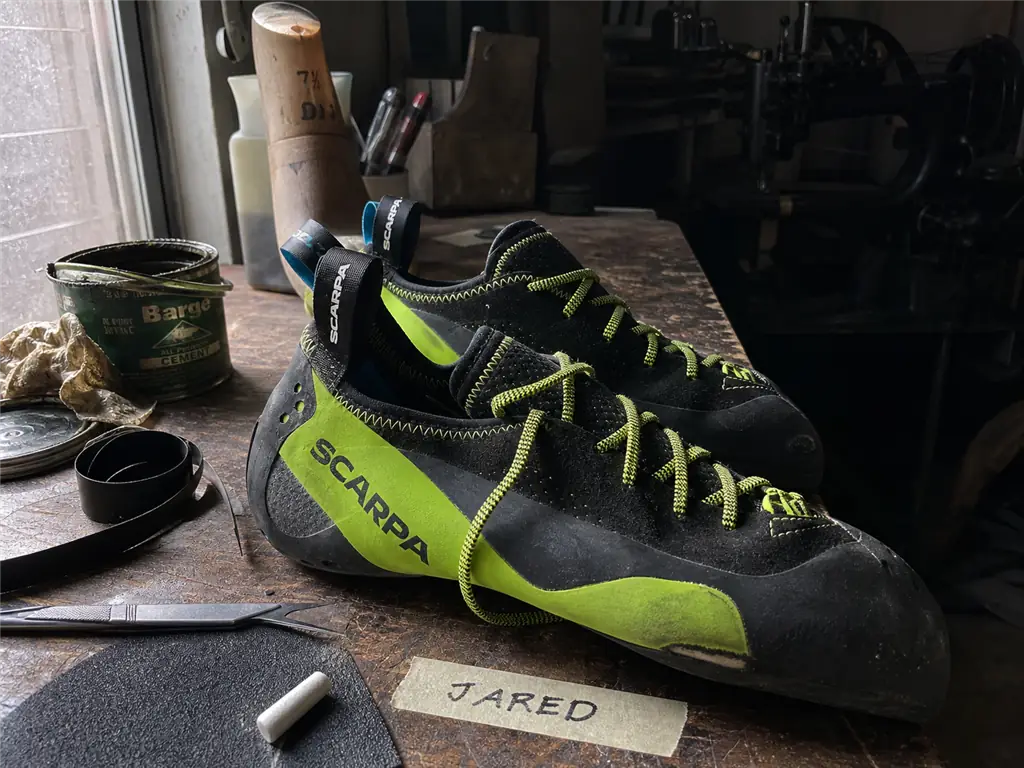
Resoling gets recommended constantly with no numbers attached and no explanation of what it actually restores. Both of those omissions cost climbers money.
Resole before the rand is shot, not after
Timing decides everything here. Send the shoes out while the rand still has spring in it and you get back a genuinely aggressive shoe. Wait until they have gone completely flat and you get back rubber, not geometry. Watch for the toe rubber thinning toward the rand and, more importantly, for the curve visibly relaxing when the shoe is sitting empty on the floor. That second sign is your deadline. The wear pattern tells you the first half of the story and the deformation tells you the second, and only one of them is fixable with rubber. Getting how to time a resole so the sole doesn’t peel right is the whole game.
Small fixes between resoles
Two cheap habits stretch the gap between resoles. When the toe rubber starts lifting at the edge, trim loose rubber flush with cuticle scissors instead of letting it peel further and take the rand’s bond with it. And a light sandpaper repair, meaning a few passes with fine grit, takes the glossy sheen wear off the toe patch and gives you real friction back for another few sessions. Neither one restores shape; both buy you time to resole on your schedule instead of mid-project.
Half resole, full resole, rand repair
A half resole from a dedicated climbing resoler typically runs about $30 to $45. A full resole lands roughly in the $30 to $80 range depending on the shop and region. A rand repair adds somewhere around $8 to $20 on top. That last line item is the only one that touches your downturn, so if the shape is what you are trying to save, ask about the rand explicitly rather than just ordering new rubber.
The resole-versus-replace math
Run those numbers against a new pair of aggressive shoes and the answer is not close. Even a full resole with rand work costs a fraction of replacement, which means one or two resole cycles almost always beat buying new. The Scarpa Mago Lace (check it here) is the community’s standing example of that math working, a soft lace-up climbers report still performing on hard slab after multiple resole cycles. The shoe worth resoling is the one whose rand still has tension in it. Once the tension is gone, you are paying to renovate a shoe that no longer exists, and retired aggressive shoes rarely make good anything-else shoes.
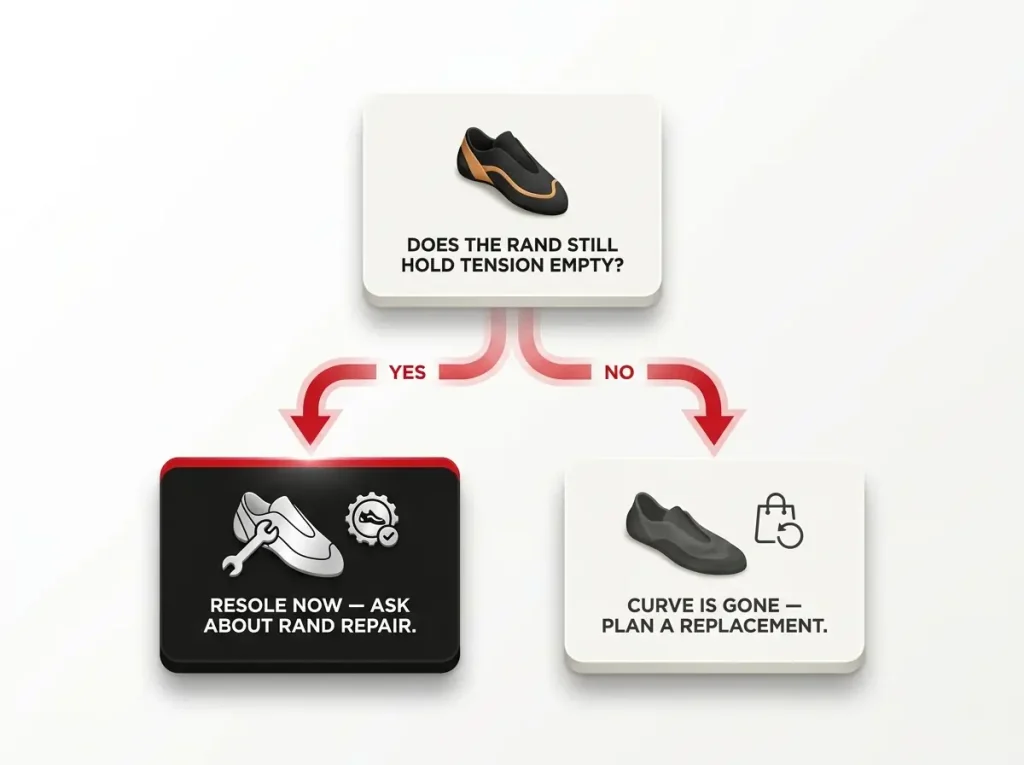
Photograph your shoes from the side, empty, on a flat surface the week you buy them. Repeat every few months from the same angle. The curve fades too slowly to notice day to day, and a side-by-side photo will tell you it’s resole time long before your feet do.
The Takeaways
Heat costs you more than climbing does. The car in the parking lot has ruined more downturned shoes than any overhang, and the fix costs nothing but a habit.
Shape is a storage decision. Stuff the toe box while they dry, close the straps before they go in the pack, and keep them out of the bottom of the bag.
Fit and timing beat product choice. A snug shoe resoled early will outlast a loose premium shoe resoled late, every time.
Do one thing after your next session: take the shoes out of the car and stuff the toe box while they dry. Check the curve in a month against the shoes you did nothing to. That is the whole experiment, and it does not require buying a single thing.
Frequently Asked Questions
01Is it really that bad to leave climbing shoes in a hot car?
Yes. A sealed car in direct sun can pass 150°F, and climbing shoe adhesives begin failing between 140°F and 158°F. That heat also accelerates the tension rand losing its spring-back, so one hot afternoon costs you both bond strength and curve.
02Can resoling restore a climbing shoe’s downturn?
A resole restores rubber; only a rand repair touches the tension that creates the downturn. Resole while the rand still has spring and the shoe comes back genuinely aggressive. Wait until it is flat and you get a grippy neutral shoe.
03Does buying aggressive shoes a size up make them go flat faster?
Climbers consistently report that it does. A loose heel cup lets the foot slide forward, so the rand tensions against empty space instead of your foot. The curve relaxes faster regardless of how well the shoe is built.
04How do you dry climbing shoes without losing the shape?
Dry them open in moving air, never sealed in a bag or in direct sun, and loosely stuff the toe box with crumpled newspaper so the curve is supported while the material sets. Swap the paper once it feels damp.
05How do I know when a downturned shoe is actually finished?
When the curve stays relaxed with the shoe empty and the rand has lost its tension, a resole will not bring the aggression back. Thin sole rubber alone is a resole job; a slack, shapeless rand is a replacement.
Safety Notice: Rock climbing and mountaineering are inherently high-risk
activities that can involve physical trauma or fatal incidents. The information on Rock Climbing Realms is for
educational and informational purposes only. Techniques and advice presented here are not a substitute
for professional, hands-on instruction. Conditions and risks vary by location. Always seek guidance
from a qualified instructor before attempting new techniques. By using this website, you agree that you
are solely responsible for your own safety. Any reliance you place on this information is strictly
at your own risk, and you assume all liability for your actions. Rock Climbing Realms and its authors
will not be held liable for any harm, damage, or loss sustained in connection with the use of this information.
Affiliate Disclosure: We are a participant in the Amazon Services LLC Associates Program, an
affiliate advertising program designed to provide a means for us to earn advertising fees by advertising and linking
to Amazon.com. As an Amazon Associate, we earn from qualifying purchases. We are also an official affiliate partner
of Black Diamond Equipment via the AvantLink network. If you click on a Black Diamond affiliate link and make a
purchase, we may earn a commission at no additional cost to you. We also participate in other affiliate programs.
Additional terms are found in the terms of service.