
In this article
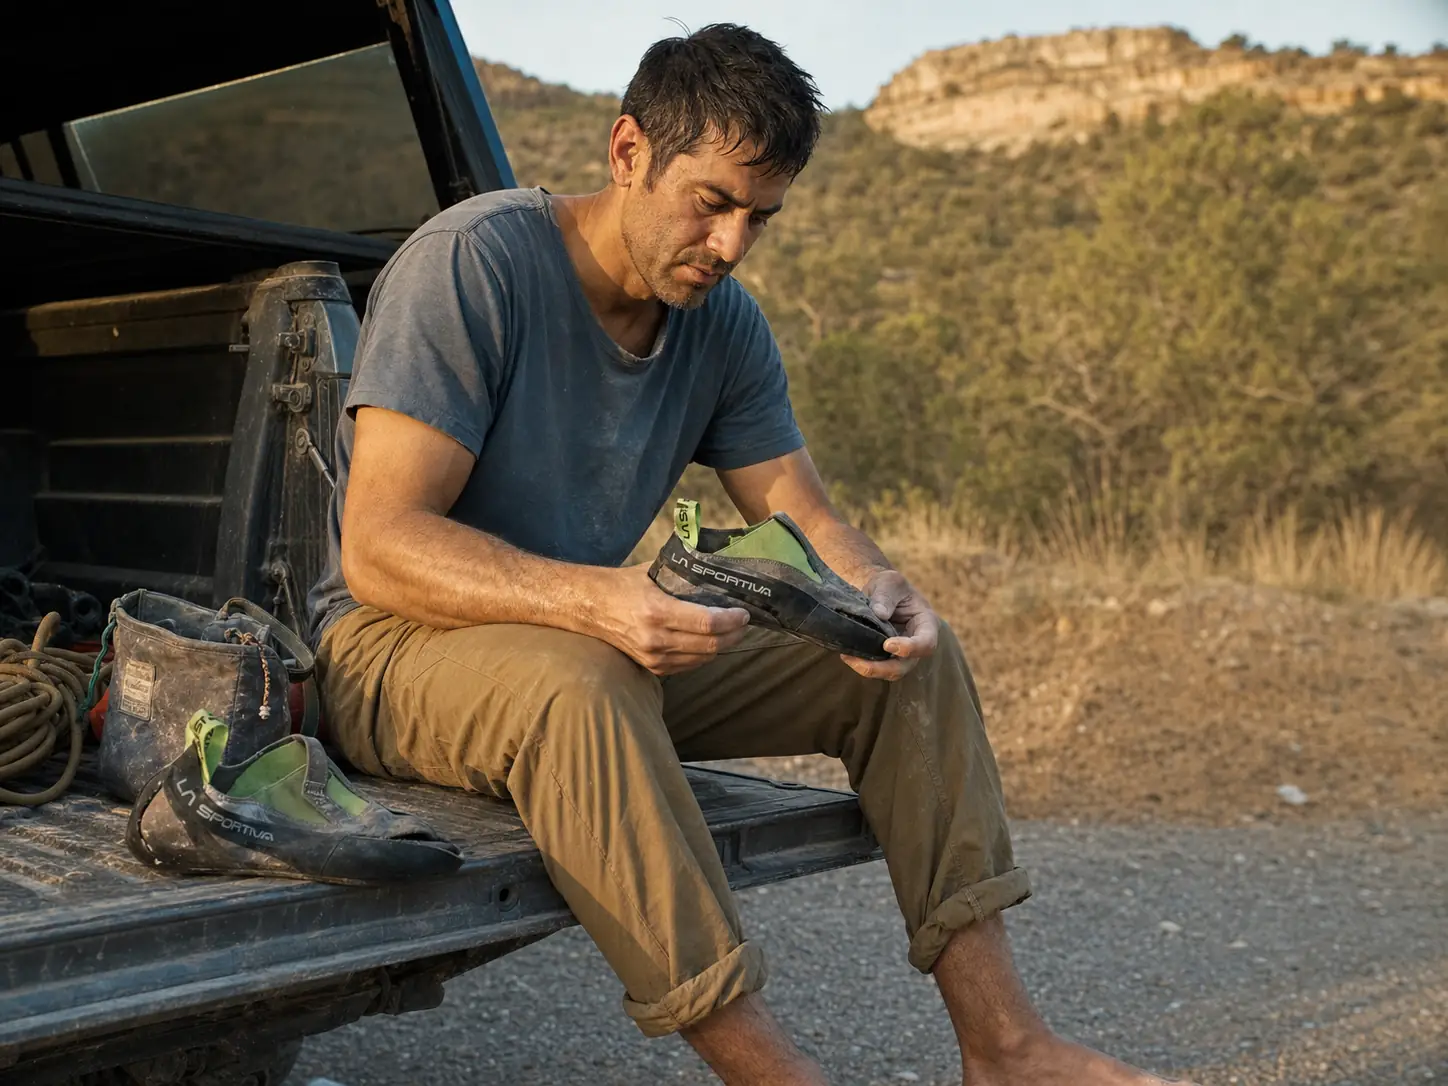
You pull the shoes out of the bag on a Wednesday night and the toe rand has lifted away from the sole in a thin curling smile. Nothing happened to them. They were fine last session.
Ask the people who deal with this daily, the resolers and the repair threads that never really close, and they point at two things the search results skip: heat is usually the cause, and the repair fails because of when you press it, not what you press it with. Learning how to fix delaminating climbing shoes is mostly learning those two waits, plus the triage that tells you whether to reach for glue at all.
Why Climbing Shoes Delaminate, and Why Heat Usually Wins
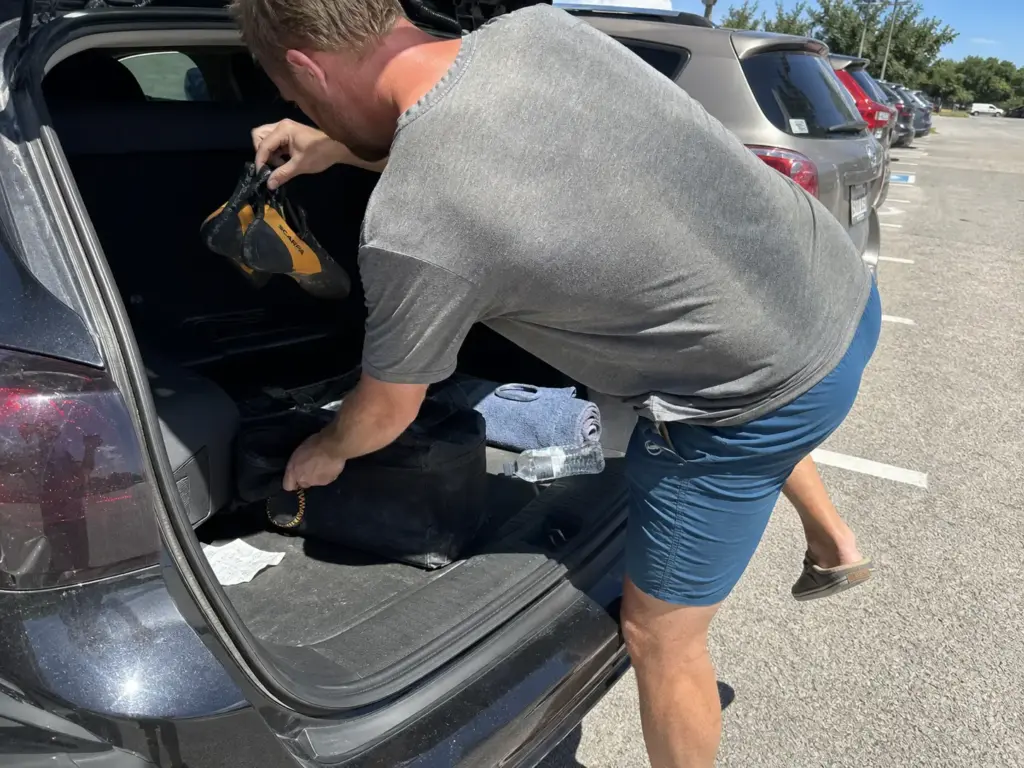
Climbing shoe delamination reads like a manufacturing defect, and it almost never is. The shoes ride home from a July session in a black bag on a black back seat, sit there through the week, and come out the following Saturday with the toe seam opened up. The owner concludes the pair was badly made. The seat they were sitting on was closer to 190°F.
Your Rand Is Glued On, Not Fused On
Four parts matter here. The rand is the band of rubber that wraps over the toe and around the sides of the shoe. Under it sits the midsole, then the sole rubber on the bottom, and the upper holding the whole thing to your foot. The classic edge delamination line is the seam where the rand meets the sole.
Here is the part nobody states plainly: climbing shoes are cold-bonded with contact cement, not vulcanized like a car tire. There is no chemical fusion holding your rand on. It is a solvent adhesive film, applied at room temperature, doing all the work. That single construction fact explains why this failure mode exists at all, and why heat exposure is its natural enemy.
What a Parked Car Actually Does to That Glue
A car parked on an 80°F day reaches 109°F inside after 20 minutes, 118°F after 40 minutes, and 123°F after an hour. Those are air temperatures, and the National Weather Service has actually clocked how fast a parked car cooks. Your shoes are not sitting in the air. They are sitting on a dark seat, inside a dark bag, and dark interior surfaces climb past 180°F to 200°F.
Rubber compounds start losing flexibility and tack somewhere around 120°F. Sustained exposure near 130°F is enough to drive delamination. Every number above clears that line comfortably, which is why the same heat that flattens a downturn is what lifts a rand.
The damage is cumulative, and that is what makes the cause invisible. The rand does not pop on the first hot car day. It pops on the fifth. By then the connection between the heat and the failure is a week old and nobody makes it.
The Causes That Matter Less Than You Think
Heat is the headline, but three other causes are real and worth ranking honestly below it. Aggressive downsizing puts standing tension across the rand bond even when the shoes are sitting in a closet, so a pair sized two sizes down is under load before you ever put it on. Showering in shoes or swimming in them soaks the bond line repeatedly. And ordinary wear at the toe eventually thins the rubber above the seam until there is nothing left to hold.
None of those three account for most of the delaminations people actually bring to a resoler. The car does.
Cosmetic Ding or Structural Delam? Test It Before You Glue
The gap you spot standing at the crag usually looks worse than it is. Ten seconds of testing on the ground tells you whether you have a weekend project or a nothing.
The Ten-Second Weight Test
Put the shoe on, roll onto the edge the way you would on a real foothold, and look at the seam. If the gap closes under weight, it is very likely cosmetic. Climb on it, watch it for a few sessions, and leave the glue in the drawer. If it stays open with your full weight on it, you have a structural problem.
Weight-test before you repair, every time. Turning a cosmetic gap into a botched structural repair is a real way to make a perfectly good shoe worse, and sanding, solvent and a bad press are all hard to undo.
The Three Tiers of Damage
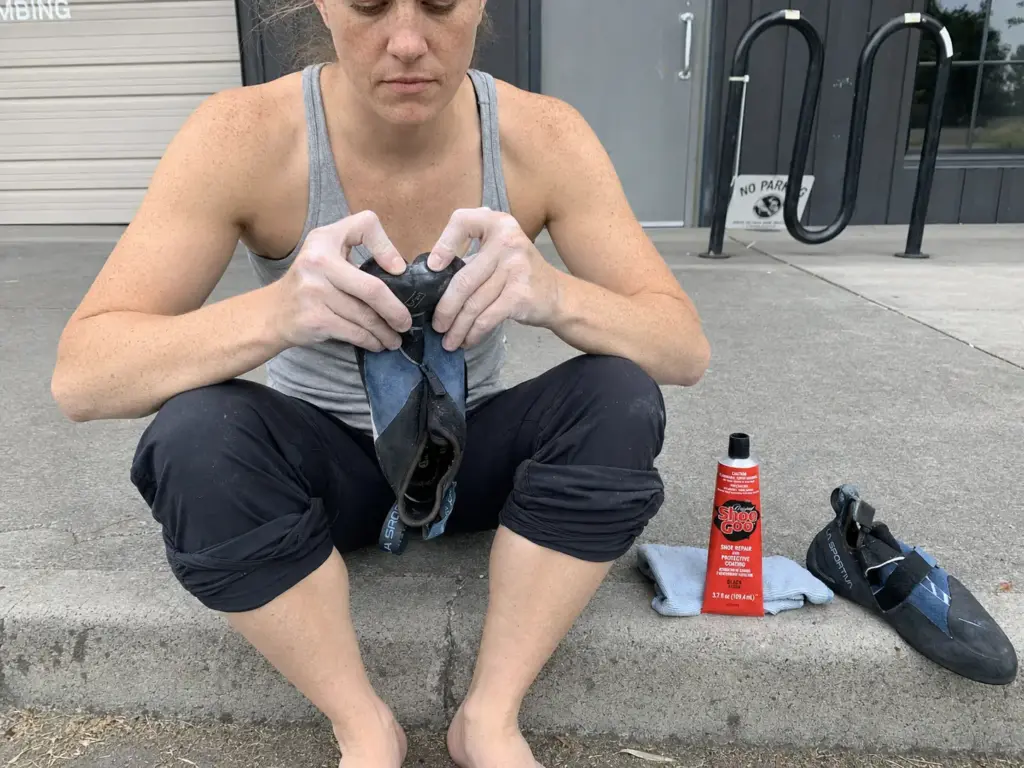
Cosmetic covers a ding, a pinhole, a scuffed-off patch of toe rubber, and any gap that disappears under load. This is the tier where Shoe Goo Black Shoe Repair and Protective Coating 3.7 oz belongs: filling, sealing, rebuilding a worn patch. It is not a structural rand adhesive, and REI recommends it without that caveat, which is a decent part of why people end up re-gluing the same seam twice.
Structural means the rand has lifted from the sole along a run of the seam, the gap stays open weighted, and you can slide a fingernail into it. That is a structural repair with contact cement, and it is the job the rest of this guide is about.
When the Shoe Is Past a Glue Fix
Past DIY looks like exposed fabric at the toe, separation running under the ball of the foot, or toe rubber worn clean through into the rand. Once fabric is showing, glue has nothing to bond rubber to. That is a resole with a rand patch, not a garage job.
While the shoe is in your hand, look at what you are working with. Glazed rubber goes shiny and slick long before it goes thin, and glazed surfaces need roughing before any adhesive touches them. Knowing which rubber compound thickness you are dealing with matters here too, because worn rubber goes glassy long before it goes thin and a Vibram XS Edge sole that still has depth is worth the repair in a way a paper-thin one is not.
When Your Shoe Isn’t a Glue Problem at All
There is a category of shoe where the prep is right, the adhesive is right, the patience is right, and the repair still fails. The owner concludes they are bad at this. They are not. The substrate is wrong.
The ABS Midsole Problem
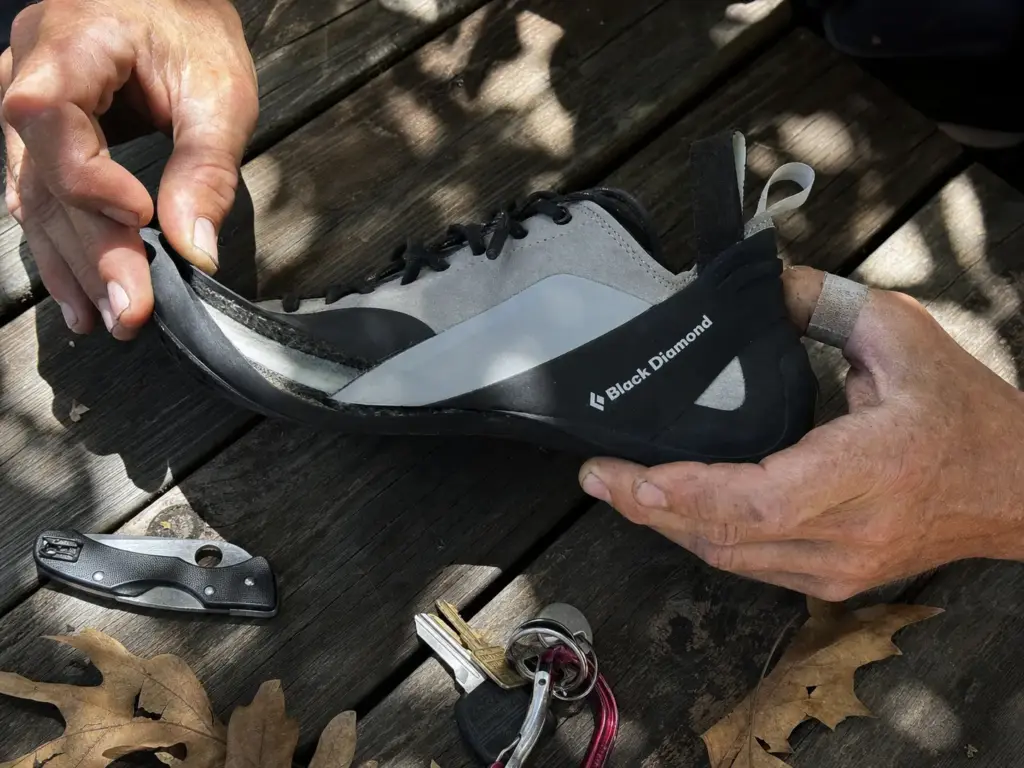
Some models use an ABS plastic midsole instead of rubber or EVA. The Butora line and the Black Diamond Aspect are the ones practitioners name most often. Contact cement does not reliably bond to ABS regardless of how clean the prep is. As one repairer put it in a long-running Mountain Project thread, plastic in general is hard to glue with contact cement.
The reason is worth understanding, because it tells you when to stop. Neoprene contact cement works by keying into a surface that is either slightly porous or slightly compliant. Rubber and EVA both qualify. A rigid plastic gives the adhesive nothing to key into, so what you get is a film sitting on top of a smooth wall, and the first hard toe hook peels it right back off. Roughing the plastic with sandpaper helps a little and does not solve it.
How to Check Yours in Ten Seconds
You do not need a spec sheet, and it does not matter whether you are holding a La Sportiva, a Scarpa or an Evolv. Look at the exposed edge of the midsole where the rand has lifted. Rubber and EVA compress slightly under a fingernail and read matte. A rigid plastic midsole is hard, smooth, and usually a visibly different color from the rand sitting on top of it.
What a Resoler Can Do That You Can’t
A resoler has primers and polyurethane adhesives formulated for this, which a can of neoprene cement on a workbench is not. If your shoe has a plastic midsole, the glue is not the variable, so stop before you spend a weekend and a can of cement proving it.
Worth knowing before you box them up: a rand repair is its own line item, not automatically a full resole. Shops price it separately, roughly $8 to $20 per shoe on top of whatever sole work you order, and if your sole rubber still has depth you can ask for the rand alone. That is the cheapest professional outcome available to you, and plenty of climbers never think to ask for it because the word they arrived with was resole.
The second non-glue case is separation running under the ball of the foot. That joint gets loaded in flex on every single move, and a garage bond line there works itself loose no matter what it is made of. Same instruction: that is a rebuild on a last, not a wrap-and-wait in the garage.
DIY or Resole? The Honest Cost and Time Math
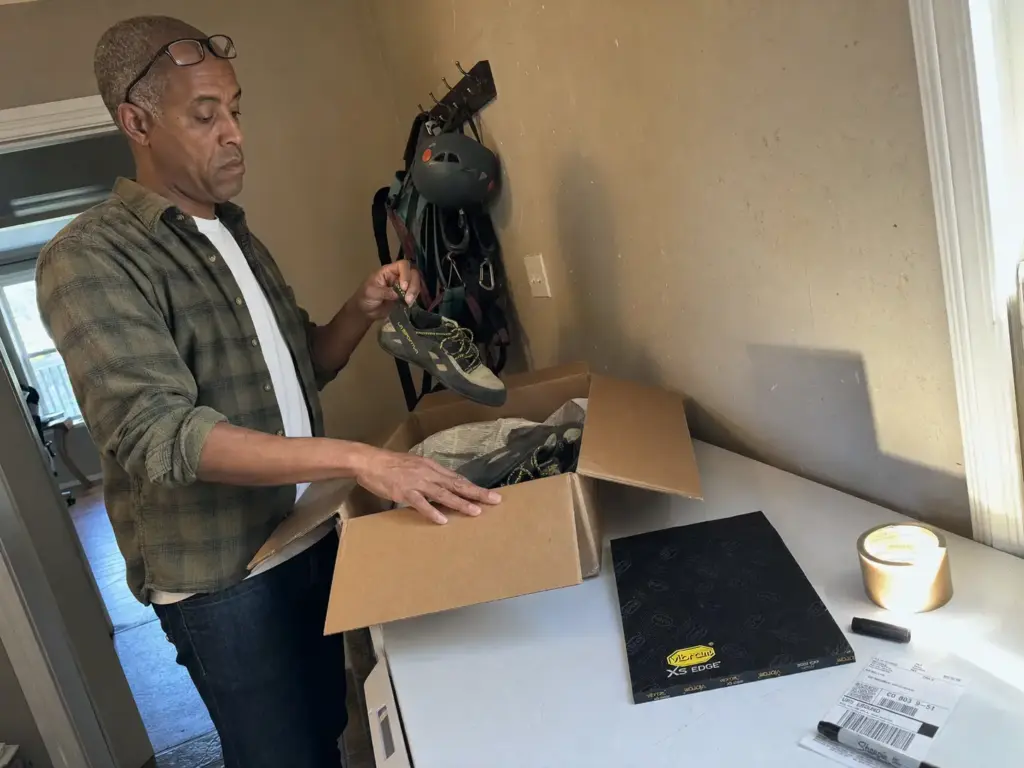
Most people frame this as a money question. In season, it is a time question.
What a Resole Actually Costs
Resoling is priced by how much rubber comes off. A half or full resole runs roughly $30 to $80, with rand repair adding about $8 to $20 per shoe. The industry average lands near $50, and $40 to $140 all-in once shipping is counted. Against that, a tube of shoe repair adhesive runs about $8 to $15, which puts a DIY glue-up at roughly a tenth of the resole cost.
Worth saying plainly, because the search results treat it as a stopgap: a correct DIY joint is not temporary. Properly applied contact cement reaches roughly 3,000 psi bond strength. Done right, it can outlast the rubber sitting above it.
The Part That Actually Decides It — Turnaround
Resole turnaround runs 3 to 8 weeks industry-wide, and the number any given resole shop quotes moves with its backlog. The Rubber Room is currently quoting 9 to 10 weeks, with a standard resole at $33 per pair and rand repair at $10 per shoe. Rock and Resole takes a $50 deposit per pair up front. Ship your shoes in June and you are climbing in rentals into September over a seam that a can of cement and a Friday night would have closed.
A 24-hour cure at home is the entire competing timeline. That is the argument.
When to Stop and Buy a New Pair
The resole wins when the shoe has an ABS midsole, exposed fabric, worn-through toe rubber, or separation under the ball of the foot. It also wins when you would rather have the toe rand replaced outright than re-bonded, and what a resole actually involves and when to send them out is worth reading before you commit either way.
Replacement wins when the sole rubber is already down near the wear indicator across its whole surface, when the heel cup no longer holds, or when the pair never fit right in the first place. Repairing a shoe you do not want to climb in is the most expensive of the three options, and matching the next pair to your discipline and foot shape is a better use of the same money.
Which Glue for Which Job
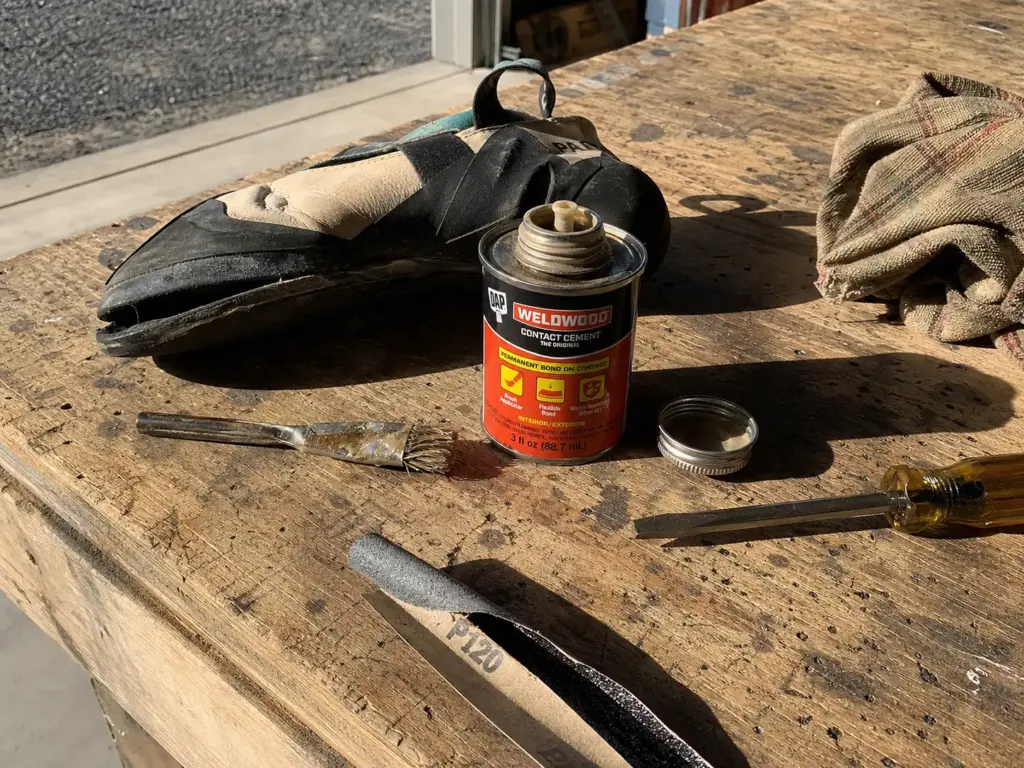
Ask this in a forum and you get three brand names shouted at you with no explanation of when each is right. The useful version is a tier list.
How Contact Cement Actually Bonds
Contact cement bonds to itself, not to the substrate, at the moment the two faces meet. Both surfaces get coated. Both flash off. They touch once and that is the bond. Every product choice below and every step in the repair follows from that one mechanism.
The Structural Choice for a Lifted Rand
For a structural rand delam, Barge cement is the name practitioners reach for, and Barge All Purpose Cement Quart Original is the standard can. It has the highest flex-fatigue tolerance of the hardware-store options, tacks in roughly 15 to 20 minutes, and a quart outlives dozens of repairs.
If you are fixing one shoe, a quart is absurd. DAP Weldwood Original Contact Cement Tan 3 oz is the same neoprene chemistry and the same method in a tube, dries in 15 to 20 minutes, and is heat and water resistant. Shoe Goo stays where we left it, on cosmetic damage, and no further.
The Cobbler-Grade Tier Nobody Names
The tier above both of those is Renia Syntic Total, and it is worth naming because it is what the resoler you would mail your shoes to is actually using. It is a polyurethane cement, chemically distinct from every neoprene contact cement in this section, formulated free of toluene and MEK. It is rated to bond leather, rubber, EVA, thermoplastic rubber, expanded rubber, PVC, felt, cork and nylon to each other and to upper materials, which is precisely the mixed-material joint a climbing shoe rand is. It also has better flex-fatigue resistance than anything on a hardware-store shelf.
It is sold through cobbler supply channels in one-liter cans, not through Amazon, so this is a tier you are substituting away from rather than one you can order tonight. The accessible stand-in is the toluene-free Barge covered in the next section.
That toluene distinction matters enough that state health departments publish a plain-language toluene fact sheet on it.
What Climbers Outside the US Reach For
UK climbers name Evo-Stik Impact Adhesive in their own forums as the local equivalent of Barge. Same category, same method, different shelf.
Experienced repairers ask for toluene-free formulas by name, and not only for the fumes. The open time runs a little longer, which is genuinely forgiving on a first repair, and the bond is comparable.
Working Safely With Contact Cement
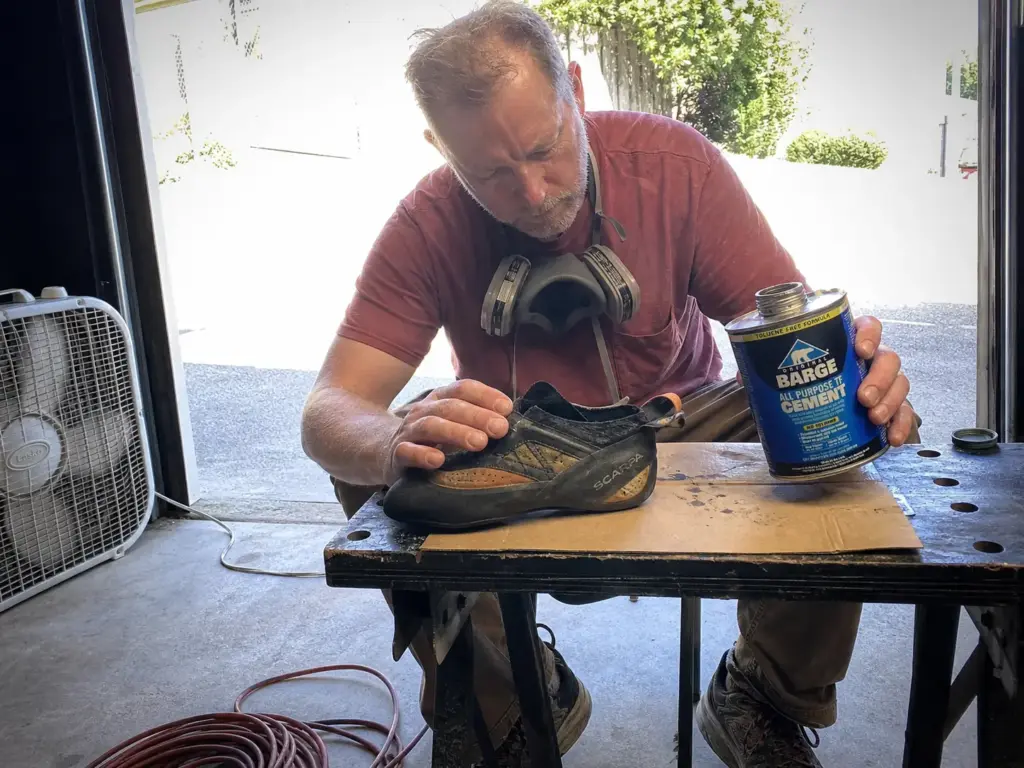
This is a garage-with-the-door-up job or a back-porch job. Not one competitor in the search results says so.
What’s Actually in the Can
Toluene is the solvent in original-formula Barge and DAP Weldwood. Acute exposure causes eye and nose irritation, weakness, confusion, dizziness, headache and dermatitis. Repeated overexposure is linked to liver and kidney damage, nervous-system damage and irregular heartbeat. NIOSH’s chemical hazard guide lists dizziness, headache and confusion as the first signs, which is a short list worth reading before you open anything.
Ventilation First, Respirator Second
Ventilation is the first control and it is not optional: outdoors, or a garage with the door up and air actually moving. If you are working with any volume, add a NIOSH-approved organic-vapor cartridge respirator, which is protective for toluene up to 500 ppm. A dust mask does nothing here at all.
The smell is a lagging indicator. By the time it is strong, the VOC control already failed, so move first and reach for the mask second.
The Toluene-Free Route
Barge All-Purpose Cement TF Toluene-Free 1 Quart sidesteps the whole problem. Same Barge bond, no toluene, dries in 10 to 15 minutes with an open time of up to two hours. That long open time is the quiet advantage for a first repair, because the tack window is exactly where beginners get punished. If you are working in an apartment, a shared garage, or anywhere the air does not move, start here.
Practical housekeeping: work over cardboard, keep the can closed between coats, and keep acetone off the upper. It is for stubborn adhesive residue on rubber, not for fabric or leather.
The Step-by-Step Rand Repair
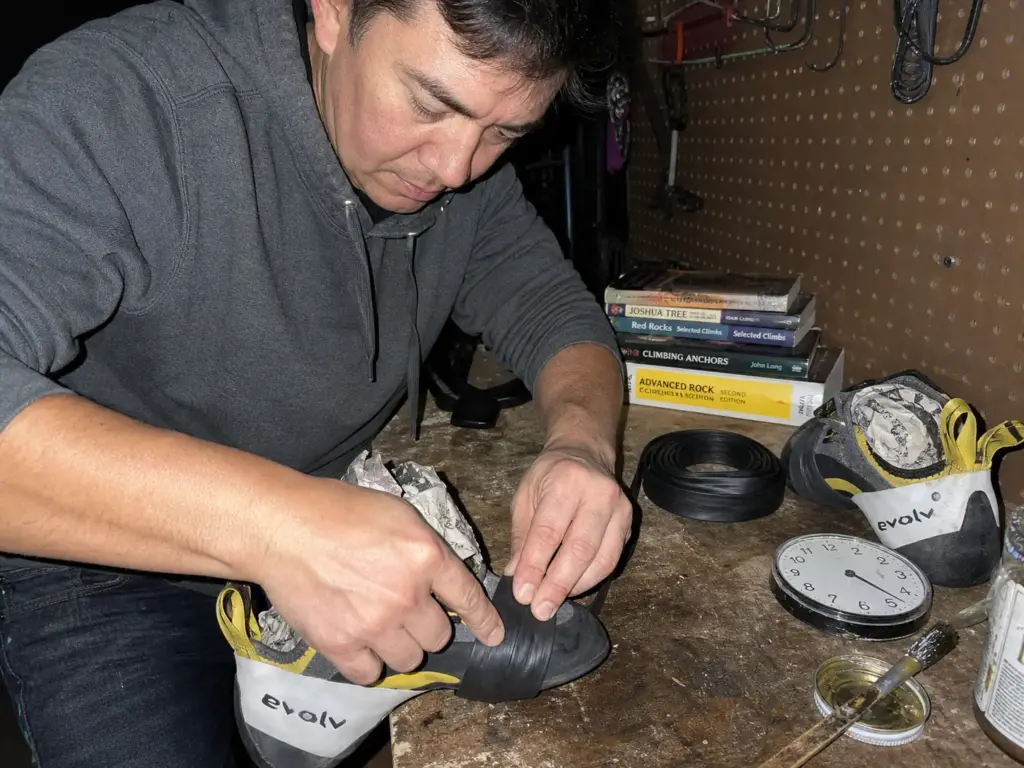
This is the section you came for, and it is shorter than you expect. Four of the five steps take minutes. The fifth takes a day and decides everything.
Prep — Clean, Rough, Dry
Open the gap gently and clear out old adhesive, dirt and rubber crumbs. Alcohol dries faster than water and is the practitioner default; acetone handles stubborn residue and stays off the upper. Then rough the shiny rubber inside the joint lightly with fine sandpaper so the cement has something to bite, using the same roughing step that brings glazed rubber back. Let everything dry completely before the next step.
Coat Both Faces, Thin
Two thin coats beat one thick one. A thick coat never fully flashes off, and a rand bond line is thin by design. Both surfaces get coated, every time, with no exceptions.
The Tack Window
Both faces have to go from wet to dry-to-the-touch and tacky before they meet. Typically that is 15 to 20 minutes. The formula range across products runs 7 to 40 minutes, and Barge TF dries in 10 to 15 with open time up to two hours. In a cool garage this can take hours or overnight, and that is normal rather than a failure.
Touch a knuckle to the coated face rather than a fingertip. It should feel sticky and lift away clean without stringing. If anything strings, it is still wet, and you have not lost anything by waiting another ten minutes.
Press, Stuff and Wrap
Press hard along the whole seam, then stuff the shoe tight with newspaper or socks so it holds its last. Wrap it with bike inner-tube strips, wide rubber bands or a luggage strap, or set a stack of books on top. The stuffing is what the wrap presses against, and clamping an empty shoe just crushes the toe box.
You do not need to buy anything for this step. Every practitioner method in the field research used something already sitting in the garage, and pointing you at a clamp set here would be selling for the sake of selling.
The 24-Hour Cure
Leave it alone for a full 24 hours before you load it. Strength keeps building across that entire window, and a correct joint gets to roughly 3,000 psi by the end of it.
Why Most DIY Fixes Fail Within a Week
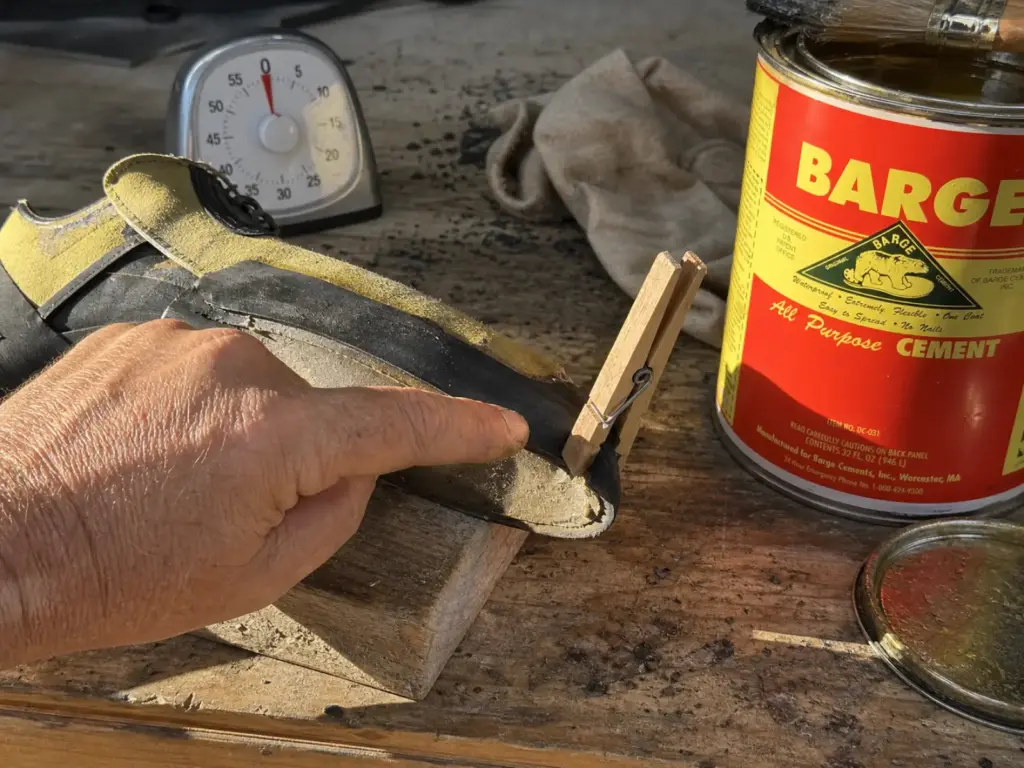
Glued Friday night, climbed at ten Saturday morning, delaminated again by noon. That climber did everything right up to the press and cure stage, then skipped the two parts of it that take time.
Pressing Before It Tacks
This is the single most common failure and it is worth understanding rather than just obeying. Contact cement is not a wet-stick glue. Press two wet faces together and you trap solvent under a surface that has skinned over.
The instinct behind the mistake is reasonable, which is why smart people keep making it. Every other adhesive most of us have used works while it is wet, so a face that has gone dry to the touch reads as a face that has stopped being glue. With contact cement it is the reverse. Wet means not yet. Dry and sticky means now.
The joint looks bonded. It holds for a session or two. Then it peels worse than the original tear, because now there is cured residue sitting in the seam fighting your next attempt.
Mechanically, the reason is the one from earlier: the cement bonds to itself, and the solvent has to leave first. Solvent can only leave from an open surface. Once you have sandwiched it, it has nowhere to go and it stays there.
If you have already done this once, the second attempt is not hopeless, it is just more work. The old film has to come off before anything new goes on, and a rag with a little acetone lifts stubborn residue off rubber. Keep it away from the upper, rough the cleared faces again with fine sandpaper, and treat the whole thing as a fresh repair rather than a patch on top of a failure.
Climbing Before the Cure Is Done
Strength builds across the first full day, which is why cure time is not a suggestion. A joint loaded at hour ten is at a fraction of its final strength while being asked to hold a toe hook. There is no version of this where enthusiasm beats chemistry.
The trap is that a half-cured joint feels finished. Press the seam at hour six and it is closed, quiet and solid under a thumb, because the surface has set long before the bond underneath has finished building. What a thumb cannot do is drag your full weight sideways across that seam, which is what the first toe hook of the session does.
The clock also starts at the press, not at the coat. The tack wait and the cure are two separate windows stacked back to back, and a Friday night that started late has a Saturday evening cure, not a Saturday morning one.
The Mistakes That Compound
One thick coat instead of two thin ones is the same trapped-solvent problem, self-inflicted at the application stage. And fixing the bond without fixing the cause puts you right back in the car, which means the repair has an expiry date printed on it from day one.
The one that costs the most is gluing a shoe that was never a glue problem. A weekend, a can of cement and a plastic midsole produce a peeled rand and a climber who concludes they are bad with their hands, when the honest read is that the substrate was never going to hold. Ten seconds with a fingernail on the midsole edge, before you buy anything, is the whole prevention.
The whole difference between a DIY shoe repair that lasts a week and one that outlives the rubber above it sits in two waits. No adhesive upgrade compensates for skipping either.
Why It Keeps Peeling in the Same Spot
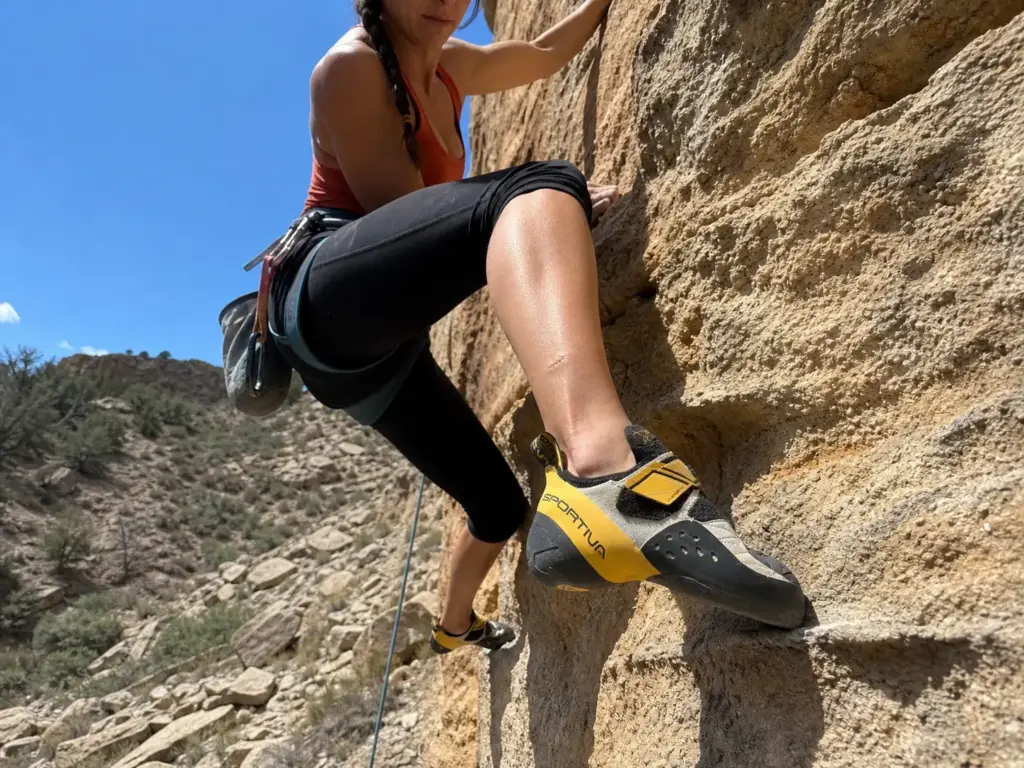
Some climbers have now repaired the same corner of the same shoe twice and concluded the pair is defective. It usually is not. The bond line is being loaded in the one direction it is weakest in, by a habit that is also costing them holds.
Shear Is What Breaks the Bond
The rand-to-sole joint is loaded in shear, not compression. Precise edging pushes straight down through the sole rubber and the bond line barely notices. Dragging the foot up the wall, smearing sloppily and re-adjusting, and rolling off an edge instead of holding a placement all drag the rand laterally across the joint, which is exactly the direction a cold-bonded adhesive film has the least strength in. Edging and smearing load the shoe in completely different directions, and the bond line feels that difference more than your calves do.
Why the Same Corner Every Time
Because the habit is the same every time. The seam under the big-toe knuckle takes it on repeated pivots. The outside edge takes it from feet that get placed and then adjusted. Change nothing about your footwork and the second repair fails in exactly the same spot as the first.
The fix also happens to make you a better climber: place the foot once, weight it, and leave it. Quiet feet are the same instruction a coach gives for holding small holds, and placing the foot once and leaving it there is the cheapest shoe maintenance that exists.
Storage, Rotation, and the Two-Shoe Quiver
Most climbing shoe care advice starts with odor and stops there. The other lever is storage, and it closes the loop with the root cause: shoes come out of the bag, out of the car, and out of direct sun. That one habit prevents more delaminations than any adhesive fixes.
If you are climbing several days a week, run a two-shoe quiver. Alternating pairs means neither one absorbs the full load of flex and heat, and stretching the interval between repairs is the whole point.
The Bottom Line on a Lifted Rand
Three things carry the whole repair.
Heat is usually the culprit, and no bond you build holds if the shoes go back in the car afterward. Weight-test before you glue, because cosmetic gaps do not need repairing and ABS-midsole shoes cannot be repaired at home at all. And the repair itself lives entirely in two waits: let both faces go properly tacky, then leave the shoe alone for 24 hours.
The next time you pull the shoes off, put them somewhere with moving air instead of back in the bag, and run a thumb along the toe seam while you are at it. Catching a lift while it is still a hairline is an evening with a brush and a wrap. Catching it once it has run along the seam is a resole, and the case for repairing gear instead of replacing it gets a lot easier to make when you catch things early.
Frequently Asked Questions
01Why is the rubber peeling off my climbing shoe?
Almost always heat, not wear. Climbing shoes are cold-bonded with contact cement rather than vulcanized, so the adhesive film holding the rand on softens well below the temperature a parked car reaches on a warm day. Repeated exposure, not one hot afternoon, is what finally lifts the seam.
02Can you fix peeling climbing shoes with super glue?
No, use contact cement instead. Cyanoacrylate cures hard and brittle, and a rand joint flexes on every move, so a super-glue bond cracks quickly and leaves cured residue that makes the proper repair harder. Neoprene contact cement stays flexible and is what the joint was built with.
03Why is the lining inside my climbing shoe coming apart?
Interior separation is usually moisture and heat working together, from shoes packed damp into a sealed bag and left somewhere warm. Unlike a rand delam it is not a contact cement repair. A resoler can address it during a rebuild, but drying and rotating pairs helps more.
04How long does climbing shoe glue take to dry?
There are two clocks. The cement needs 15 to 20 minutes on each face to go from wet to dry-tacky before the surfaces meet, and longer in a cool garage. Then the pressed joint needs a full 24-hour cure before you climb on it.
05Are climbing shoe resole kits worth buying?
For a lifted rand, no. You need adhesive and something to press with, and both are cheaper sourced separately. Kits make sense when you are actually replacing sole rubber and need the right compound cut to shape. Good rubber above the bond means a glue job, not a resole.
Safety Notice: Rock climbing and mountaineering are inherently high-risk
activities that can involve physical trauma or fatal incidents. The information on Rock Climbing Realms is for
educational and informational purposes only. Techniques and advice presented here are not a substitute
for professional, hands-on instruction. Conditions and risks vary by location. Always seek guidance
from a qualified instructor before attempting new techniques. By using this website, you agree that you
are solely responsible for your own safety. Any reliance you place on this information is strictly
at your own risk, and you assume all liability for your actions. Rock Climbing Realms and its authors
will not be held liable for any harm, damage, or loss sustained in connection with the use of this information.
Affiliate Disclosure: We are a participant in the Amazon Services LLC Associates Program, an
affiliate advertising program designed to provide a means for us to earn advertising fees by advertising and linking
to Amazon.com. As an Amazon Associate, we earn from qualifying purchases. We are also an official affiliate partner
of Black Diamond Equipment via the AvantLink network. If you click on a Black Diamond affiliate link and make a
purchase, we may earn a commission at no additional cost to you. We also participate in other affiliate programs.
Additional terms are found in the terms of service.